
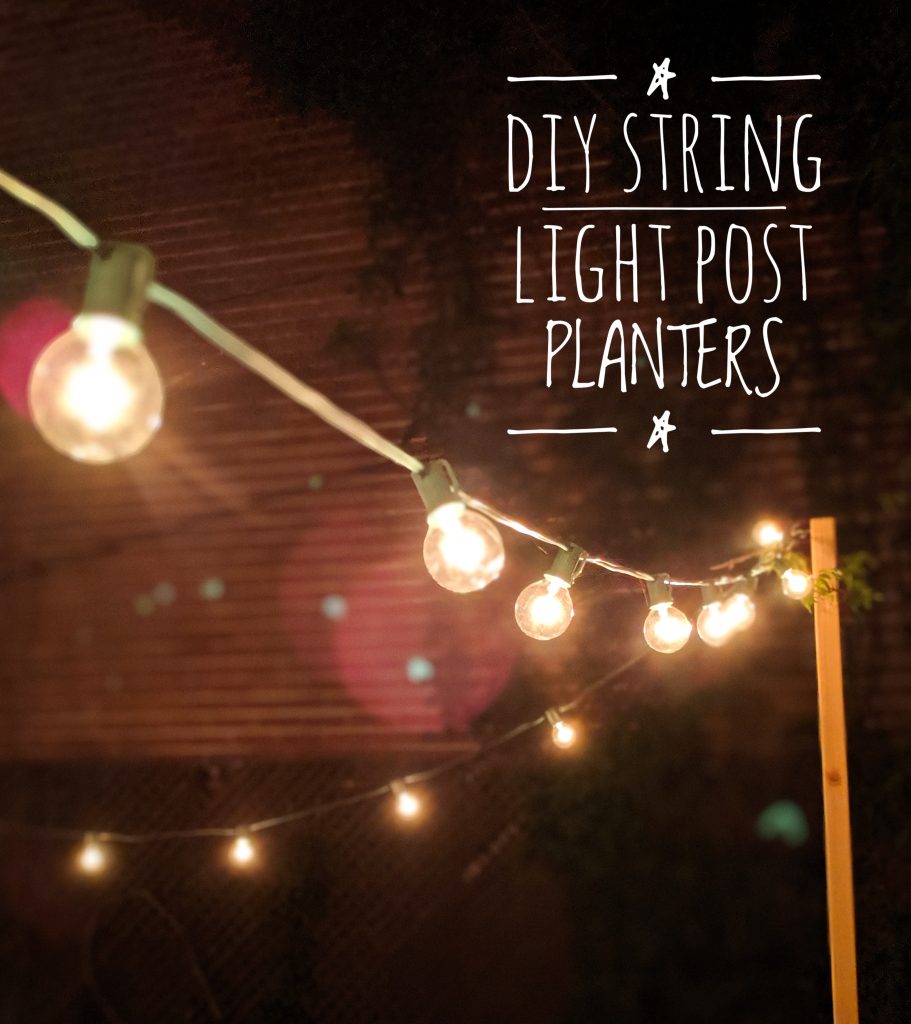
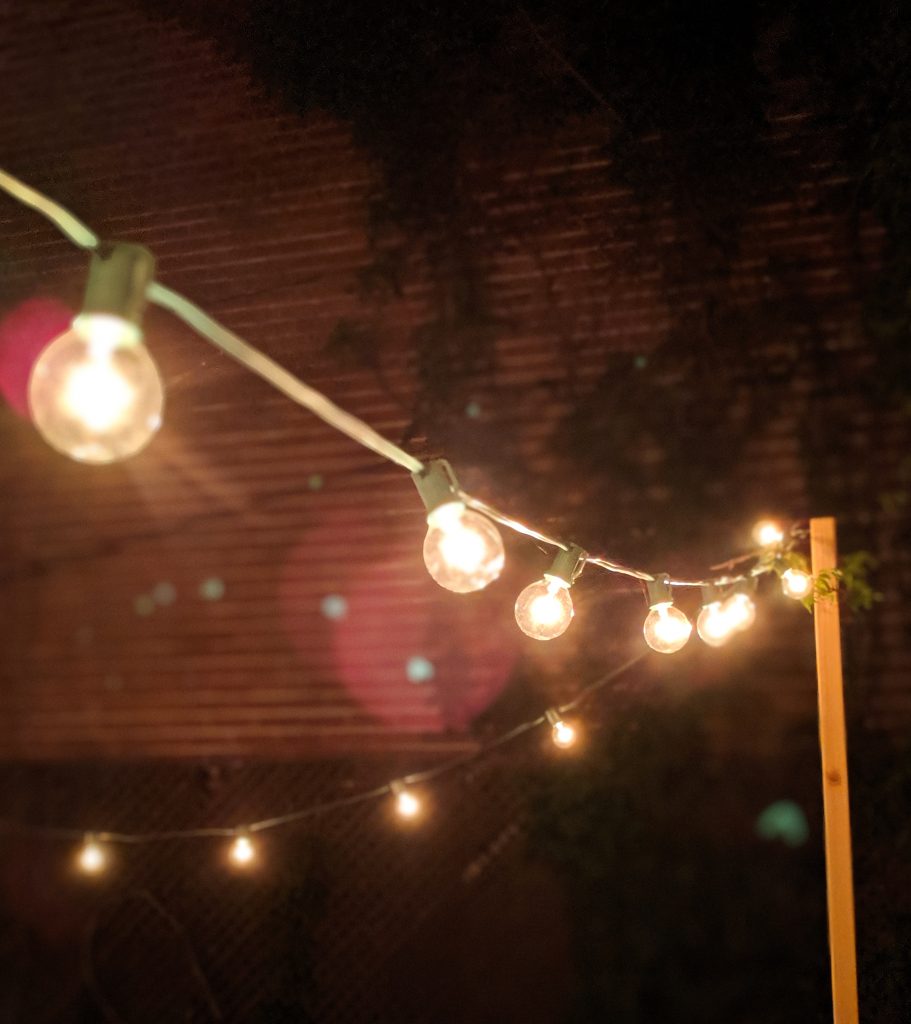
We have these beautiful incandescent globe lights that have been hanging off our fence and gazebo for the past couple of years and I’ve been trying to figure out how to extend the light show to our little makeshift deck nearer the house. I didn’t really want to drill into the house bricks themselves and we have nothing in terms of walls or railings to really attach anything to.
I had been hemming and hawing about trying to make planter posts to go on the deck for about a year or so, and this season, I finally decided to try it. I wasn’t 100% sure it would work, but I’m super happy with the results! Here’s how to make your own planter posts to hang string lights off of:
Materials
-concrete mix
-four large planters/plant pots
-four 2×2 posts
-wood screws
-drill
-duct tape
-level
-four C hooks
-protective gear
1. Mix concrete
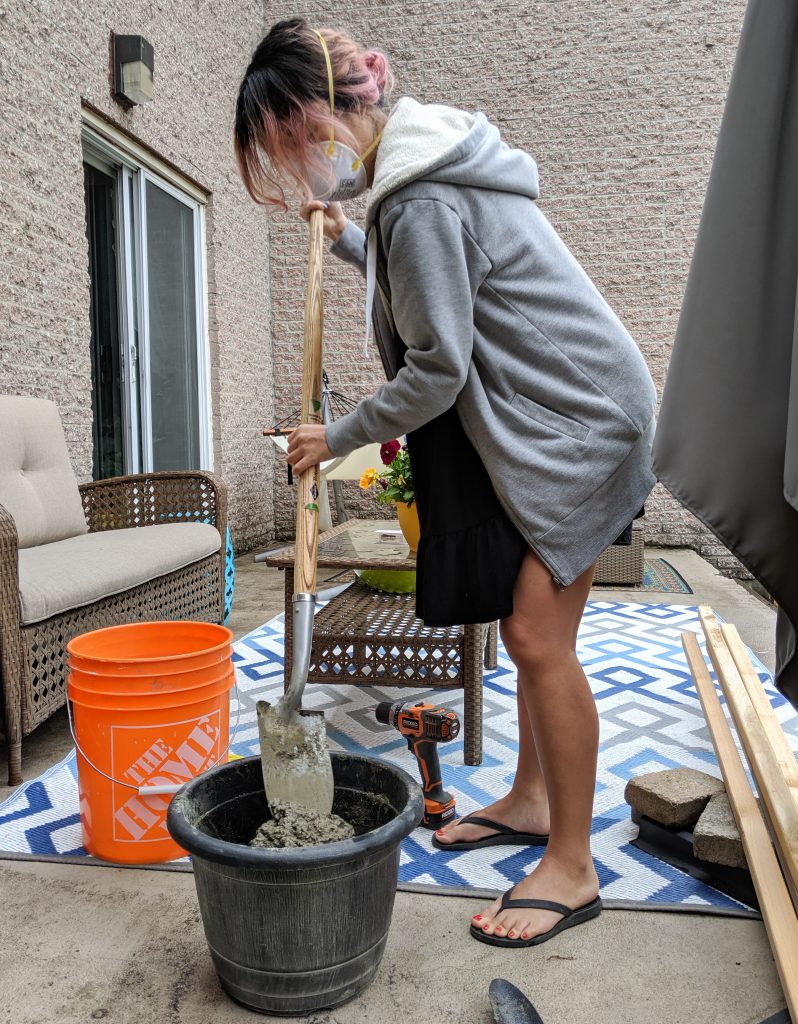
Mix concrete into your planters following the bag’s instructions. I recommend wearing at least breathing protection ’cause it gets pretty dusty. I probably should have also worn eye protection and gloves, but oh well!
Side note about the planters: the ones I got are made of plastic and full disclosure, while I think plastic is probably the way to go with this type of a project, you might want to look into getting a higher quality type of plastic than what I ended up with.
We have heard some possible cracks in some of the pots when we were trying to move them afterwards, so I’m not sure how long these will hold up. But I definitely don’t think a clay or a terra cotta would work either. Also, going bigger than I went is definitely better. The last thing you want is for the pots to topple over with a strong gust of wind and making it heavier (ie. putting more concrete in each planter) is the only real way to do this.
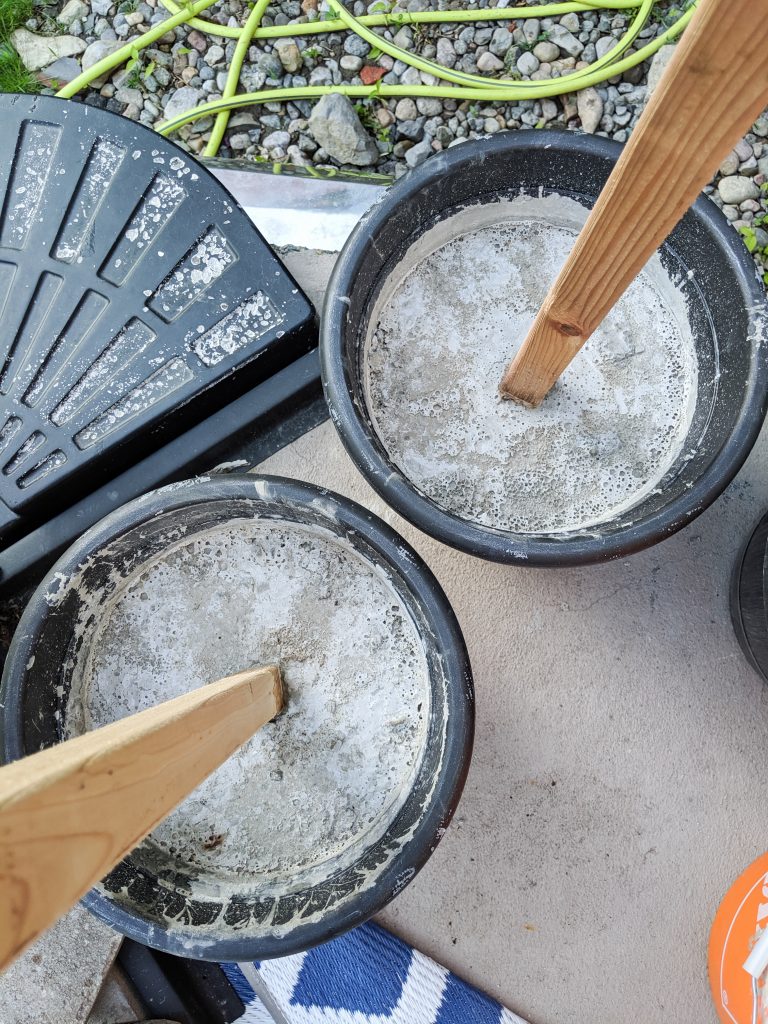
2. Insert posts into concrete

We ended up getting 8 feet tall 2x2s. I would have liked to go 10 feet, I think, but the size of planter I got limited our options for posts. To be honest, I don’t think 8 feet is that bad. Our deck surface is about 16 feet across and neither Kyler nor I are very tall so it works fine for us.
Before sticking your posts into the concrete, I think it’s a good idea to drill some woods screws in at the bottom to act as a kind of “root” system. We think it helped with making the posts more secured to the concrete after it set. I don’t know how much of a difference it made, but it doesn’t hurt!
3. Secure posts with duct tape
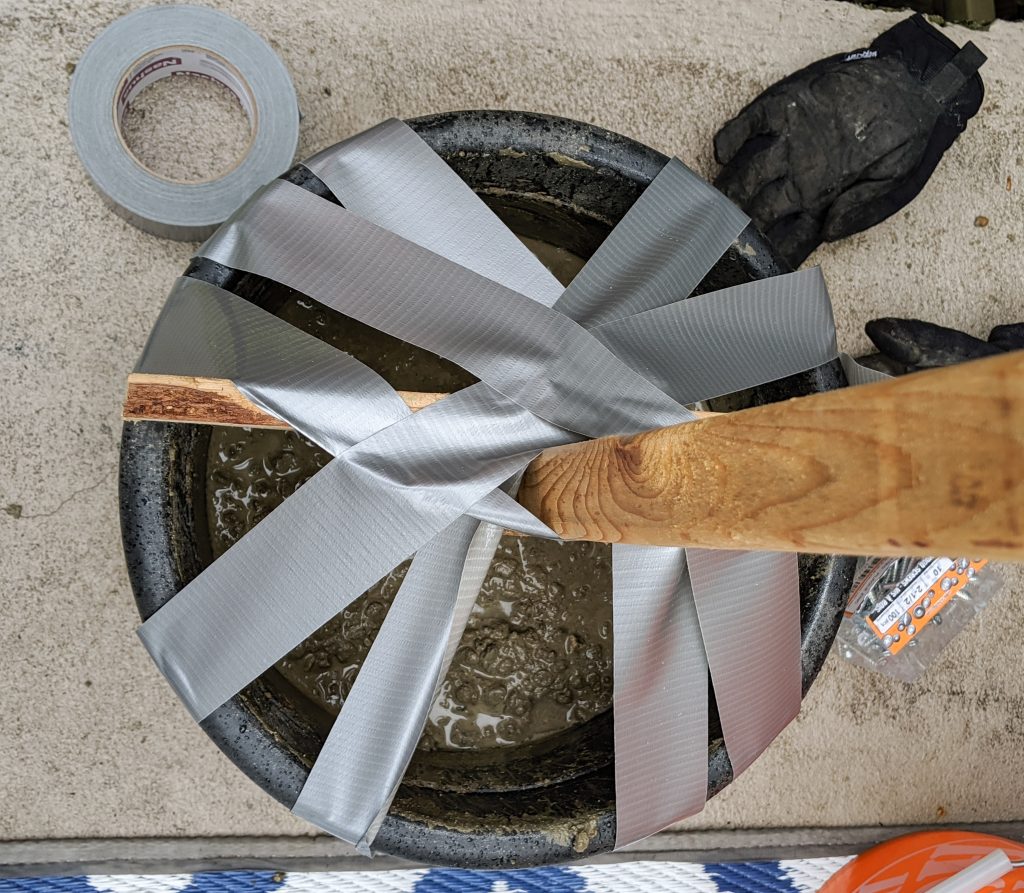
Once you get the posts as deep into the concrete as you can, secure it so it won’t shift or fall before the concrete sets. We tried drilling a plank of spare wood onto the first post to kind of balance it, but it did not do anything, so we ended up using a bunch of good ol’ fashioned duct tape. It worked great!

Be sure to check the level of the posts to make sure it’s resting in a truly upright position while you are duct taping. You don’t want it to set crookedly.
4. Attach hooks at the top
Once your concrete is full set, attach some C hooks to the tops. Start by drilling a hole, the same size or slightly smaller than the screw part of the hook and then manually screw on the hook so it ends up resting in a U shape when the post is standing upright.

5. Add finishing touches
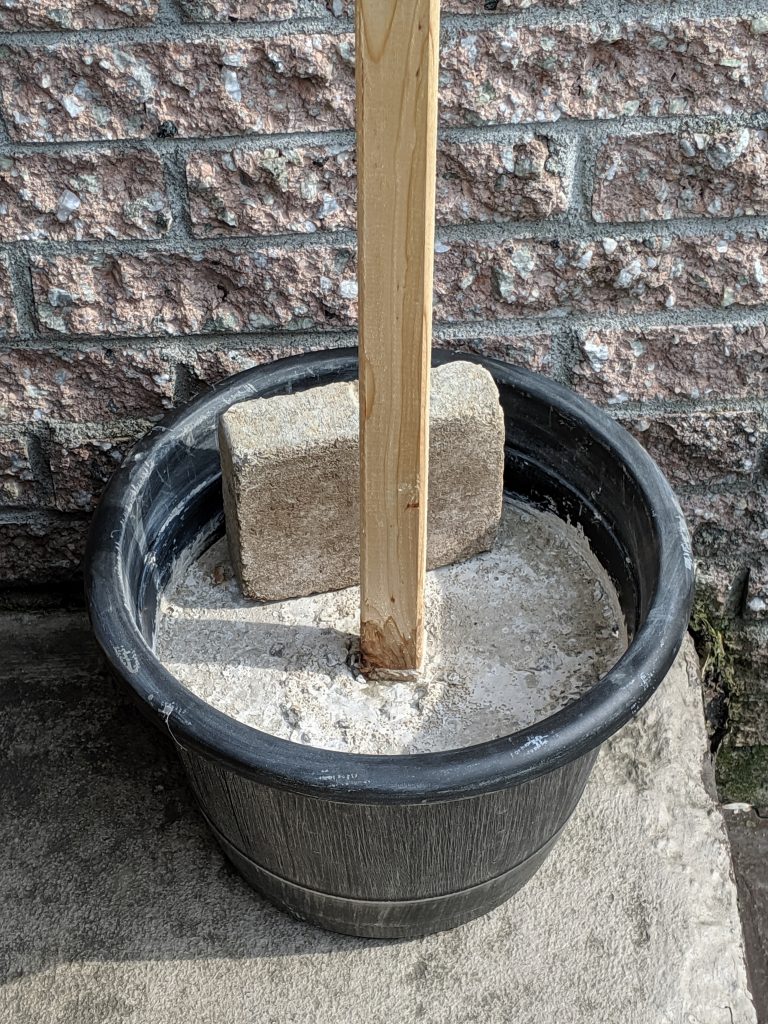
After the concrete had set, we discovered that the planters were not as heavy as we thought they’d be. We weren’t confident they wouldn’t topple over in a strong gust of wind, so we ended up adding some more weight to each pot in the form of these landscaping bricks we had lying around. They worked perfectly. We’ve had several super windy days and the planters all seem super secure.
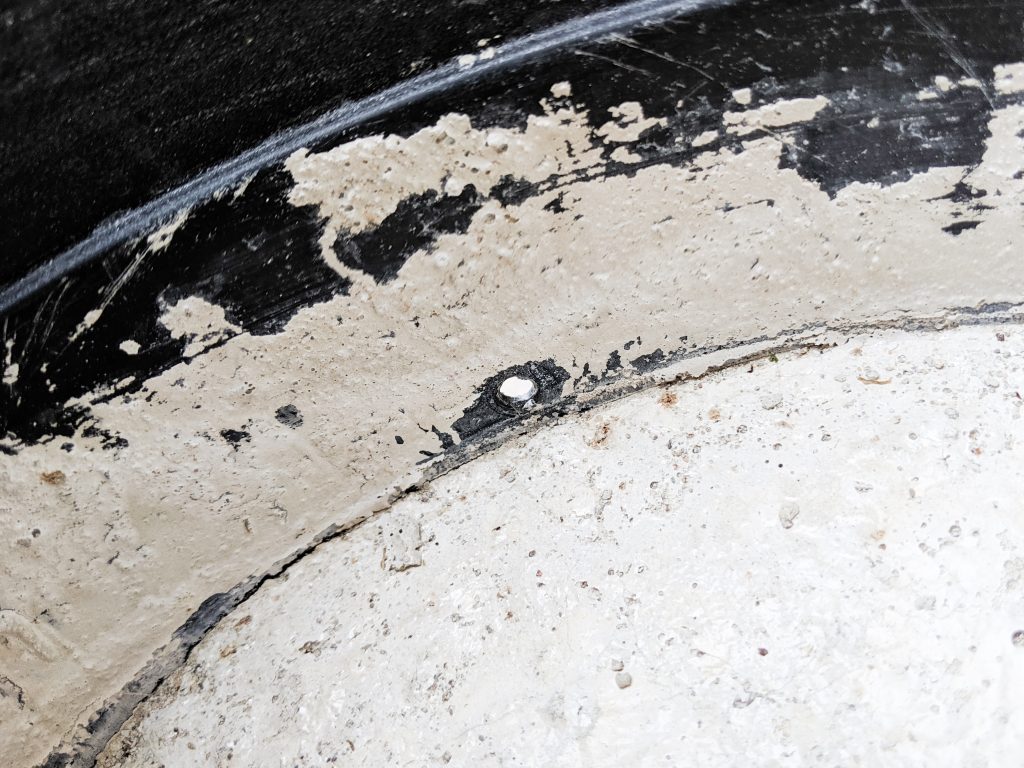
You should also drill some drainage holes into each planter, to keep water from pooling in the pots when it rains.
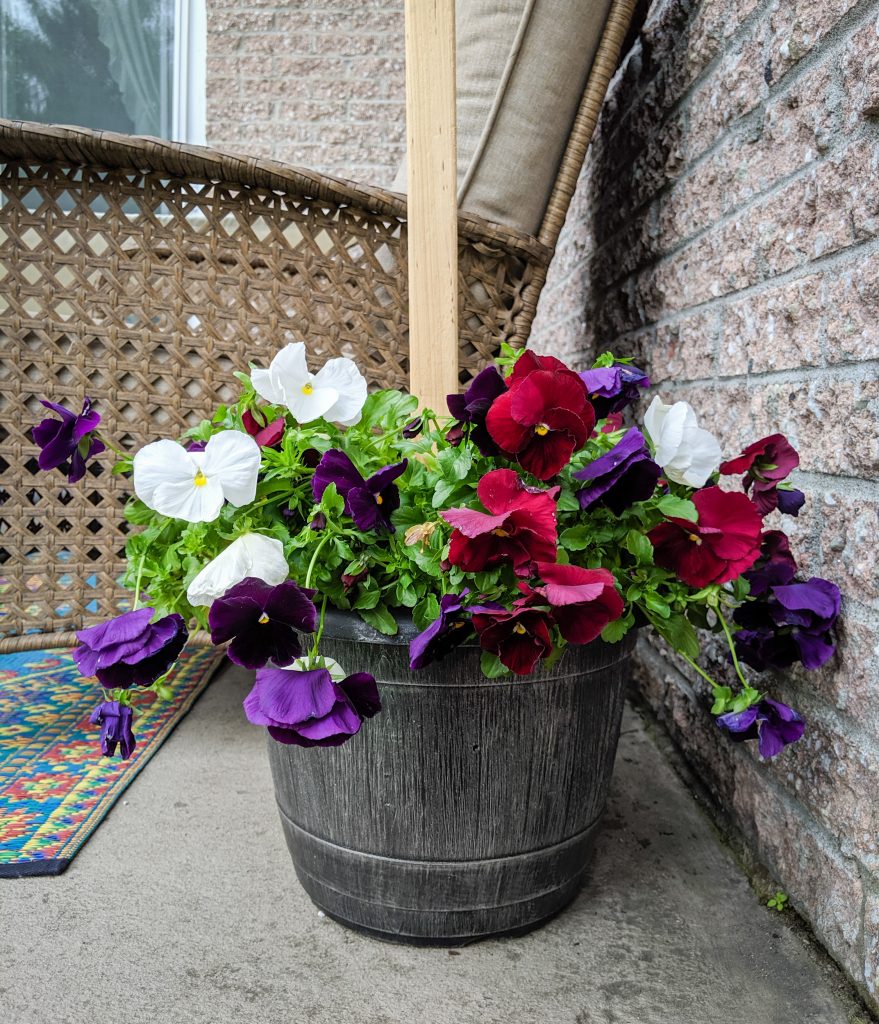
And finally, in order to hide the concrete and extra bricks, you can also add some nice flowers to the planters. After that, all you have to do is string on your lights and voila! You’ll have magical evening light all summer long!

I am super happy with how these planter posts turn out! It really exceeded my expectations.
xoxo
We are getting ready to do this but can’t decide between 2×2 and 4×4 How well has the 2×2 held up to warping?
It’s held up pretty well so far, but it’s only been a year. If I had to do it over, I would choose the 4×4, I think.
What size were the planters you used? I have some plastic ones as well just trying to see if they are similar size to yours.
They’re only about a foot. I recommend going bigger if you can. We ended up putting bricks inside the planter to add more weight to keep it sturdier. And still, if it gets windy, we kind of move them off to the side of the house to keep them from falling over. If I could do it over, I would probably go twice as big or more!