
Fun fact: we bought this tall dresser, I think 10 or 11 years ago! And it was secondhand for $13. I mean, you would think that after so much use, I got my money’s worth and can just say goodbye to it now that I want a storage upgrade in our bedroom, but I have very specific design ideas and until that perfect dresser comes along, this one will just have to do!
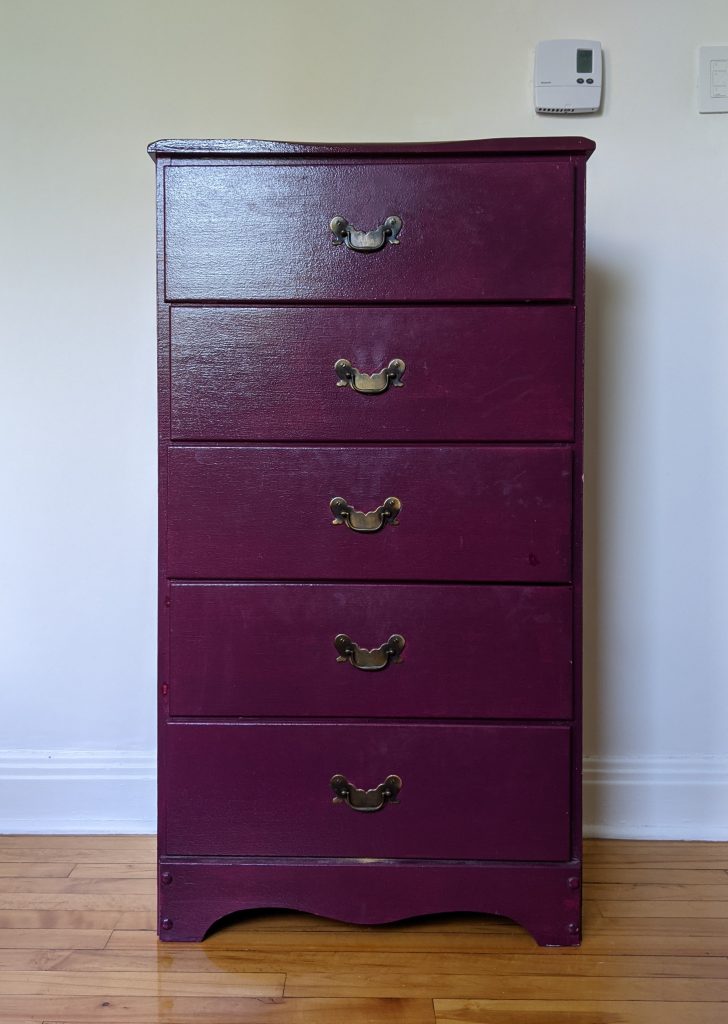
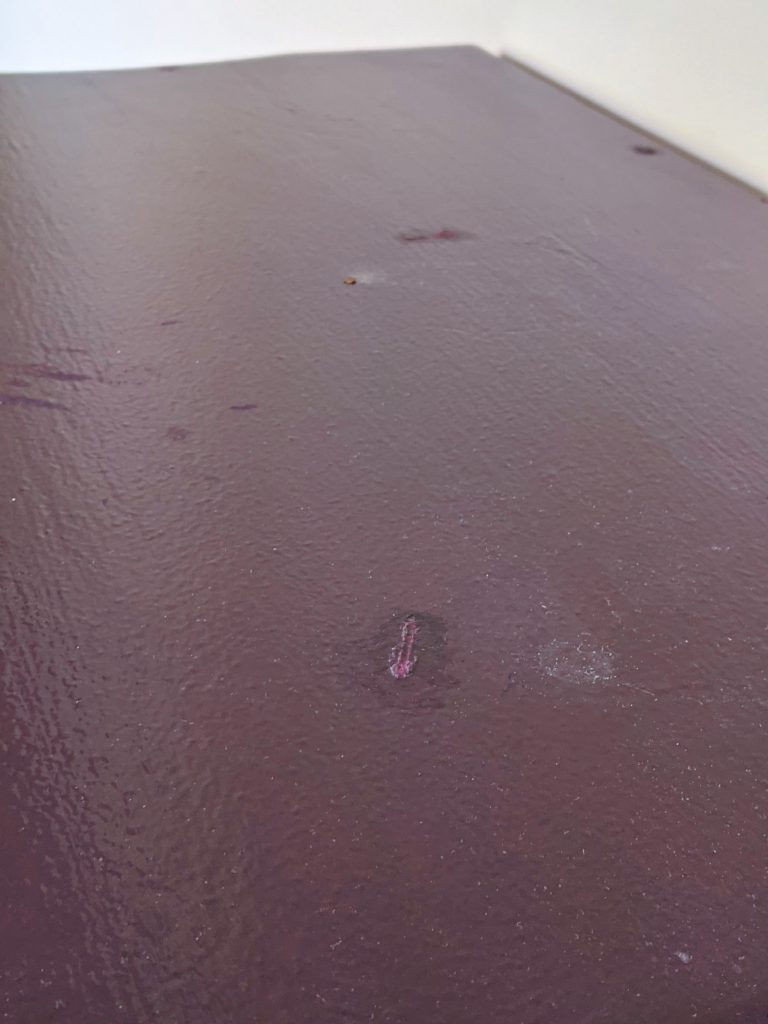
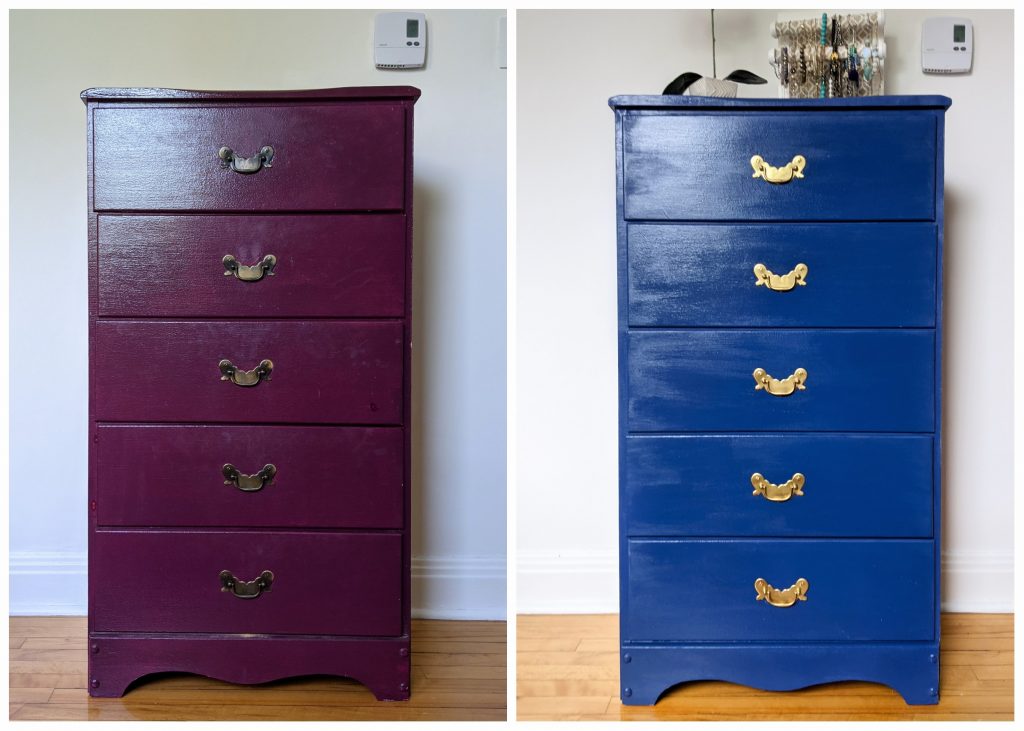
Upon first glance, there wasn’t much wrong with this dresser. It’s a perfectly fine piece of furniture. Maybe the colour wasn’t for everyone, but you could easily repaint it. When you took a closer look though, you could kind of see…whoever painted this thing purple didn’t really do a great job! There was a lot of patchiness and imperfections in the paint job.
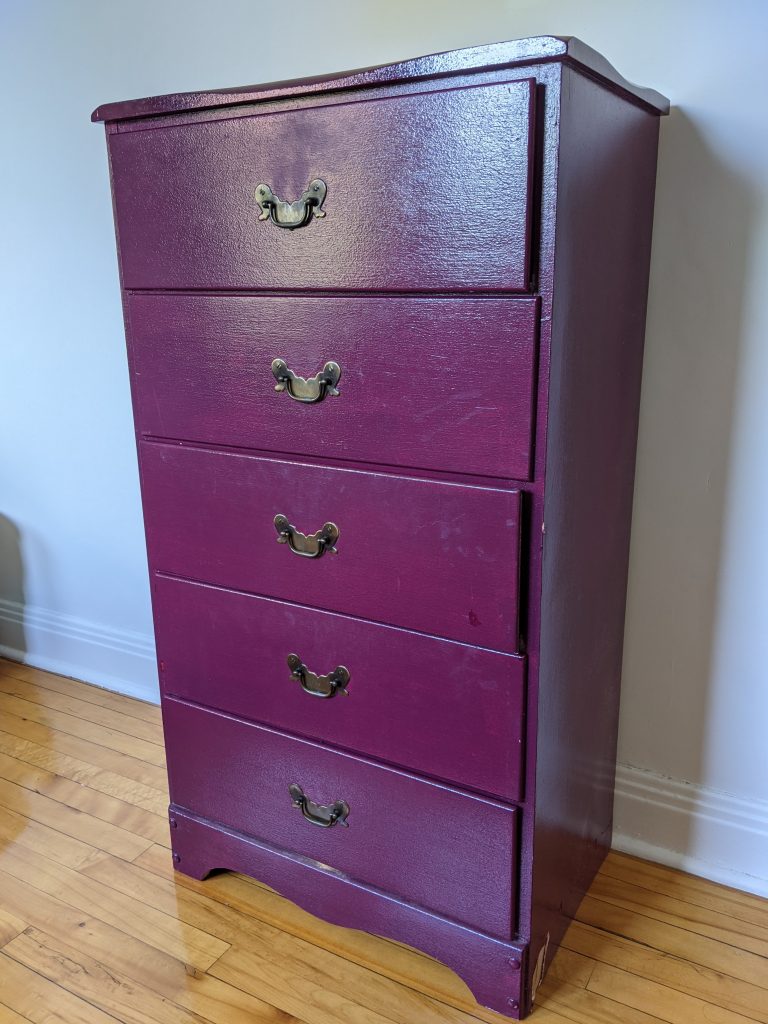
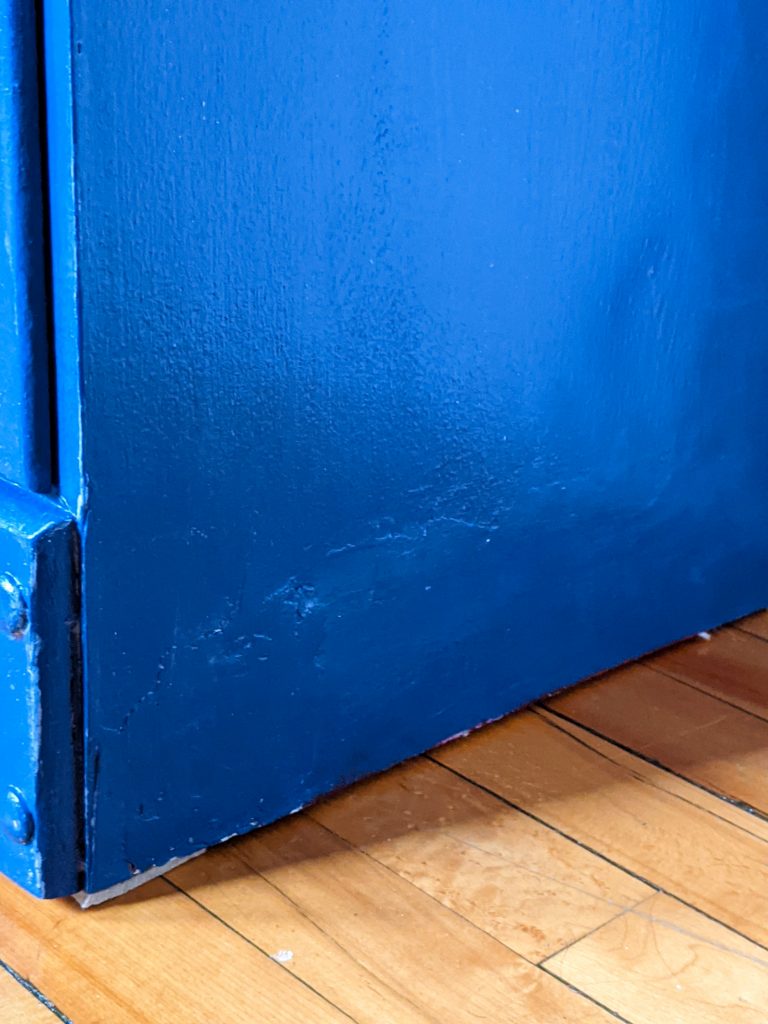
And not only that, there was a GIANT crack all the way across one side of the dresser!

And at some point recently, I accidentally kicked the corner and a whole piece of plywood broke off the corner from where the crack was the worst! WHOOPS.
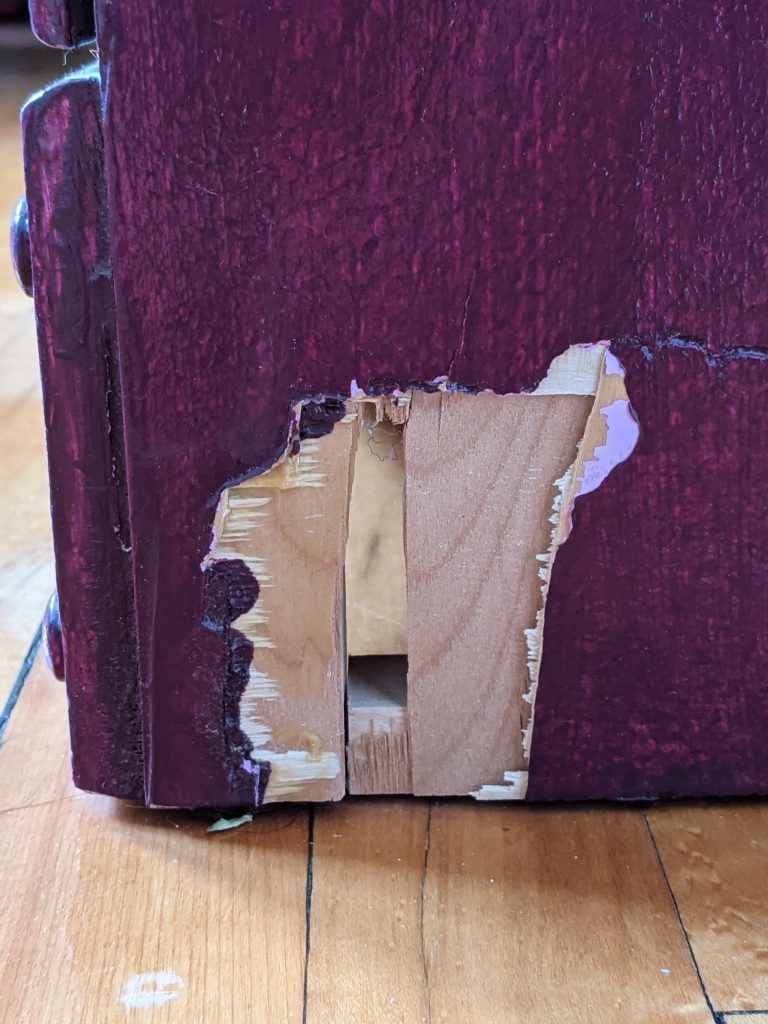
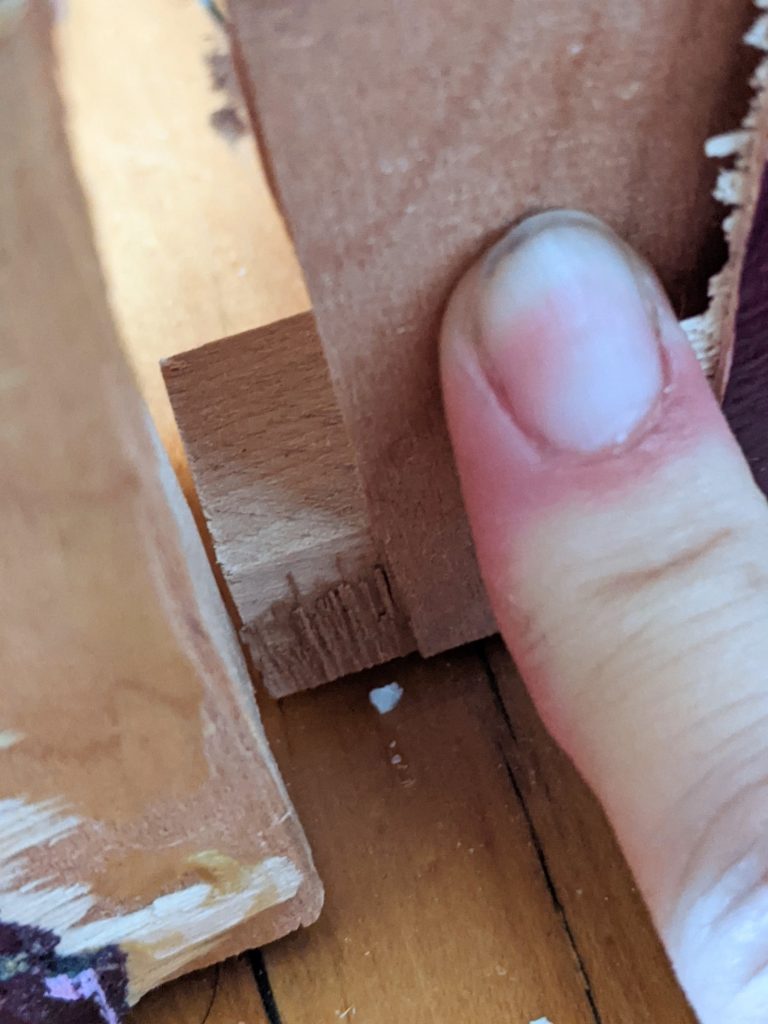
So now there was this gigantic hole at the bottom of the dresser that kind of revealed that the hole seemed like it would’ve been inevitable. The piece of wood going across at the very bottom of dresser WAS NOT attached to the front bottom panel. It was just a loose piece of wood. Like….what?

I really can’t tell if this was intentionally done, or if some other incident detached the pieces a long time ago. Anyway, there was a lot going on in our $13 dresser. And I was determined to fix it and make the whole thing good as new!
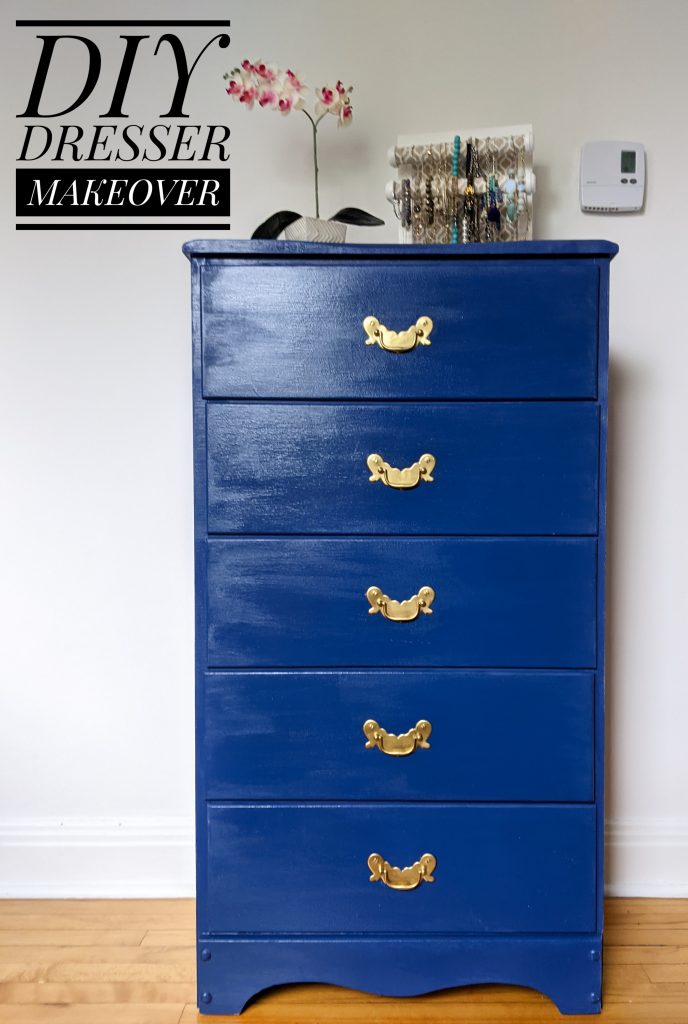
Not to toot my own horn, but I think I did a pretty good job! It looks so much better now. And regarding the enormous crack and hole, while it’s not exactly good as new, I think I did the $13 dresser justice with the end result. It was $13, guys. Did I mention it was $13?
Materials
- wood glue
- wood filler
- spackling paste
- putty knife
- sheet sander
- low-grit sandpaper
- spray paint
- chalk paint
- polyurethane top coat
- latex gloves
- paint roller with foam roller
- paintbrush
- eye protection
- ear protection
- mask
- wood glue
- screwdriver
- cleaning/mess containing supplies (Q-tips, cardboard, paper towel etc.)
Repair Holes and Cracks
I need to start this off by telling you, THIS IS NOT HOW YOU SHOULD FIX HOLES AND CRACKS IN WOODEN FURNITURE. There are much better/proper methods that should be used for furniture you actually care about. But guys…$13. I did not wanna research or go to a store. I really just wanted to use stuff I already had.
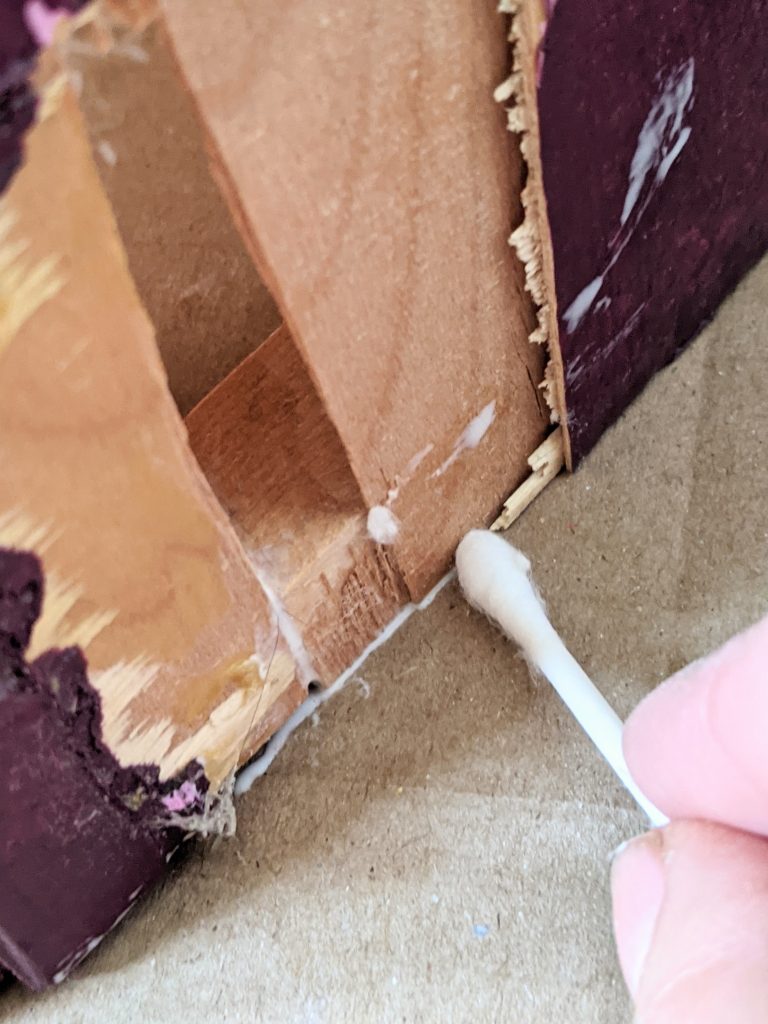
So I started off by liberally applying Gorilla Wood Glue to the loose piece of wood to glue it back into place. Once again, not sure this is the best way to reattach loose wood on furniture.
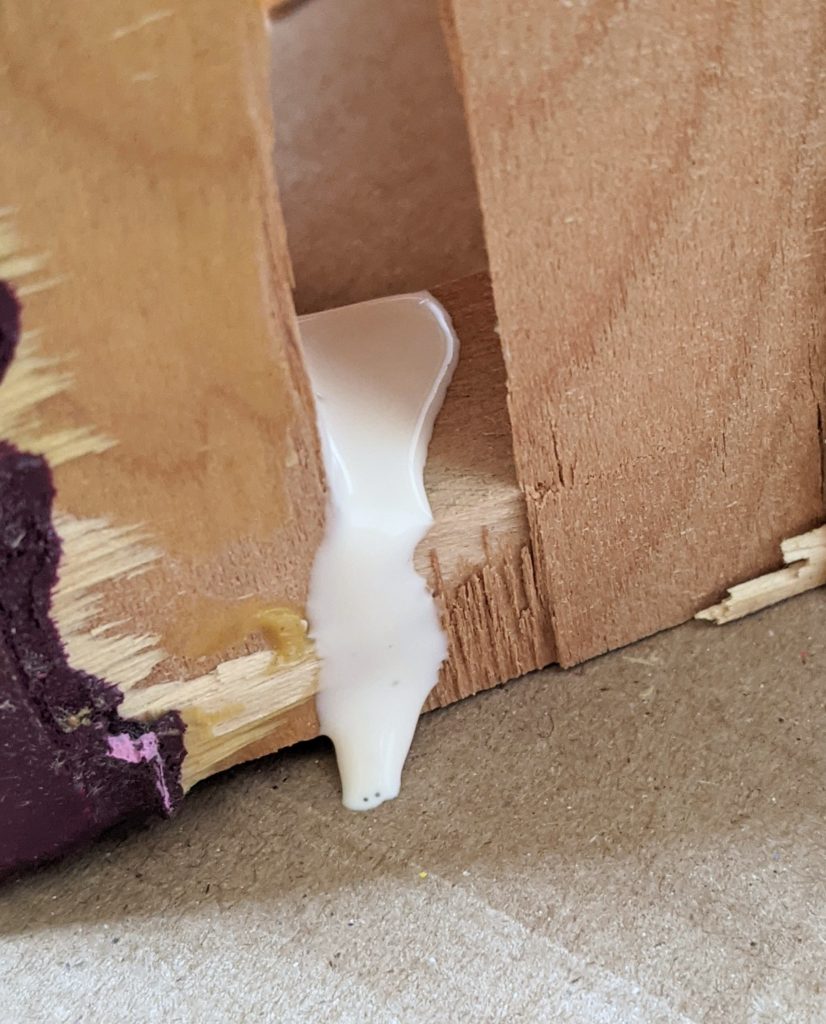
If you do as I do and not as I say, make sure you clean off the excess ASAP, ’cause it gets pretty messy. I also slid a piece of cardboard underneath to catch some of the mess.
Once the glue dried, I cut up some cardboard and taped it to the inside of the dresser to act as a solid backing for the hole.
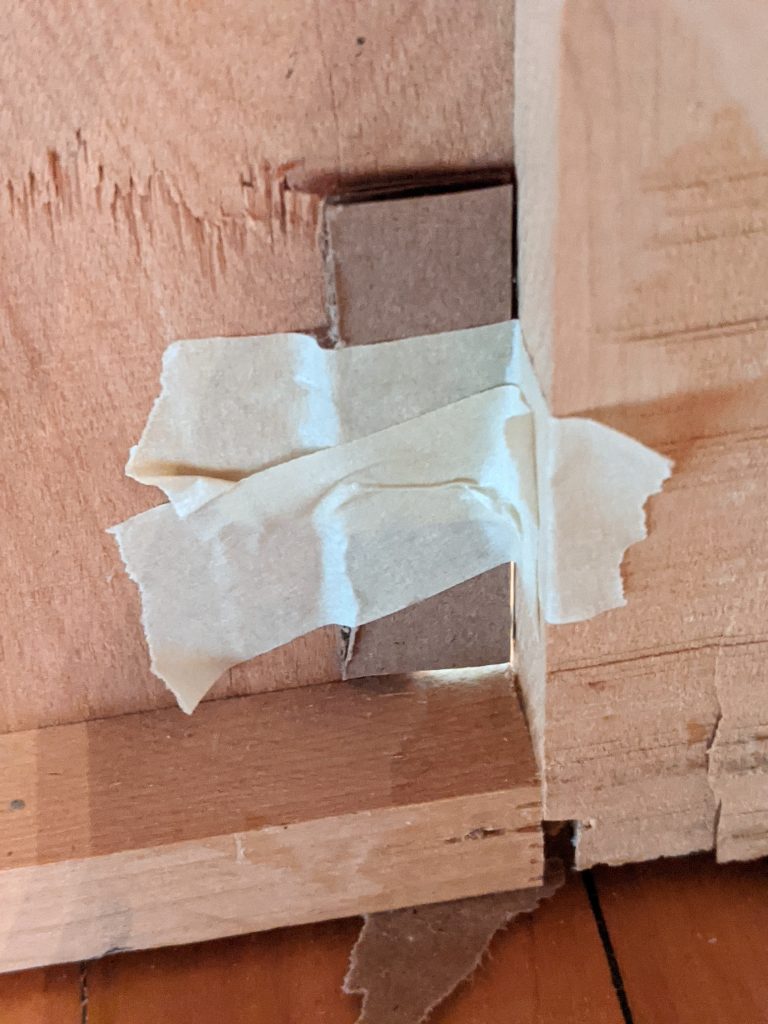
It doesn’t have to be perfect, it’ll just be easier to do the next part if there’s not a huge, gaping hole in the wood.

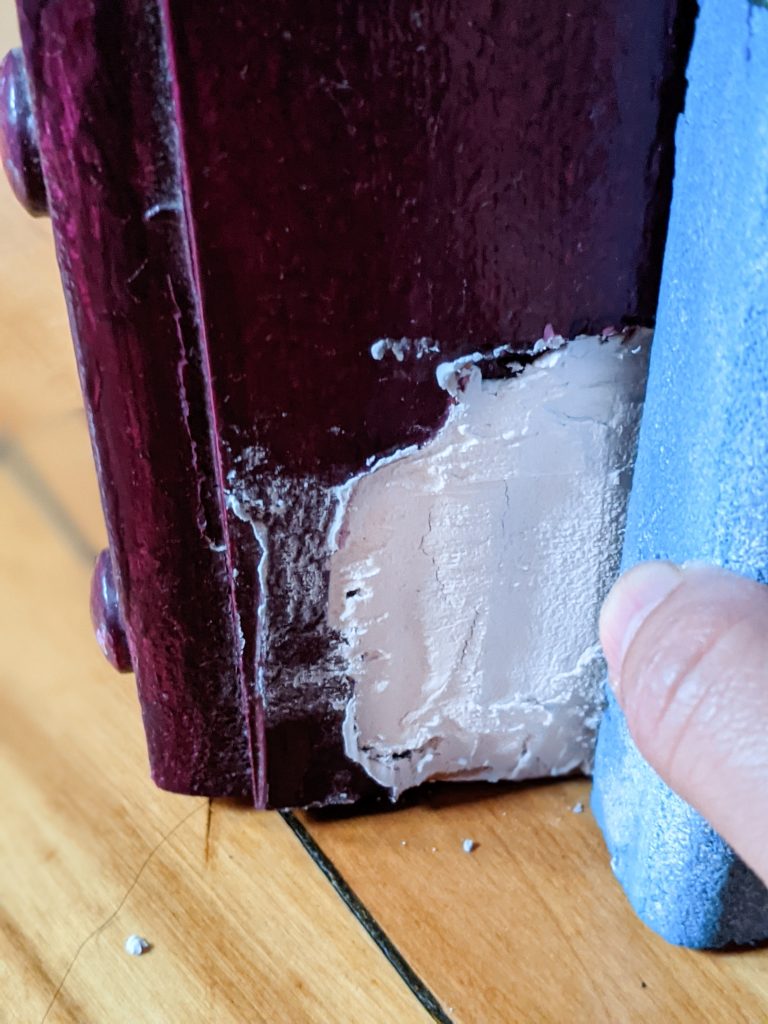
I basically filled the entire missing plywood portion of the dresser with Elmer Carpenter’s Tinted Wood Filler. I just wanted to literally, physically fill the hole and make all the levels of wood as even as possible. It doesn’t have to be perfectly smooth, this is just the first step.
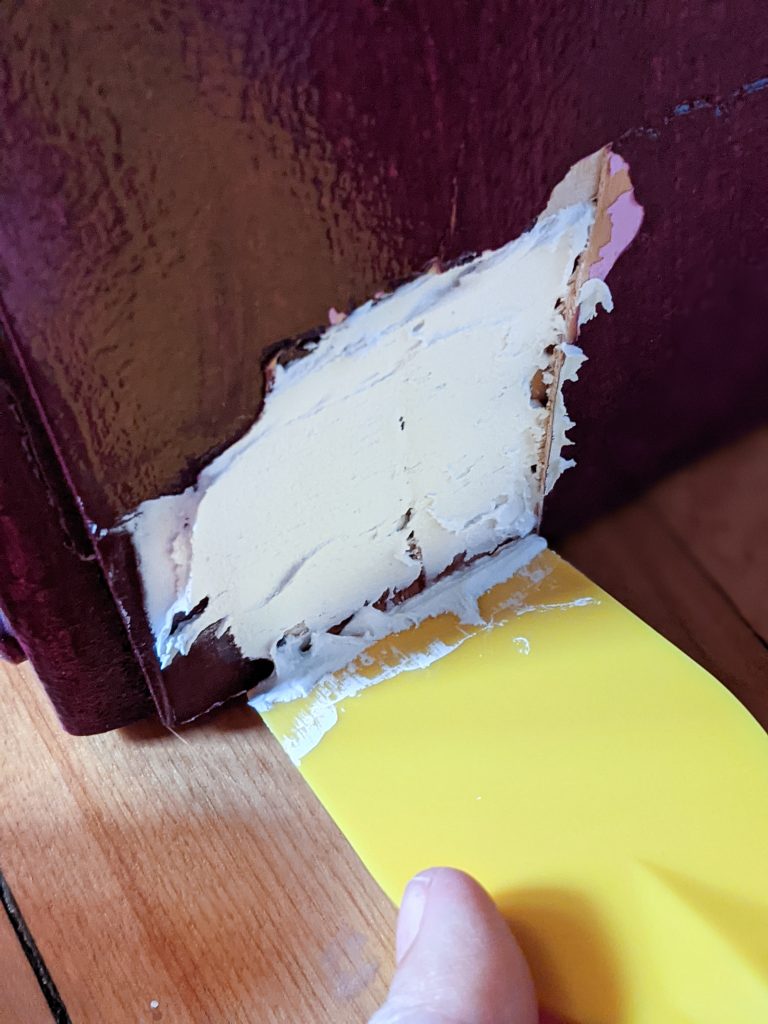
Once the wood filler dries, you can apply spackling paste to the crack AND the hole to more finely fill and level everything out. I used LePage Poly Filla.
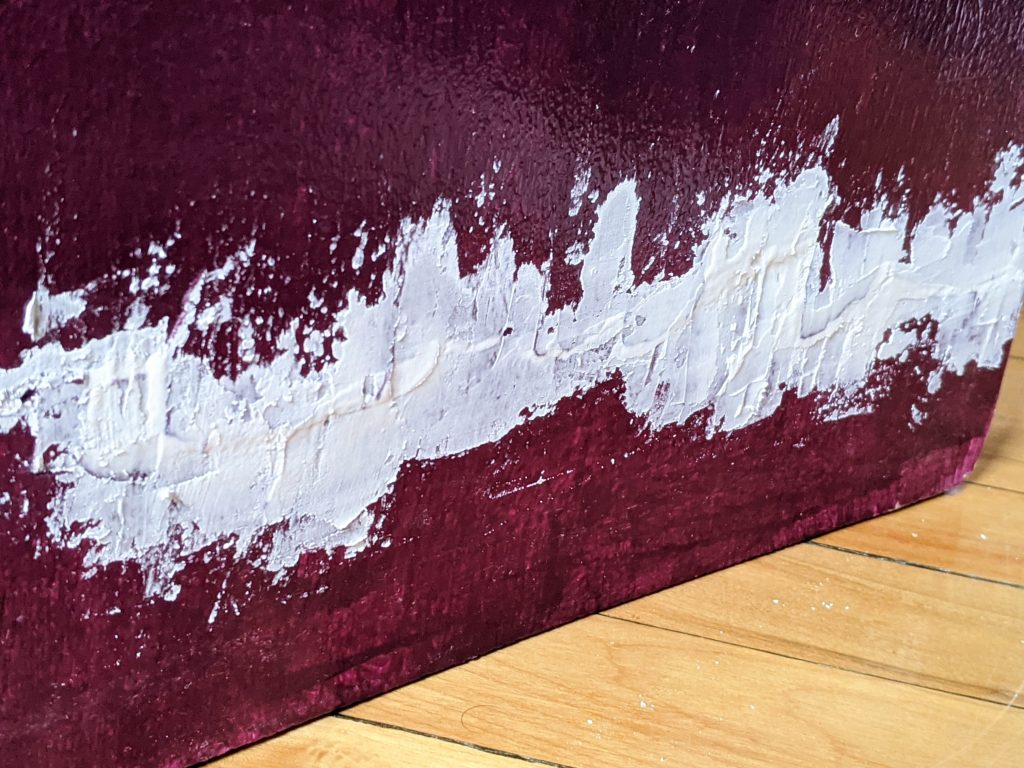

Once the spackling paste dries, you should sand everything down until it’s level and smooth. You might have to apply the paste and sand several more times to really fill and smooth everything well. I think I did it three or four times before I just shrugged and said, “eh, good enough!”
Refinish the Dresser
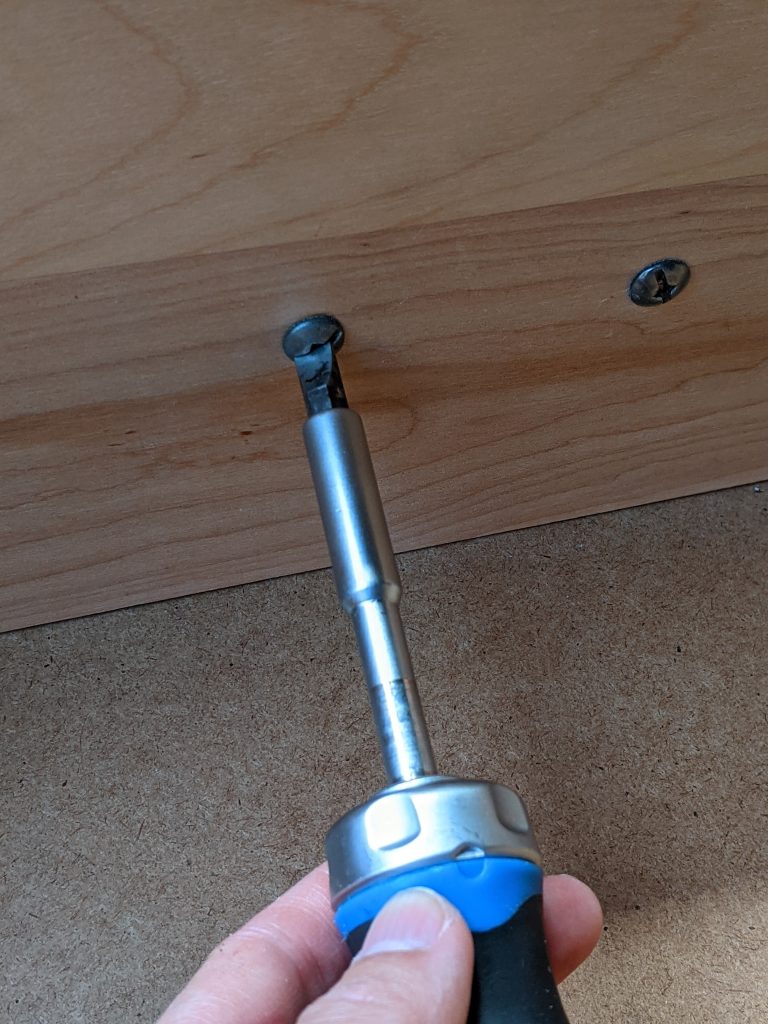
Start by removing the drawers and taking off all the hardware.
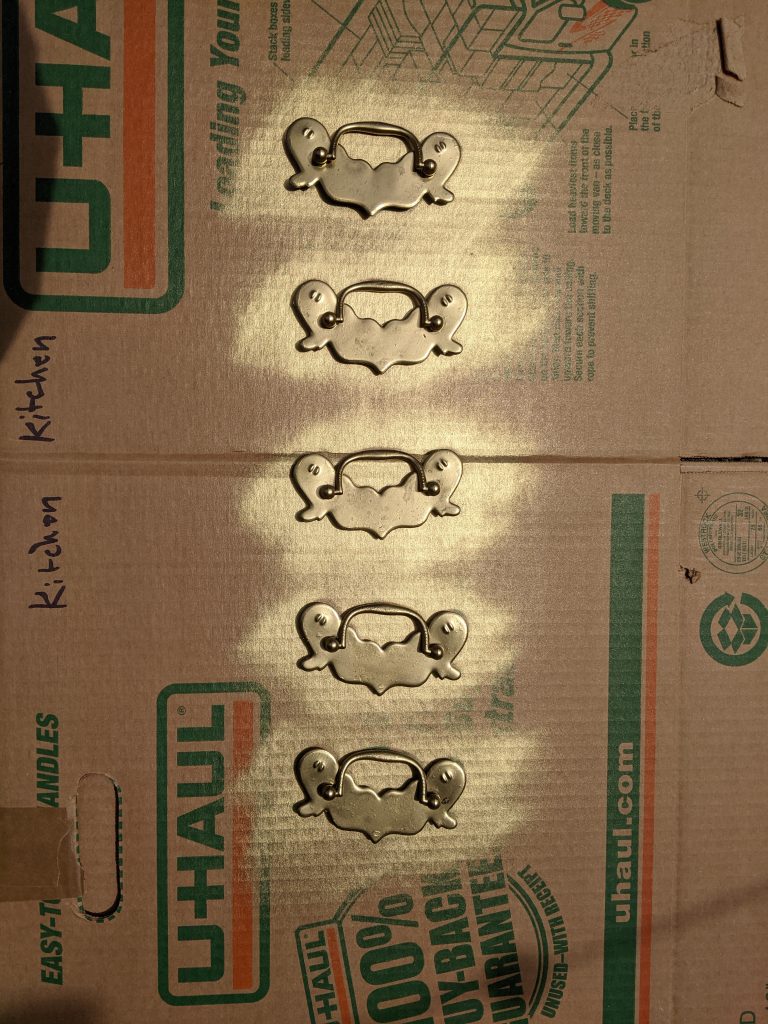
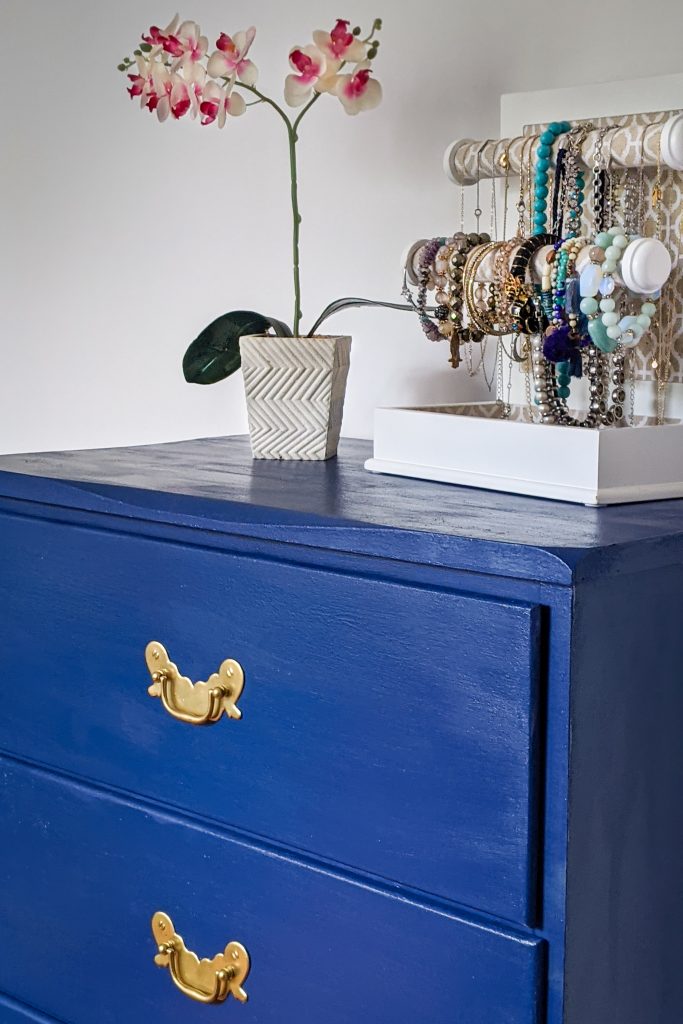
I spray painted the handles gold because I just think gold and blue look so good together. I definitely wanted to liven up the original dull bronze finish. I used my favourite gold spray paint that I used for everything: Design Master Premium Metals Thick Metallic Finish in 231 Gold Medal.
Then, using a low-grit sandpaper, I sanded as much of the finish off the original paint as I could. It was hard because of how grainy and dimpled the wood was. There were lots of grooves and pits that I couldn’t get the sheet sander in. But the important thing is getting as much of the sheen off as possible, so the new paint can stick better.
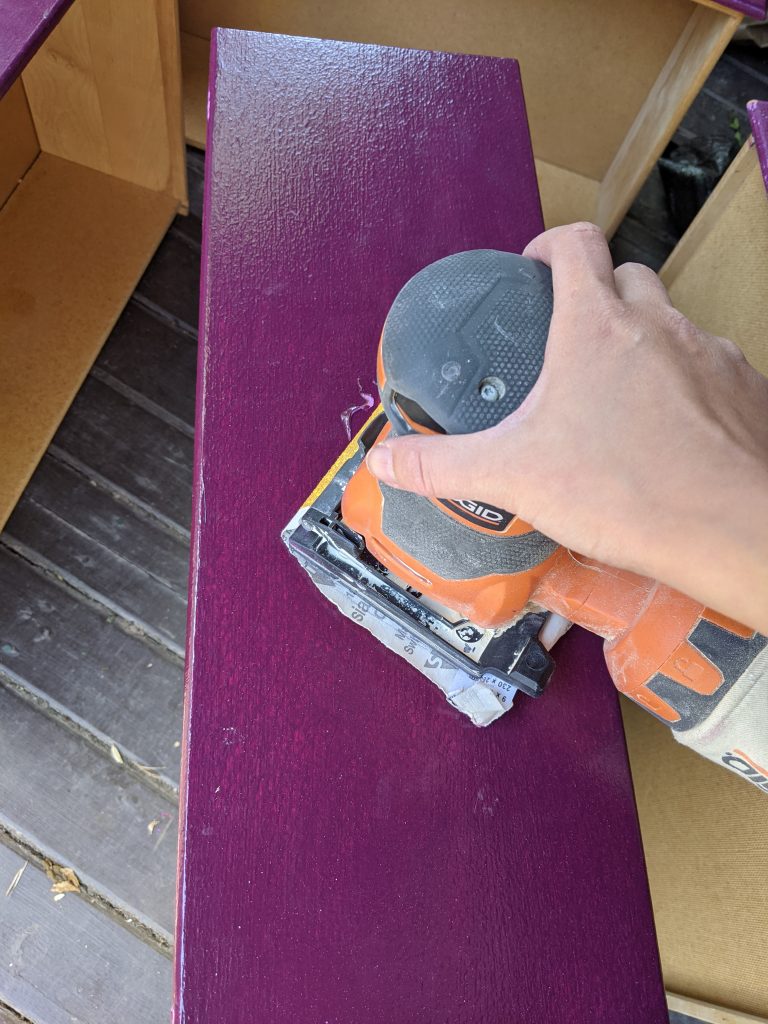
Be sure to wear a mask, eye protection and hearing protection if you use an electric sander! There was dust flying everywhere and my little handheld sander was SUPER loud.

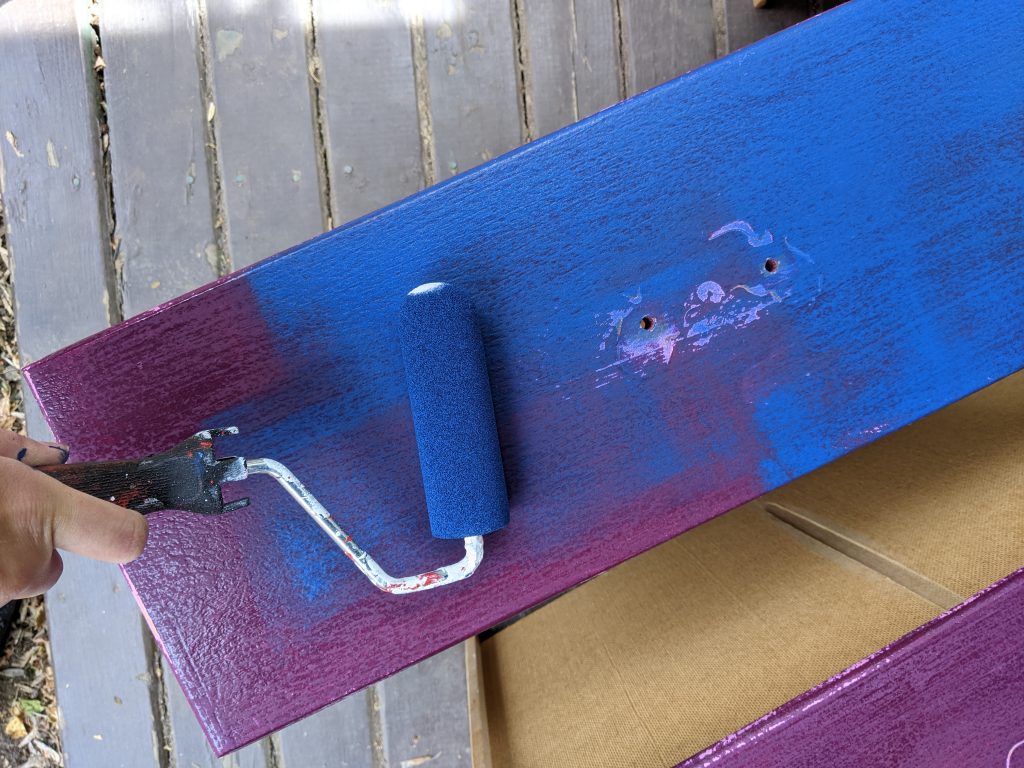
After I cleaned off the dust, it was time to paint! I used Folk Art Home Decor chalk paint in “Nautical” with a foam roller. I think I ended up doing three coats of paint since the original paint was so dark and saturated.
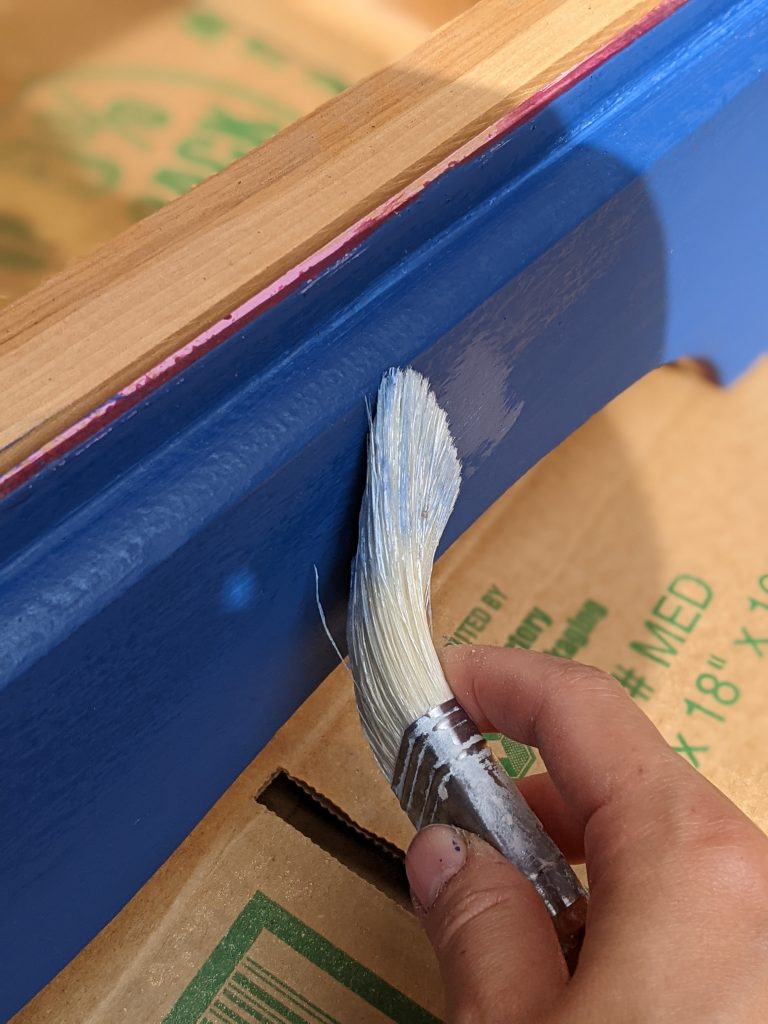
I then applied Delta Ceramcoat Varnish, Exterior & Interior Gloss as a top coat with a paint brush. This was the first time I tried using this product and I gotta say, I found it very difficult to work with. It might have been the brush I was using, but I did try out a couple of different brushes with the same result. I just found the finish to be extremely streaky. I ended up doing three coats of the top coat, which helped even out the streakiness, but I have to say, the final finish is not what I would’ve hoped.
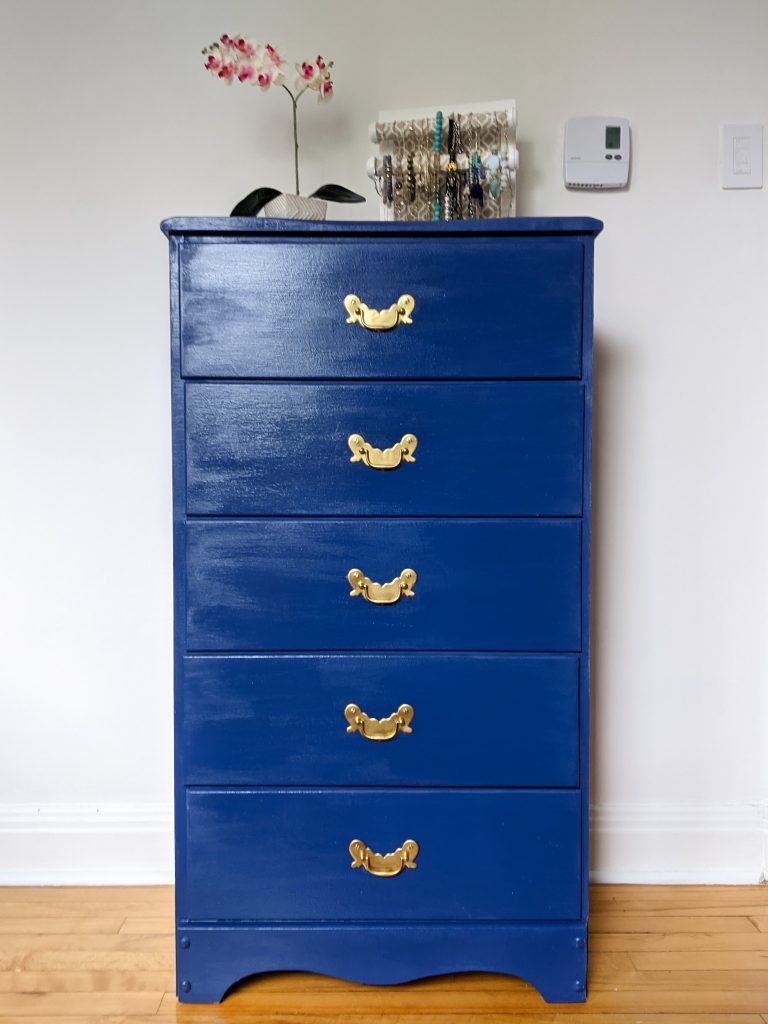
But considering where we started, I do think our $13 dresser looks like a million bucks in the end!
And if you’re wondering how the crack and hole ended up looking…It’s still noticeable, but definitely much less of an eyesore.
Honestly, if I had just done more spackling and sanding and spackling and sanding, I think I could have gotten it more flat and level, but I have been so crazy busy the past two months, just the fact that I could do this at all, AND take pictures, AND write up a blog post is good enough for me!

Consider this post a part 1 of our major master bedroom remodel (blog post to come!) Let me just say, this was the first time I ever had to design on a deadline, and boy was it tough!
Stay tuned for the whole long story…
xoxo