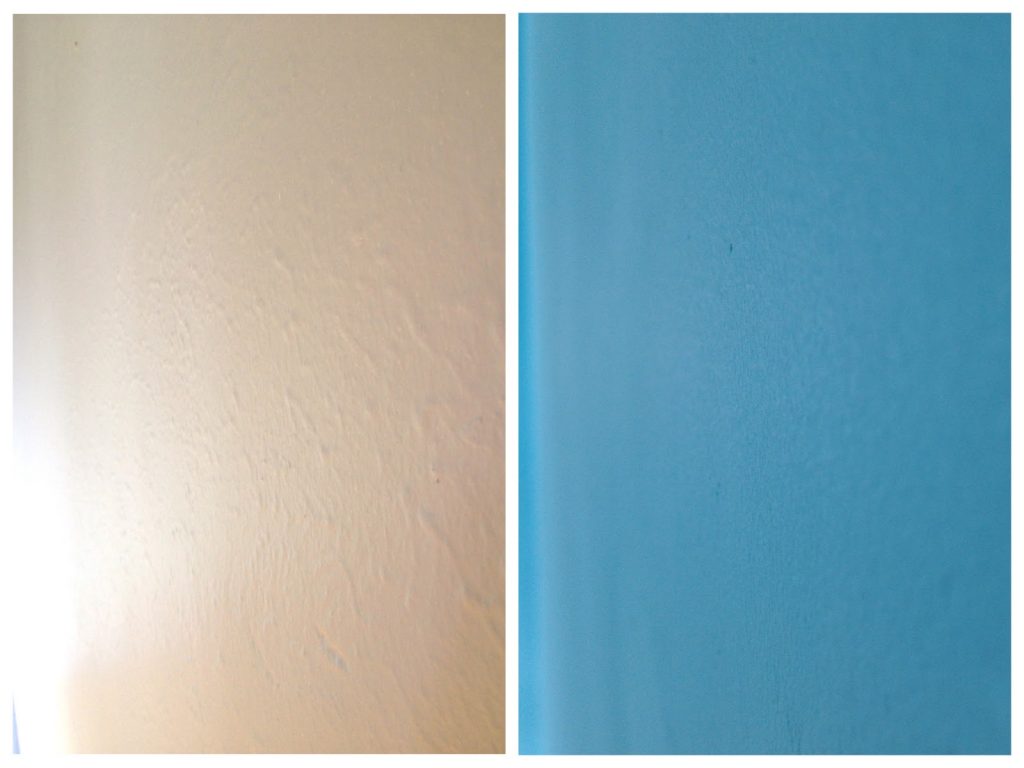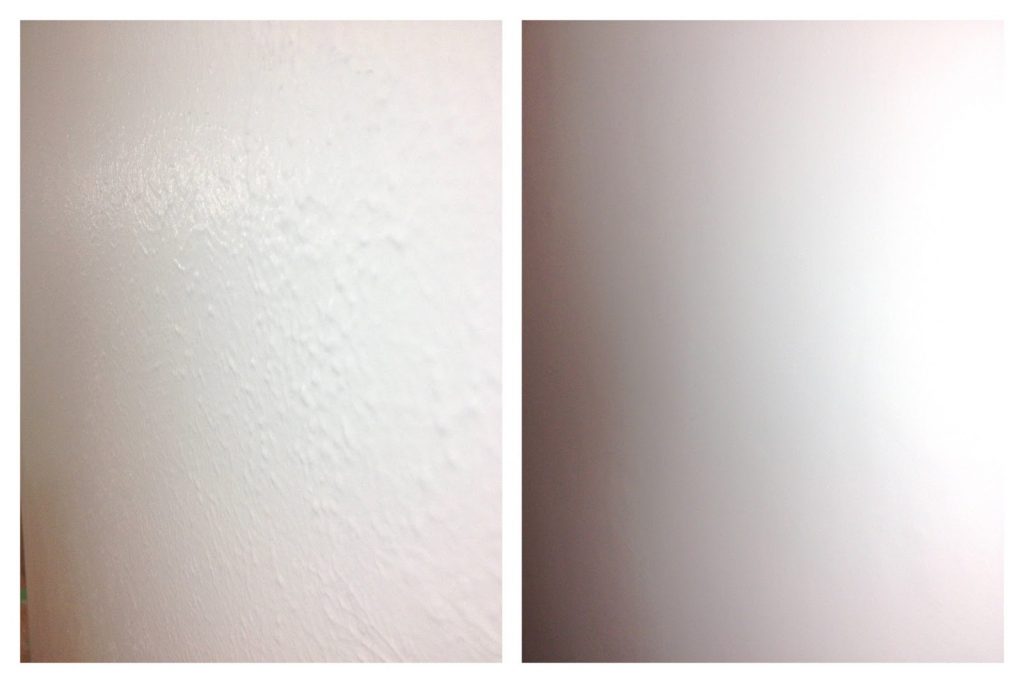
One of the first things we did when we moved into our lovely home was tackle our not-so-lovely second floor walls. For some reason (we seem to say that a lot about the people we bought the house from…) the sellers of the house wanted textured walls in the entire second floor. I’m talking heavily veiny, pimple walls. Yikes.

Needless to say, I hopped onto Google even before we moved in and did a ton of research on what we could do about this. The traditional way to get rid of textured walls is probably just sand it down to a smooth finish and paint over it. However, there is almost definitely lead in at least some of our paint since the house was built in 1944. Sanding the paint off would release particles into the air and sure, it might not be so bad, we could have gotten the paint tested to be sure, or we could have gotten professionals who know how to properly work with this type of situation, but we didn’t want the extra hassle or cost, and even thought it might be fun to tackle this project ourselves.
I’m warning you right now… It was fun for about a week. Then I got over it real fast and even suffered some shoulder injuries. Skim coating is no joke. It took us about two months to do three rooms, a hallway and the staircase, working almost every weekend, all day, and weekday evenings.
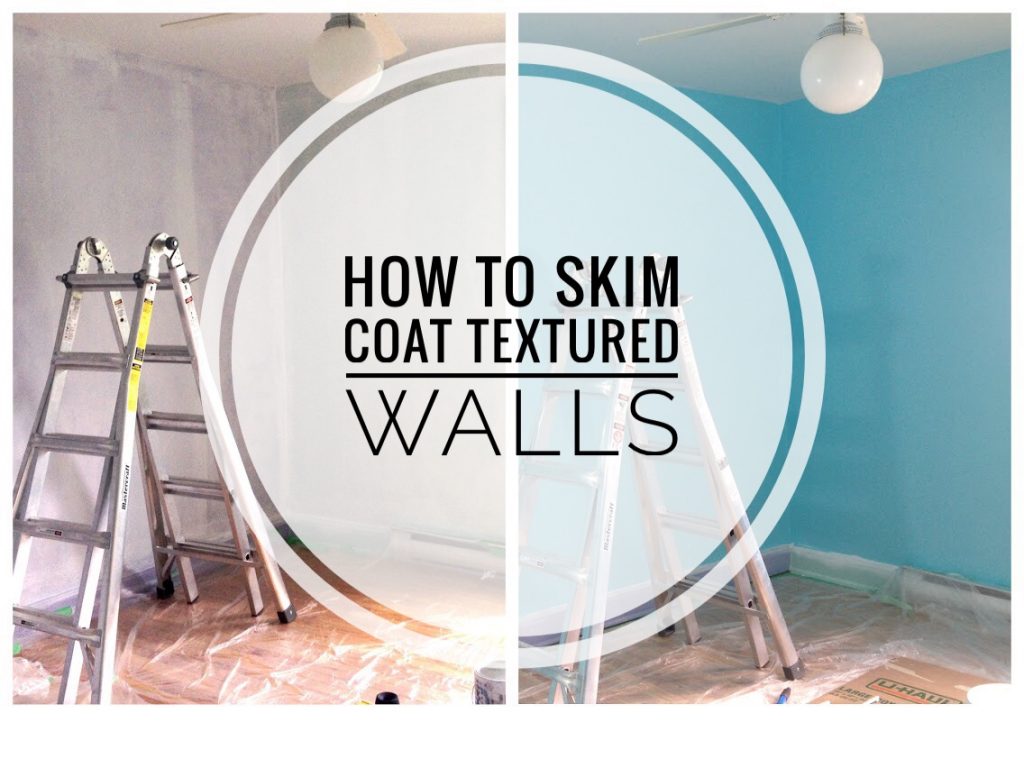
So here’s how we got rid of our textured walls by skim coating:
Materials
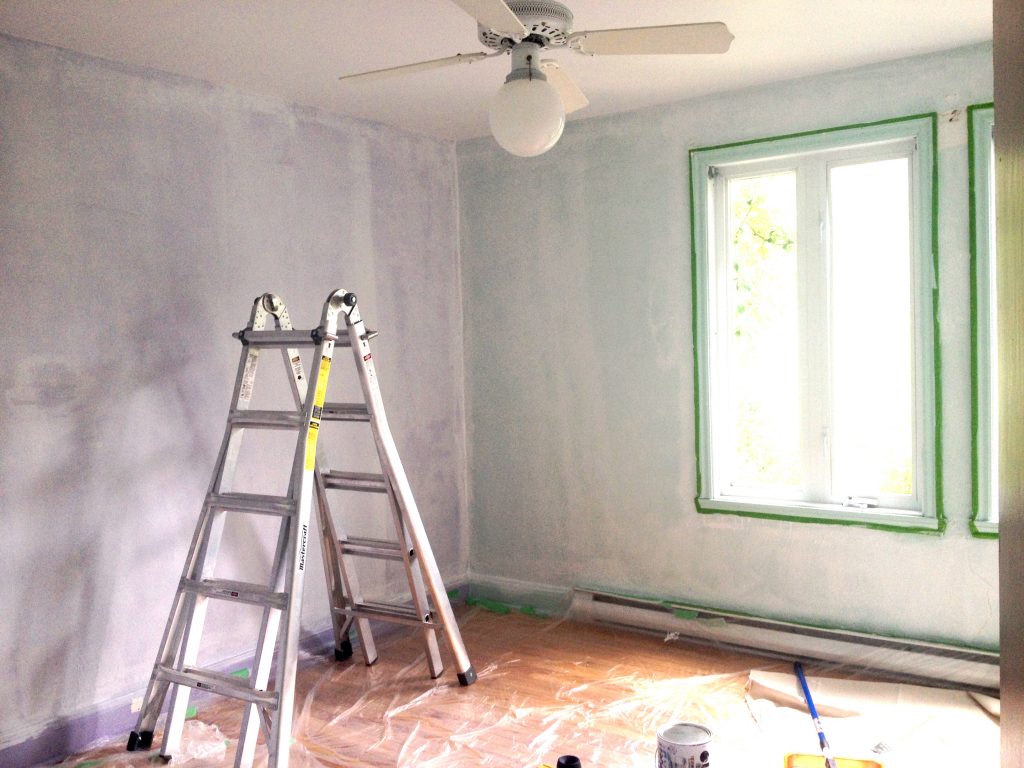
We laid down some plastic sheeting, tapping it against the edges of the room. We also tapped off the outlets and door/window frames. We then washed all the walls just to get any dirt or oils off (by the third room, the laziness set in and we stopped doing it and the results were pretty much the same).
We had to trial and error this a lot to get the right water to joint compound ratio. Basically, if it’s a little difficult to smooth onto the wall, it’s too thick. If it runs down the wall, there’s too much water. You’ll just have to adjust as you go to find what really works.
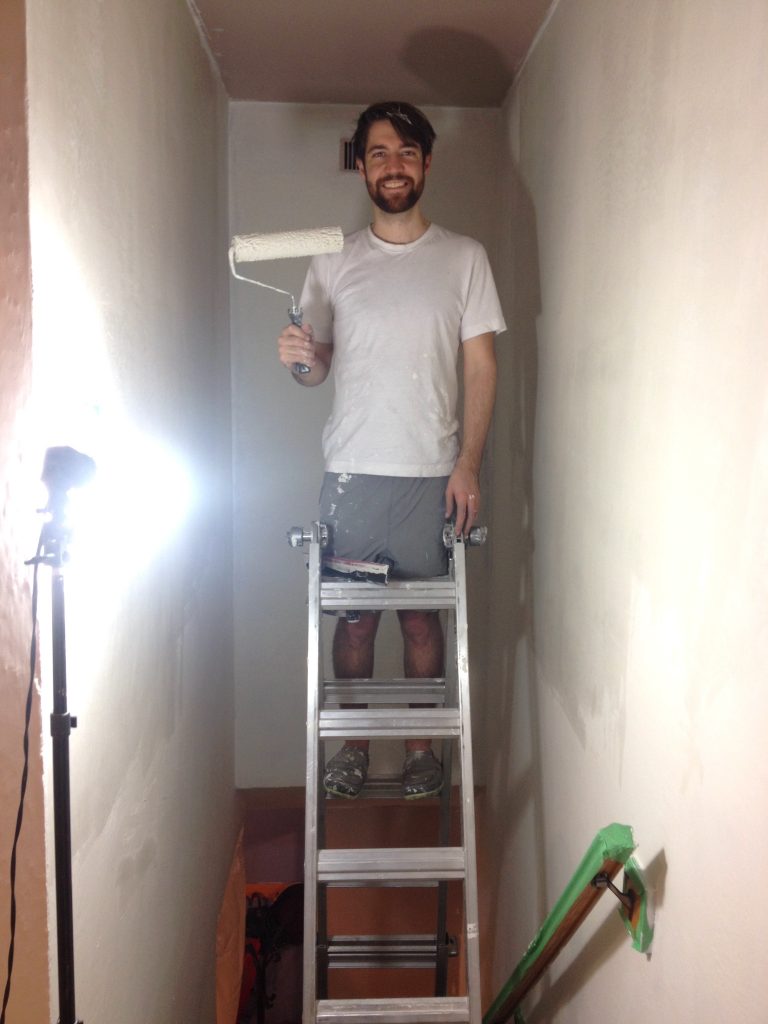
Here is where you could go straight in with some metal trowel action instead of rolling it onto the wall first, if you know what you’re doing and can get a smooth finish. We could not.

We ended up doing around three layers of joint compound in each room/area. In tighter spots, like around the door and window frames, we had to go in with a small metal trowel to deposit the joint compound and then smoothed it out with the rubber trowel.
You might want to sand in between layers (we didn’t bother), but definitely sand the very last layer before painting, to get rid of the lines and uneven parts left by the rubber trowel.
All that’s left once the walls have been smoothed down, is to prime and paint in your colour of choice. Because the walls still had a bit of texture in some areas, we went with a matte paint to help hide the few remaining imperfections. If your walls end up pretty much all smooth, definitely go with a semi-gloss or satin cause matte walls are a pain to clean!
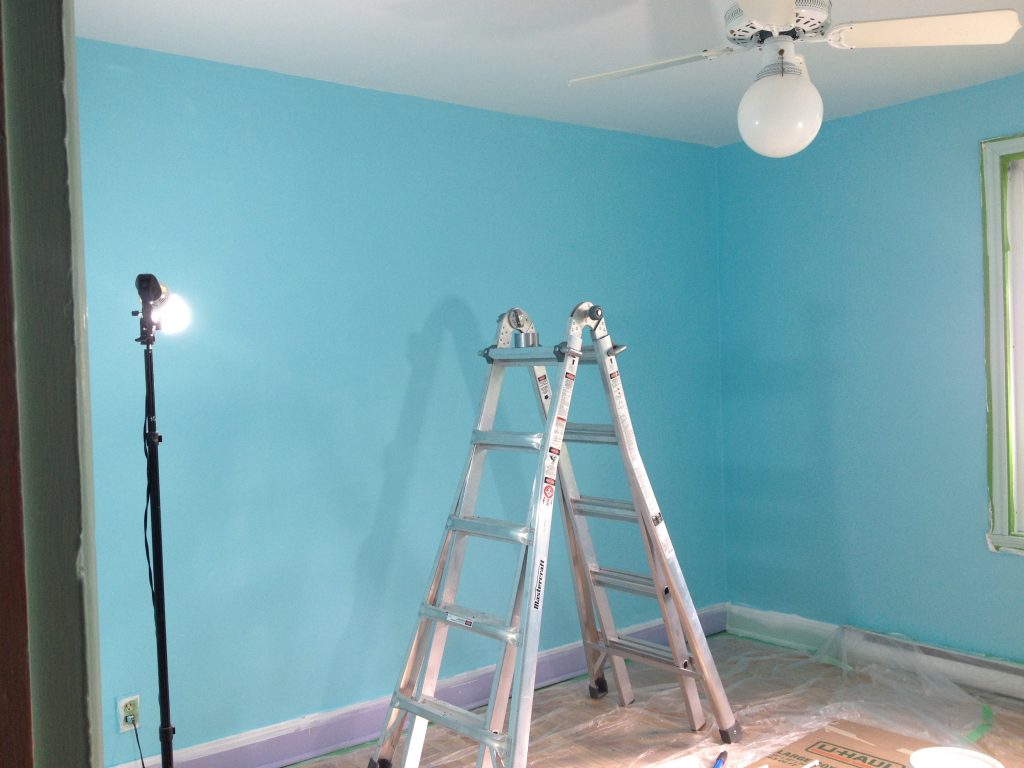
I would say I’m pretty happy with how the walls turned out. No one else would ever notice this, but I can definitely see the progression of us being very careful and methodical near the beginning of the process, to when we basically stopped caring and just wanted it to be over. But overall, not too shabby for a couple of amateurs!