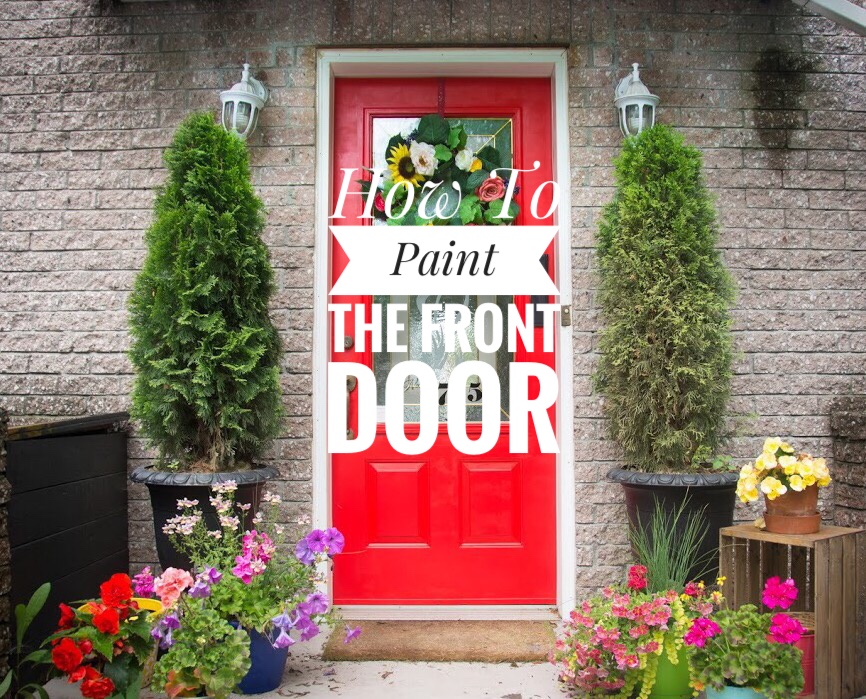
I’m very happy and thankful for our house and I’m slowly chipping away at making it “ours” in every way possible. I’ve always dreamed of owning an English-storybook-meets-Victorian-style house with a peaked roof, brick chimney and climbing roses over a gated arbor. But for less than a million bucks inside the city? I think not…
I guess you could say we settled for a typical Montreal abode, a basic rectangular brick number, attached on both sides. Needless to say, I felt the urge to inject some personality into an otherwise drab facade and had been flirting with the thought of painting the front door a bright red for several months. Over a recent long weekend, I finally took the plunge and here’s how I did it:

Materials

You only need to remove the parts that stick out on the outside, unless you want to paint the entire door (inside and sides too). I kept them in a ziplock bag to keep from losing all the pieces.

This was honestly the most time-consuming part. But probably because I have never cleaned the outside of the door for as long as we’ve lived here and there was sticker residue in two different places. That took forever to get off. By the way, using acetone-based nail polish remover does the trick, if you’re wondering.

I used 120 grit sandpaper and really just roughed up the surfaces so it wasn’t so slippery. Make sure you get in the little crevices too if you can. Wipe it clean with a damp cloth after you’re done sanding.

This is optional. If you’re a super neat painter, you can probably skip this part, but I know myself and I knew by the end of it, it would look like I had murdered someone in our front entryway. I was not wrong.

You could also skip this part if you wanted. I taped off the sides of the door, the top, the hardware holes that were now exposed, the glass, the mail slot and a small part of the interior door jam because re: I know myself and I knew I’d get paint on the door jam when I’d lose control of my foam roller. Again, I was not wrong.

6. Using a small foam brush, start painting the smaller/harder to reach areas, grooves and crevices. Once you finish that, use a small foam roller to apply paint to the rest of the door.

I don’t know if you can tell, but the first coat was pretty streaky. I may not have sanded well enough so the paint had a hard time adhering to the door in certain spots, like the vinyl trim around the glass. I ended up doing three coats and got it all covered pretty well.
To be honest, when I saw the colour for the first time (called Red Geranium), it kind of freaked me out. I thought I had made a big mistake. It was so much brighter than I thought it would be. And much more of a warm-toned red than I was expecting. It doesn’t really go with the brick of the house. But then again, our house is made of a really pale pink brick with pretty decent sized what look like white quartz stones sticking out, so…. I’m not sure anything really “goes” with that…
Nevertheless, I am pretty happy with how it turned out. My goal was really to make our front door more fun, more colourful, and more of a statement. I would say that’s mission accomplished.

What do you think of our new door? Is it too crazy or just crazy enough? Let me know in the comments!
xoxo

