
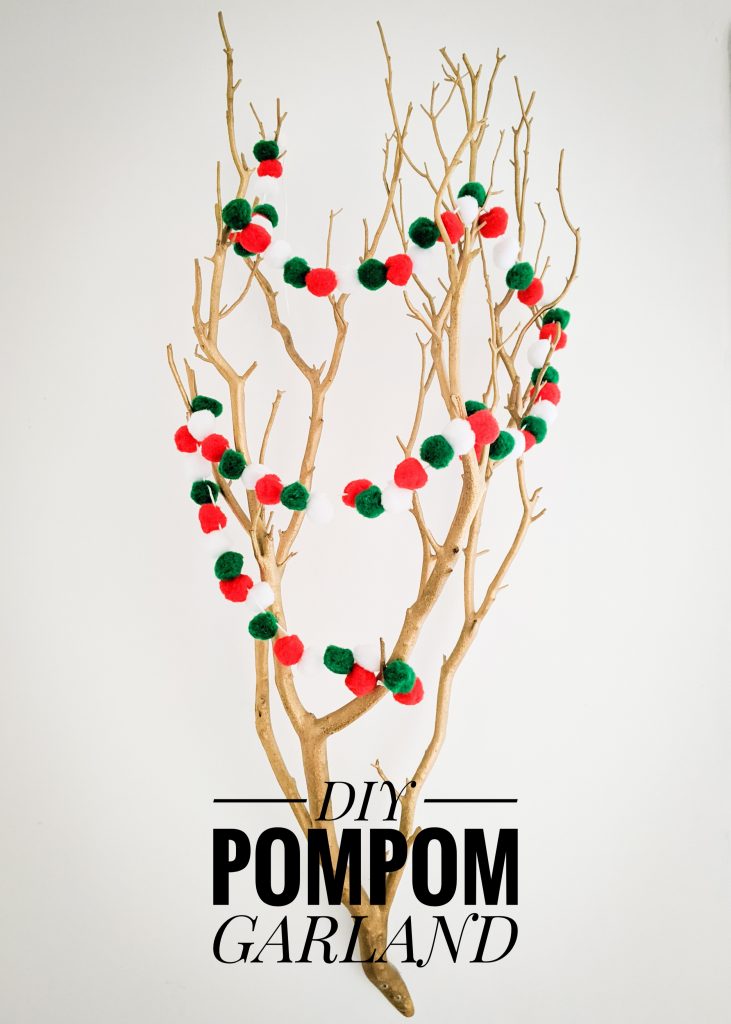
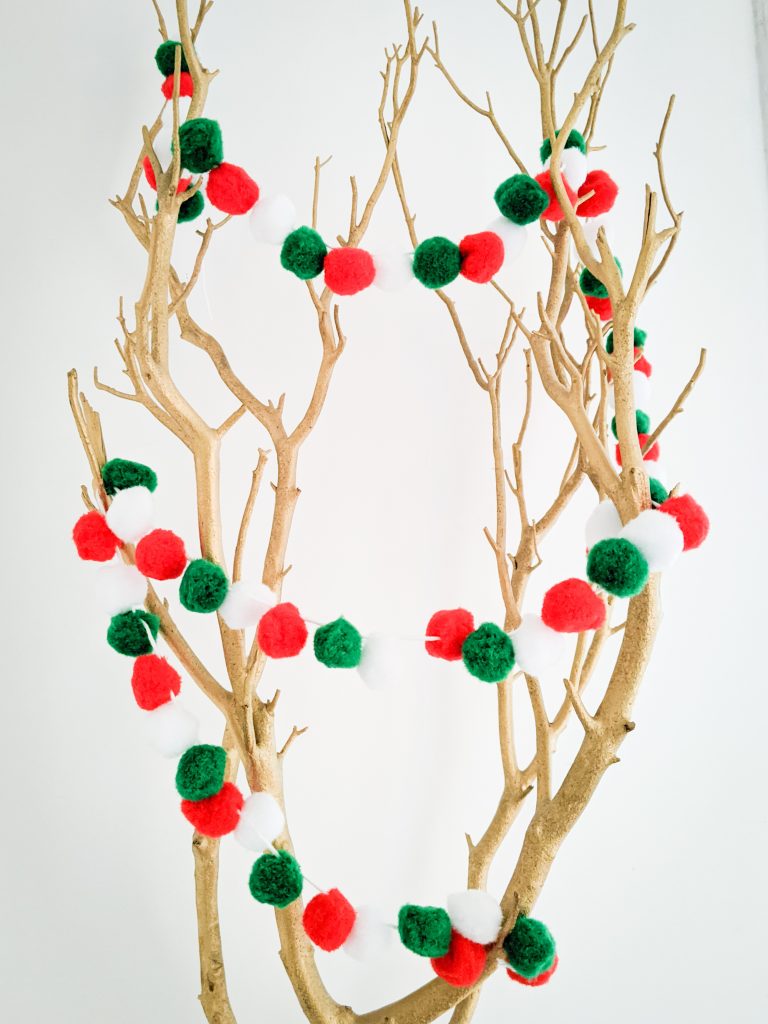
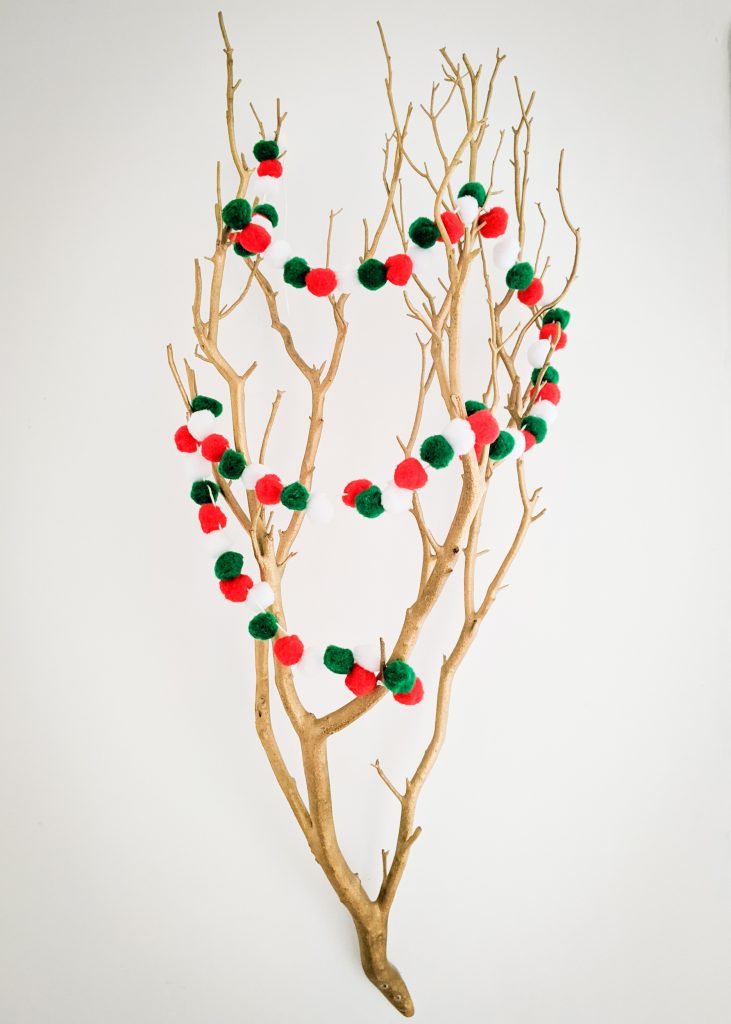
The last post in this DIY holiday decor roundup (and probably this year) is a super simple pompom garland, perfect for hanging on a mantle, bookcase, Christmas tree, or random branch you have sticking out of your wall. This is probably the simplest of all the holiday DIYs. And it is applicable for any occasion or time of year. Simply change out your pompom colours!
Materials
- pompoms
- needle
- thread or yarn
Thread Pompoms
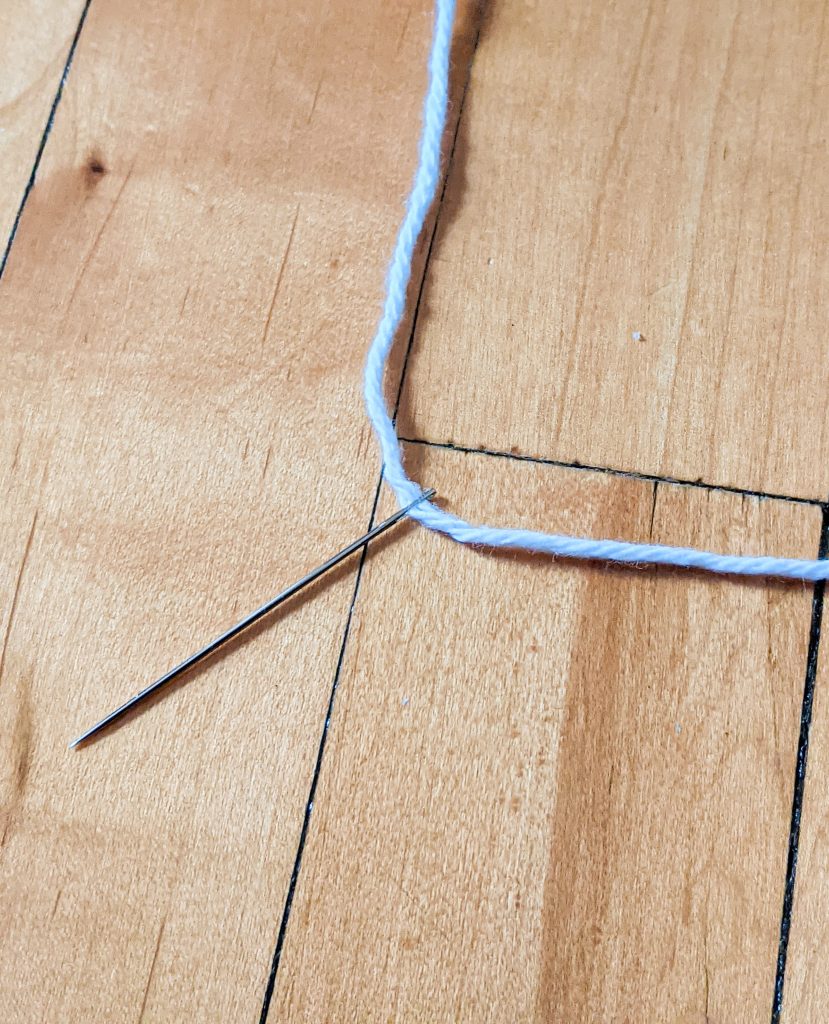
Start by threading your needle. If you use yarn like I did, you’re gonna need a really large needle, like one for leatherwork.
This is optional, but if you don’t know how long you want to make your garland yet and especially if you plan on making it very long, DO NOT cut your thread/yard in the beginning. String the loose end of the entire spool of thread or ball of yarn through your needle. The weight of the spool/ball will keep your string straighter while you work (which I find easier), plus you don’t want to accidentally cut a piece too short and have to start all over. If you decide you want it longer after working a while, you can just push everything down the length of yarn.
This part is important: DO NOT make the two ends of thread/yarn the same length. The free end should be very short, as short as you can manage.
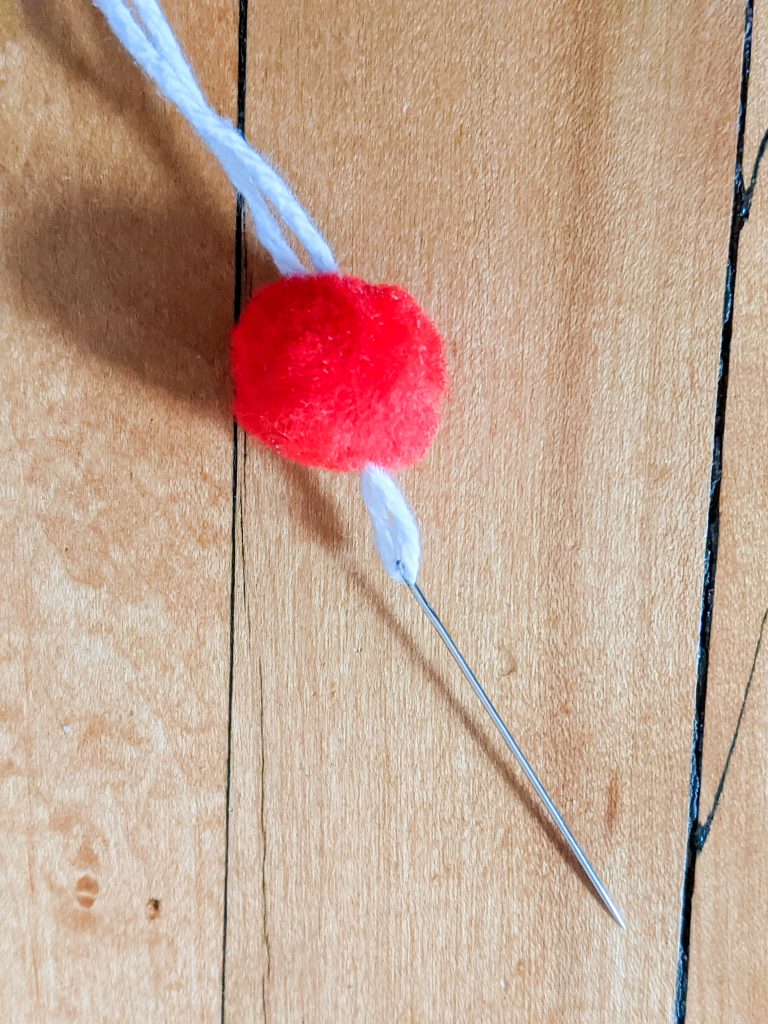
Sew the thread through the pompoms as close to the middle of it as you can get. Because I was using such a big needle, I found it quite difficult to get through the very centre, but it’s fine to thread it a bit to the side as long as you’re delicate.
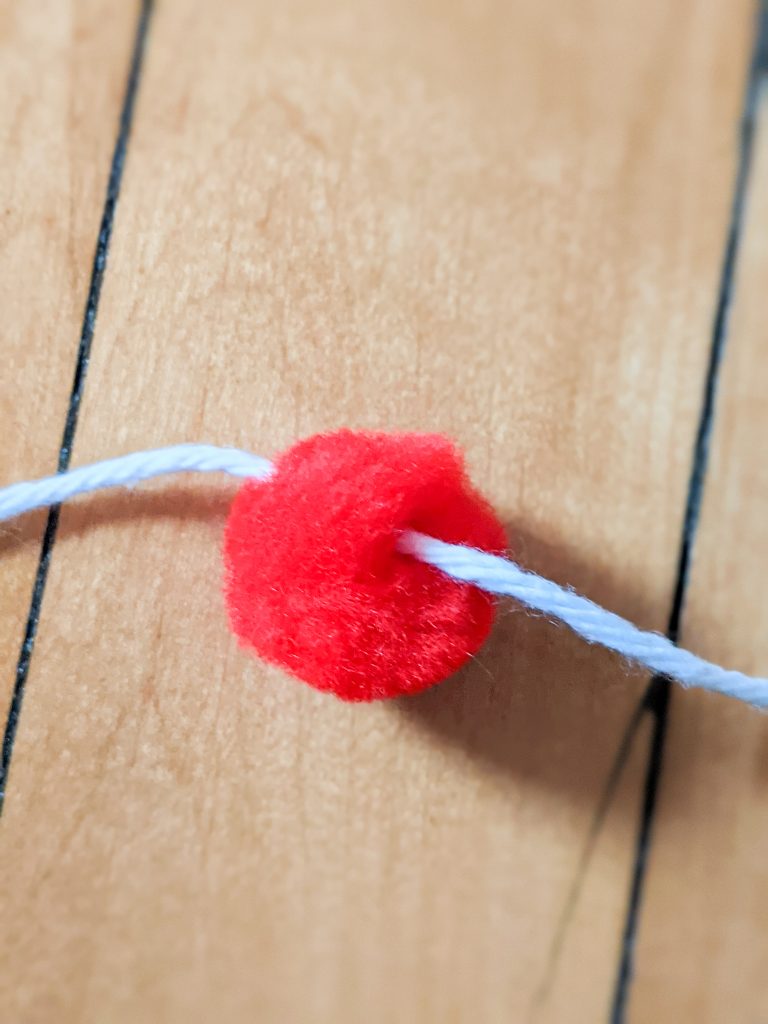
Once you get the needle through to the other side, pull the short end of thread all the way through the pompom as well.
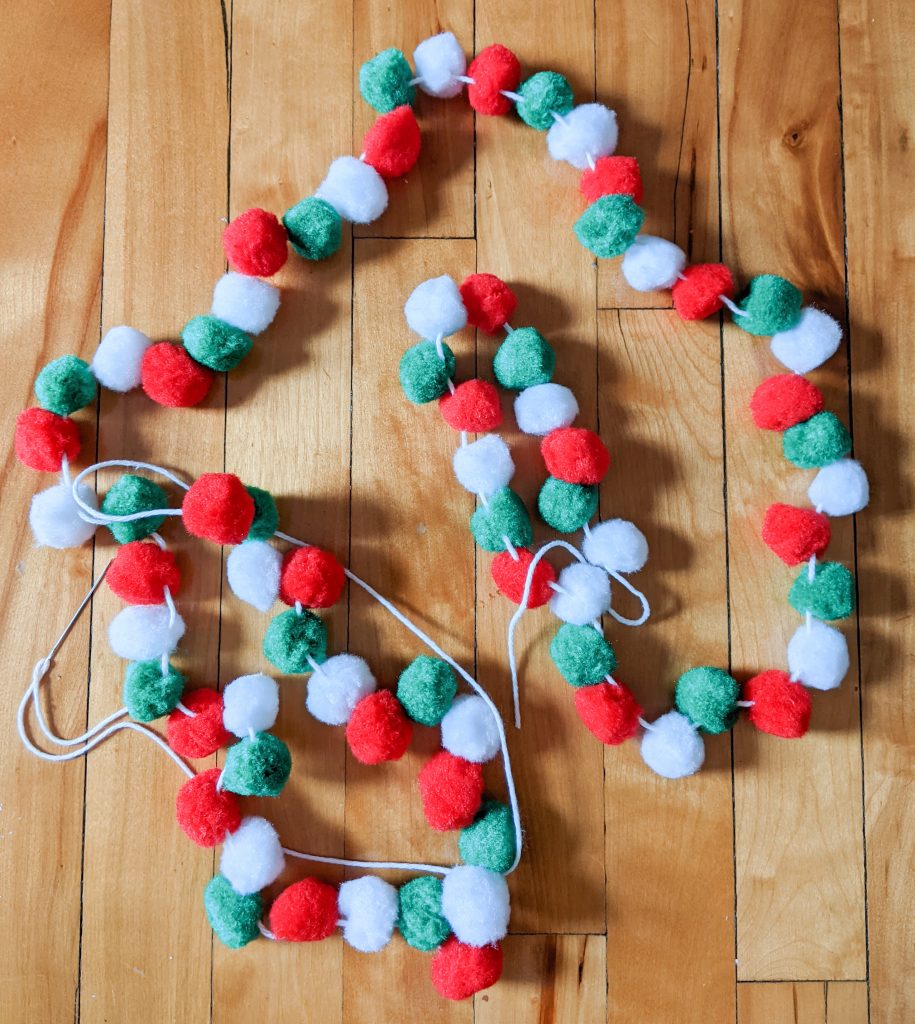
Continue stringing the pompoms, alternating colours as you go.
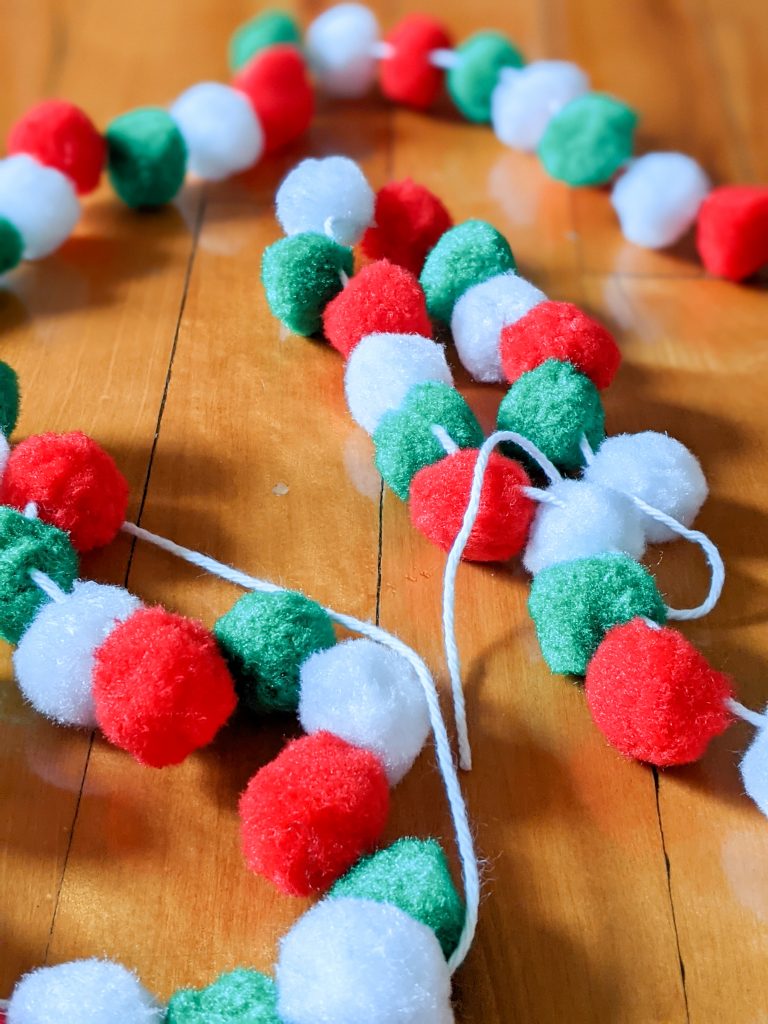
Once your garland is as long as you want it, cut the thread. I left some extra thread on the ends and tied some knots to secure the pompoms, but honestly, you don’t really need to. You’d have to purposely pull on the pompoms to get them to move around on the yarn.
And that’s basically it!
There are some gaps in my garland from certain sections getting pulled too tight, but I don’t think it’s very noticeable once you hang it up. If that bothers you, you could tie a knot between every pompom you string to stop it from sliding around, but I couldn’t be bothered to do that.
What a year we’ve had! It certainly made me grateful to have as many hobbies as I do. I’m especially grateful for the fact that they can all be done at home!
I hope you’ve had an okay year as well, all things considered. And that you’ve found my blog posts interesting or helpful. Personally, I can’t wait for a new year and new projects to start taking shape!
xoxo