
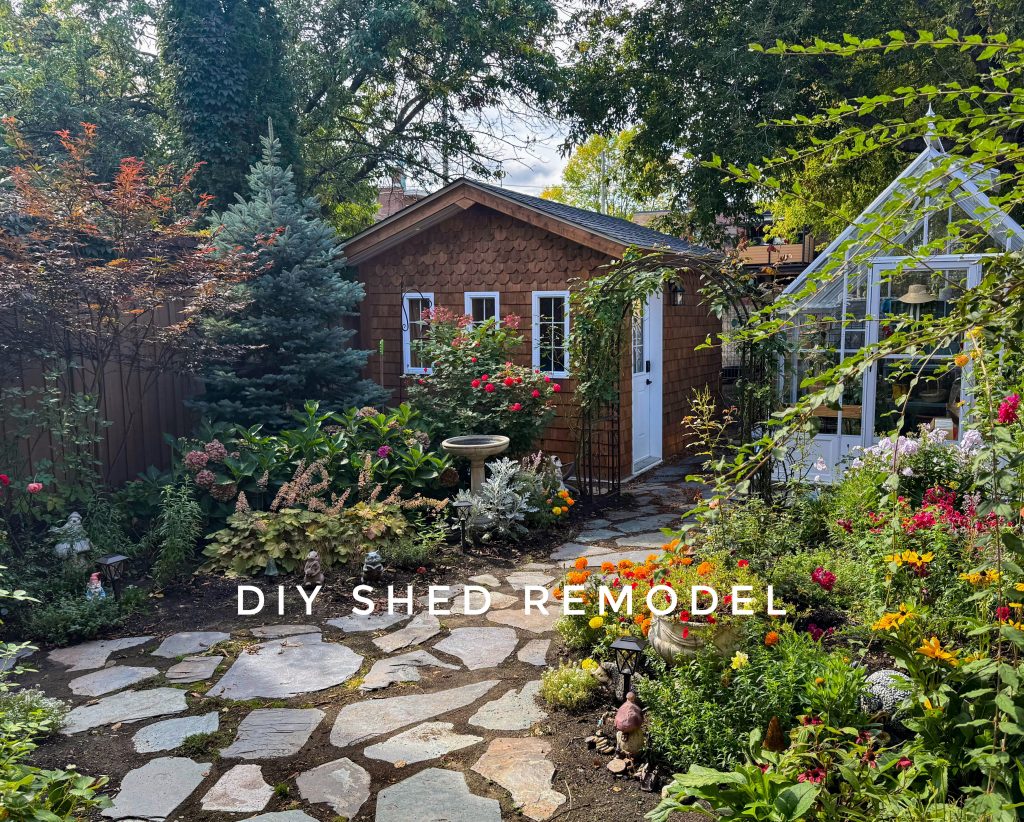
Step into the time machine with me once again as we travel back to spring/summer (and a little bit fall) 2024. I had big plans to install a dream greenhouse in the backyard, so we took that opportunity to completely redo our shed too.
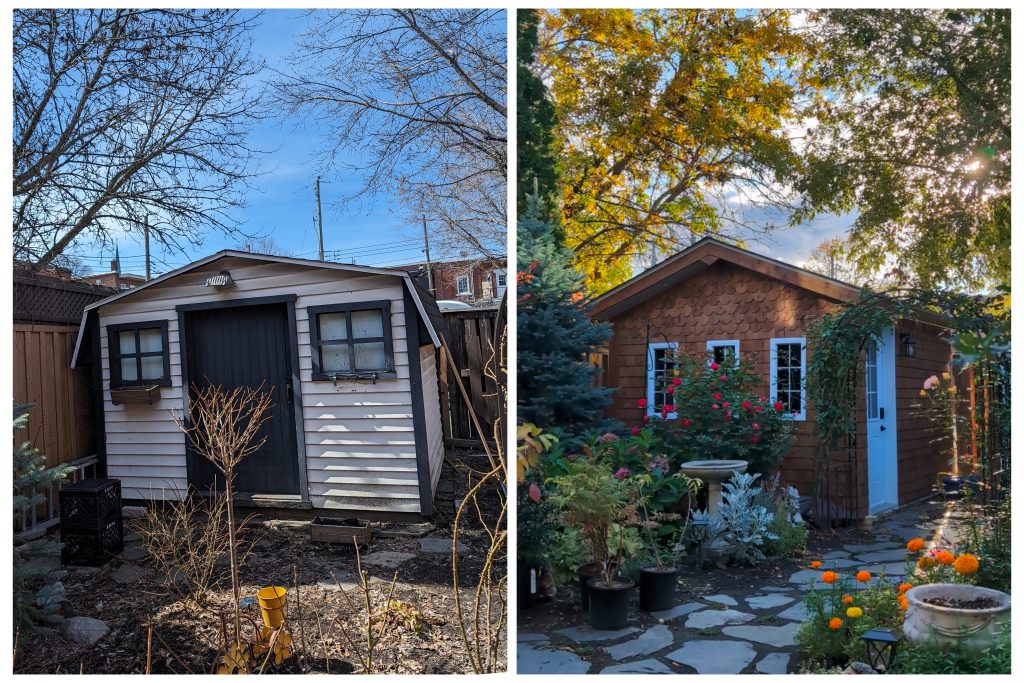
There was nothing “wrong” with our shed per se. It was functional and not falling apart or anything. I daresay, it was even kinda cute! But it just wasn’t as useful as it could’ve been. So if you wanna know how we went from a dusty old shed sitting on wooden boards atop literally only dirt, to a custom cedar shake bike port, read on!
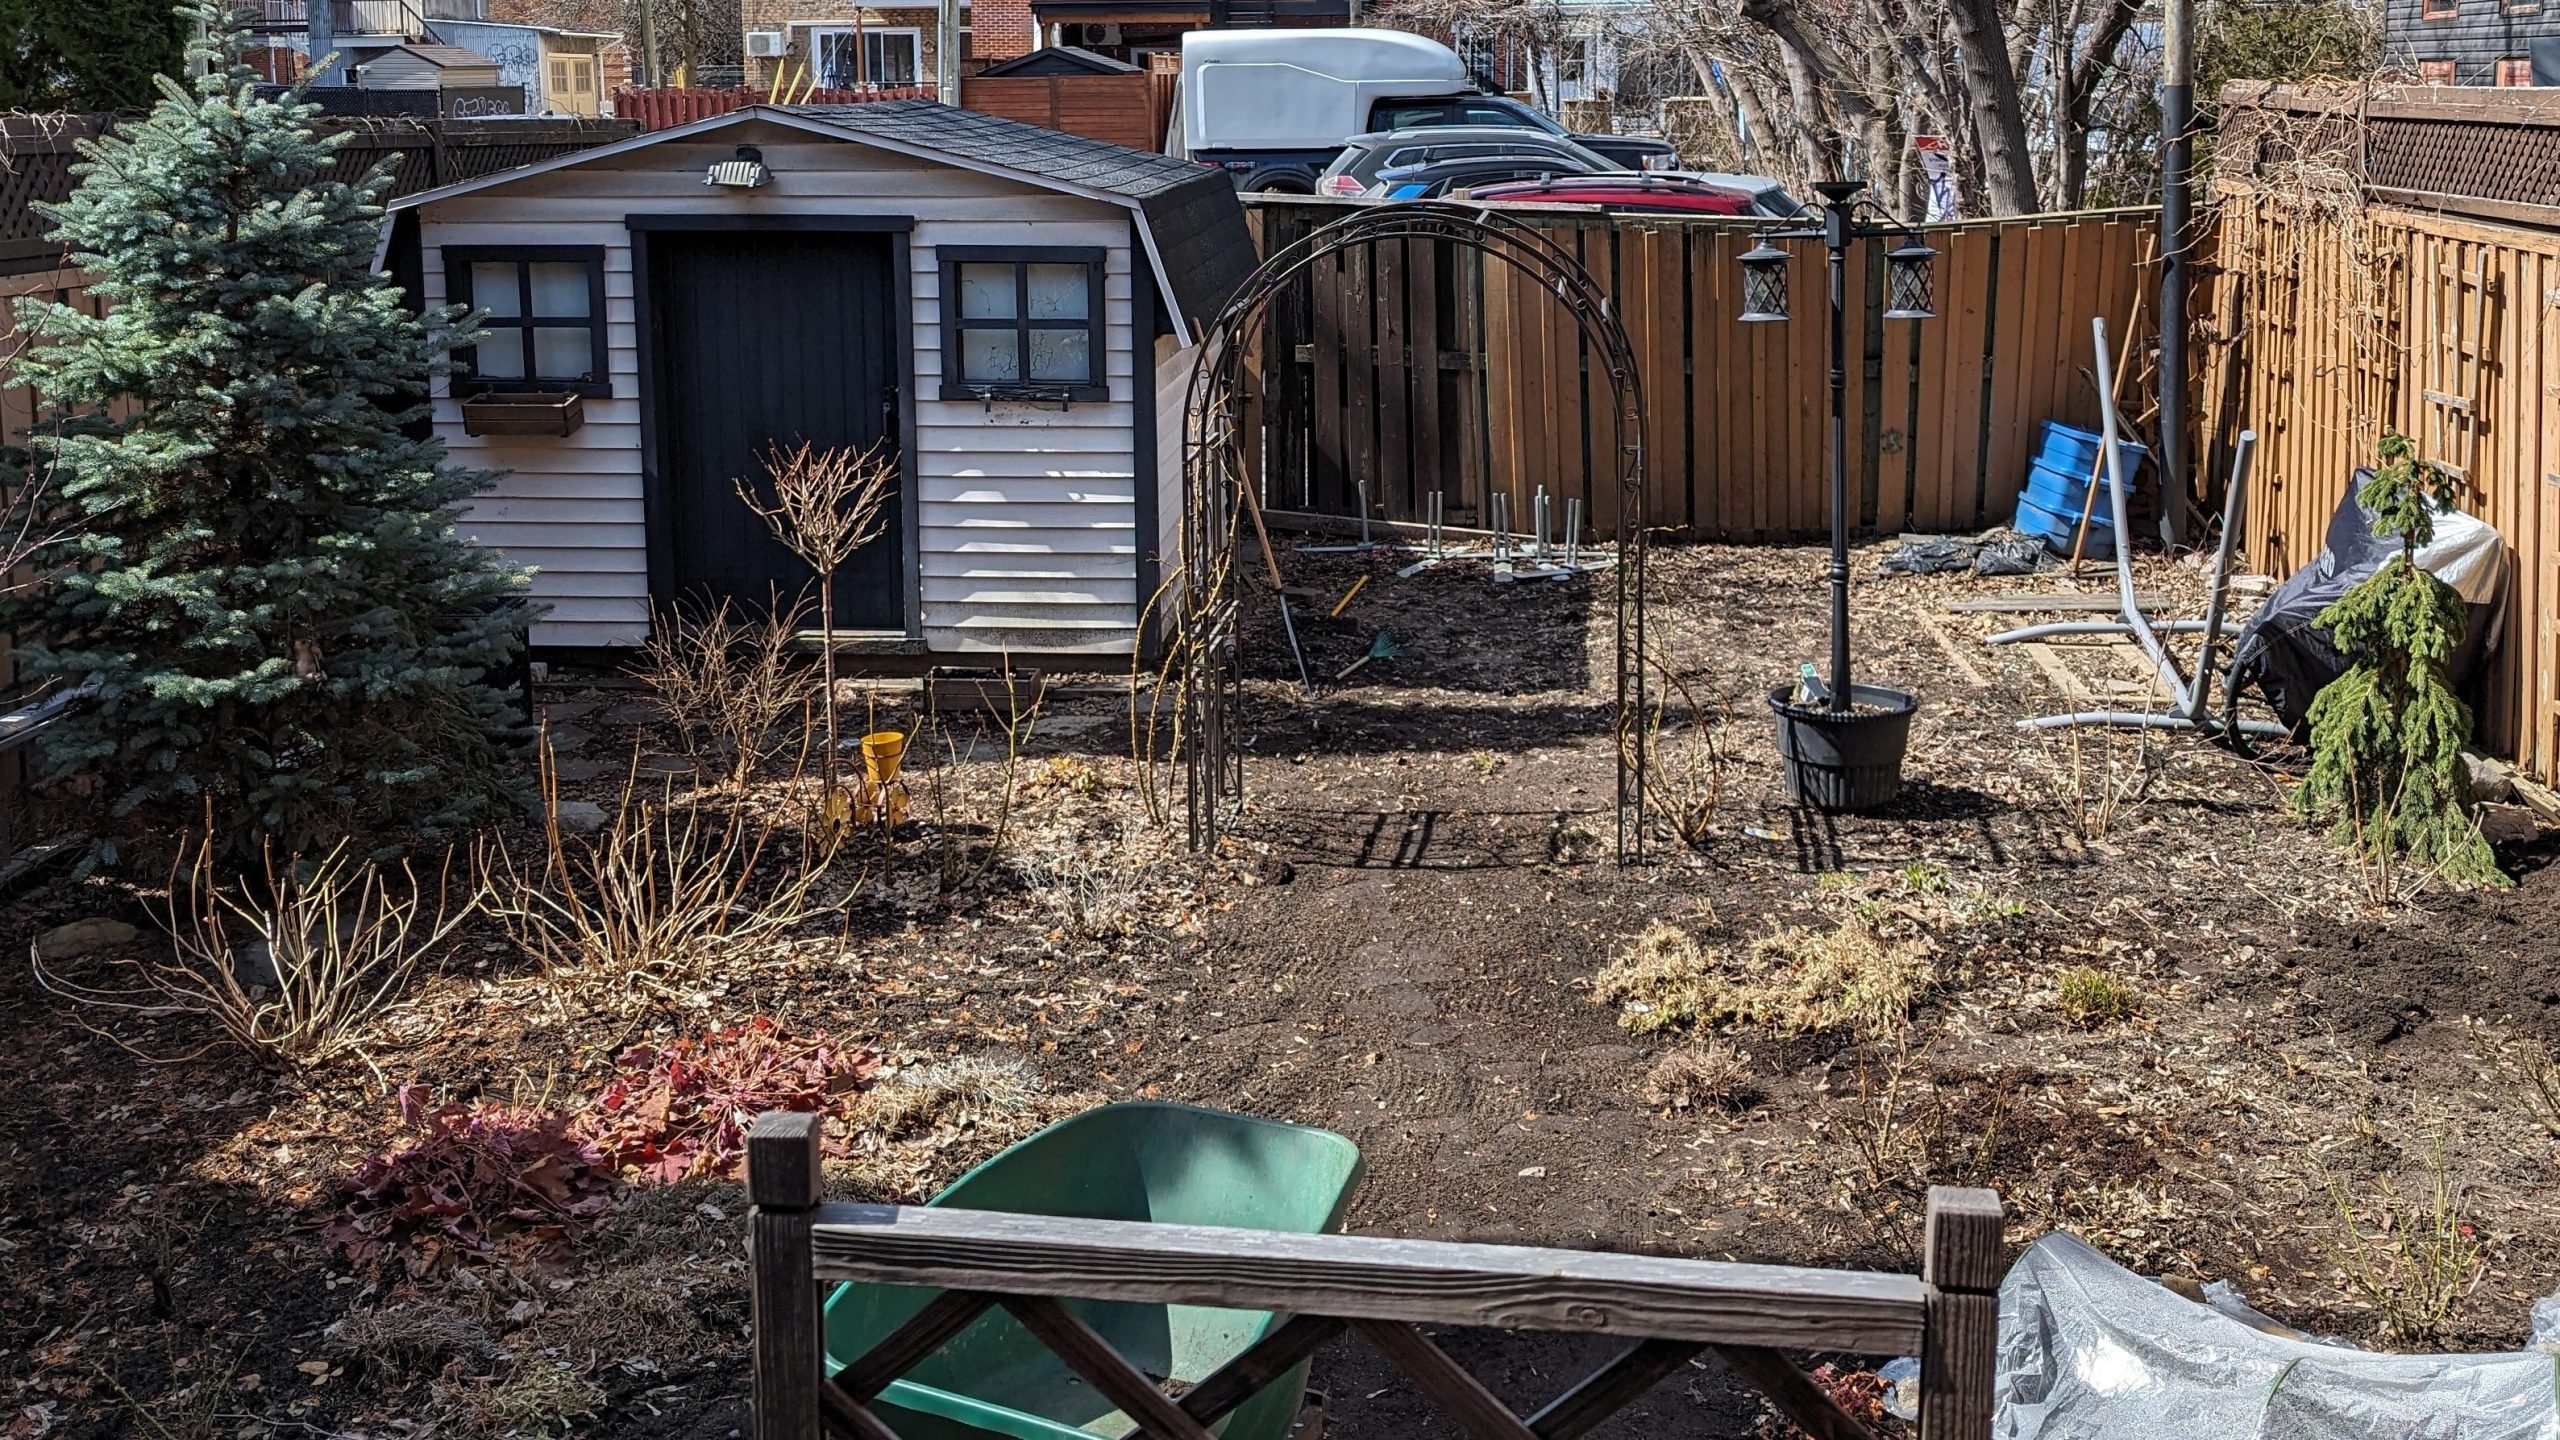
Preparing The Space
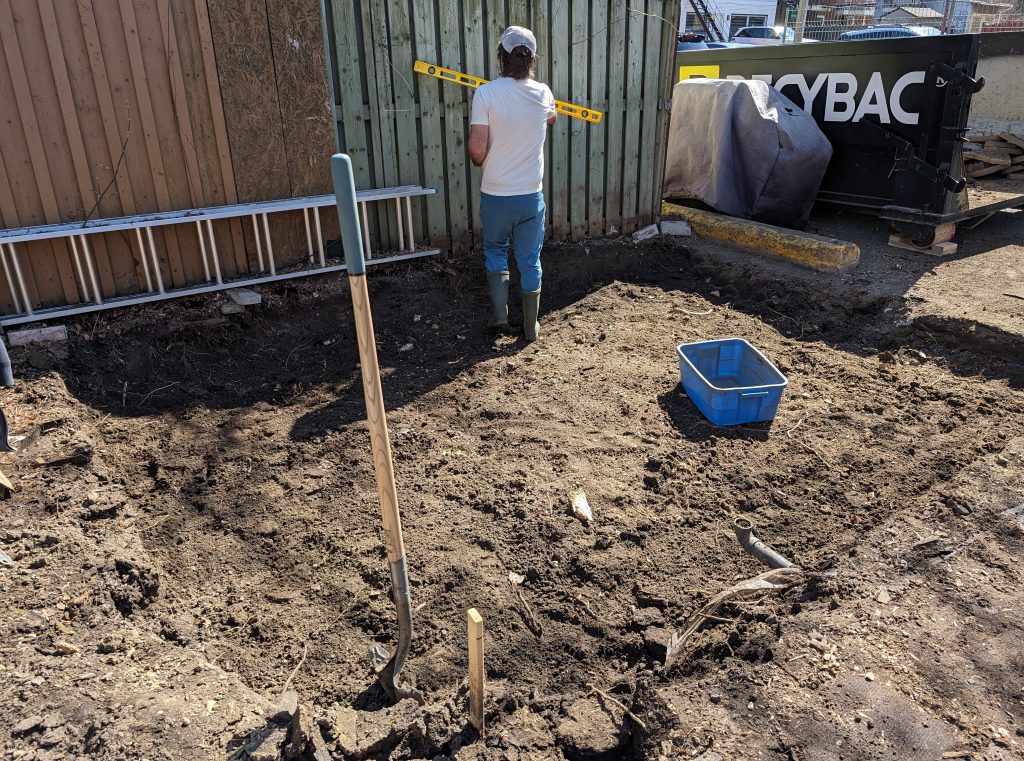
This is what our backyard looked like before the greenhouse + shed project started. Before I get into the logistics, you have to know that my partner planned, designed and executed this project himself (except for the electrical work and heavy/specialized machinery parts etc.) and I have to be honest… I was skeptical about this project.
You have to understand though, the last thing he built himself was a learning tower/stool thing he made for the kids to use in the bathroom that, let’s just say, lacks a certain…finesse. To go from that to essentially building a tiny house (foundation, framing, roofing and all) plus him being the kind of person who thought that every house should be built with see-through walls so that you can see where all the studs, pipes, wires etc. are…I hope you can understand where I was coming from with my skepticism.
Nevertheless, his reasons for upgrading the shed were very valid and important to him, so I endeavoured to help him achieve his vision, while ensuring it could be a space I could live with as well.
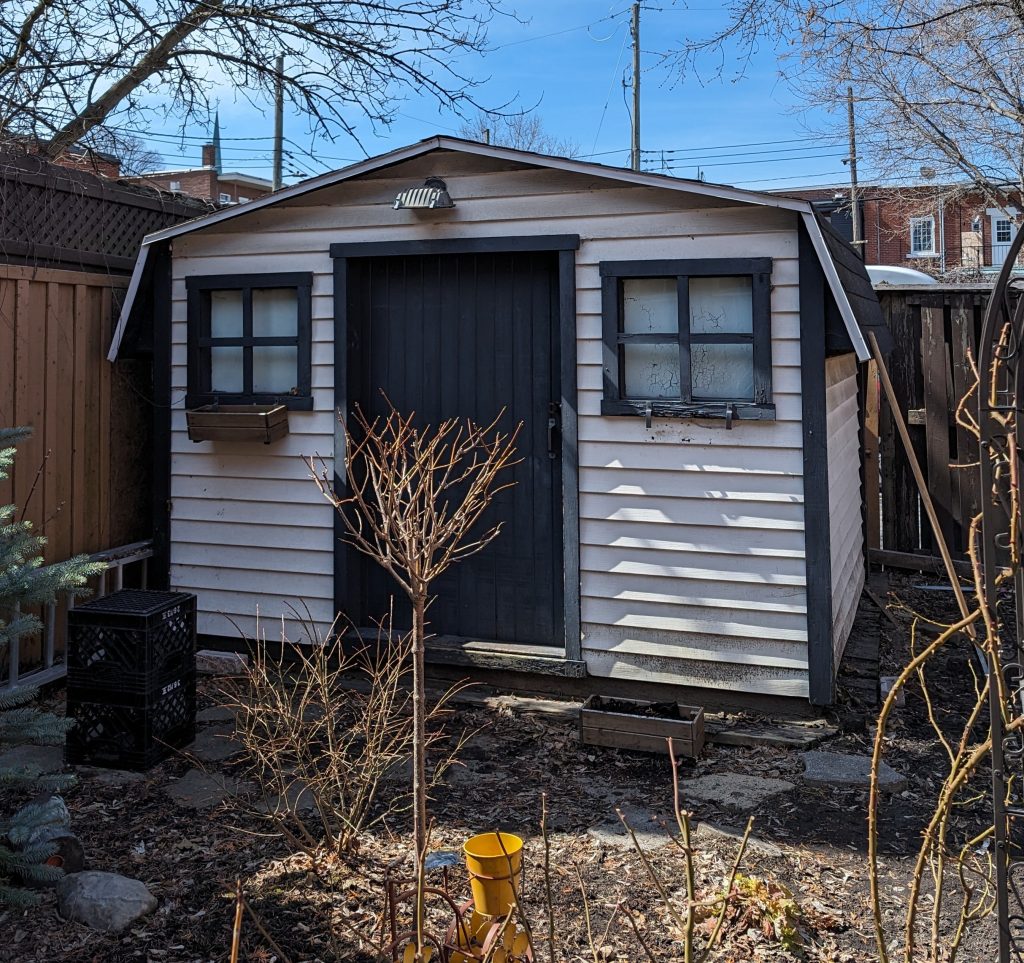
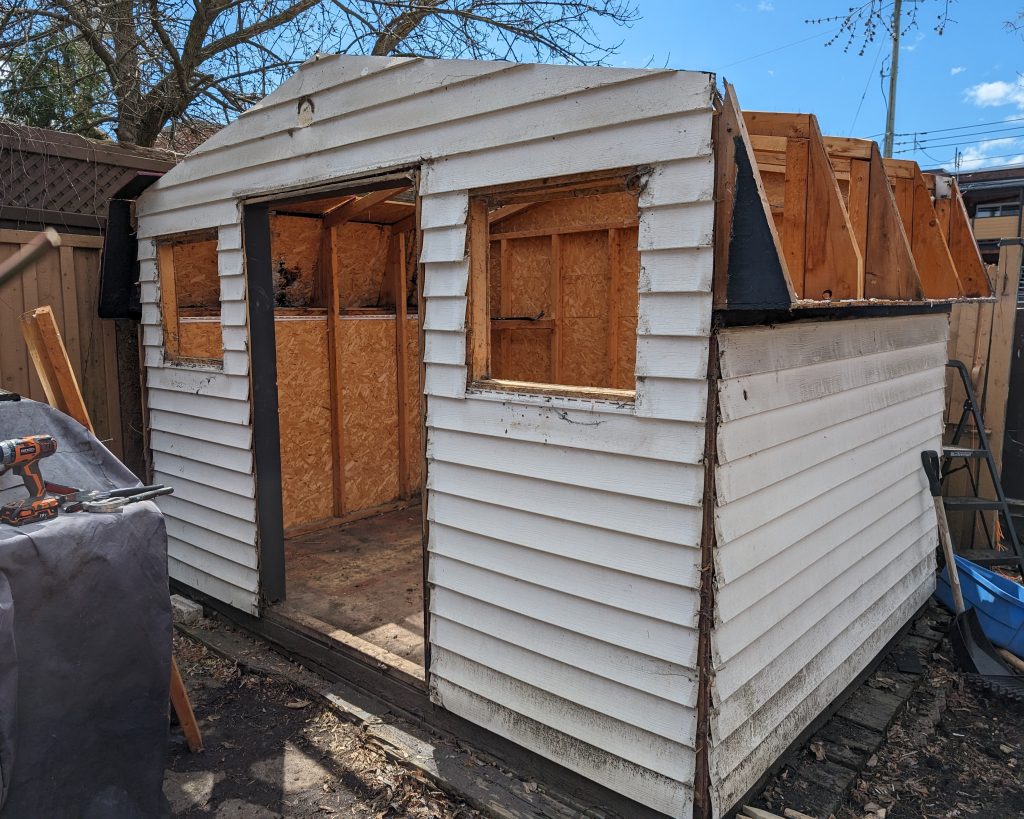
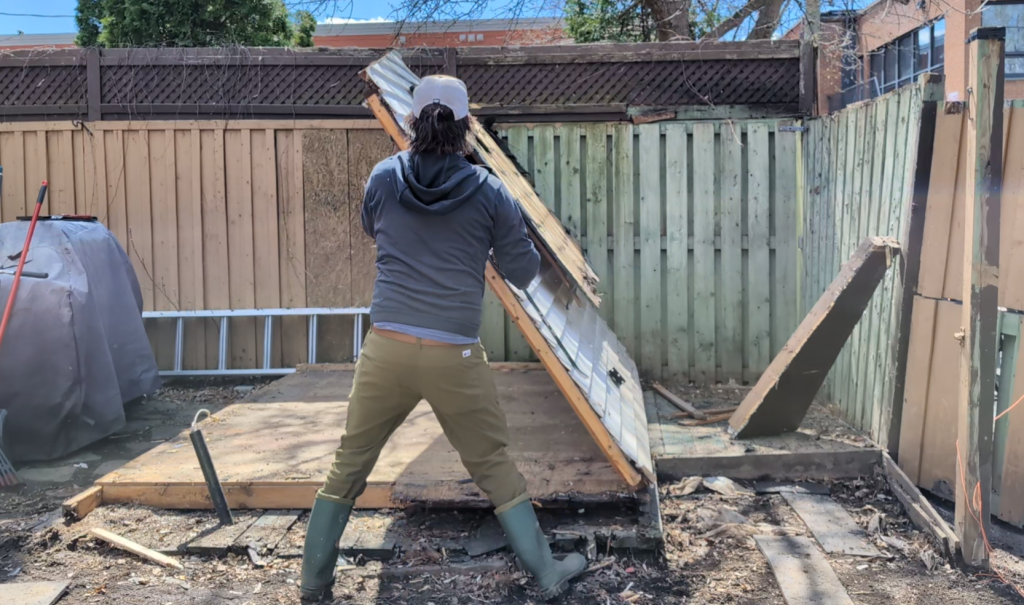
The first step was of course emptying the shed and tearing it all down.
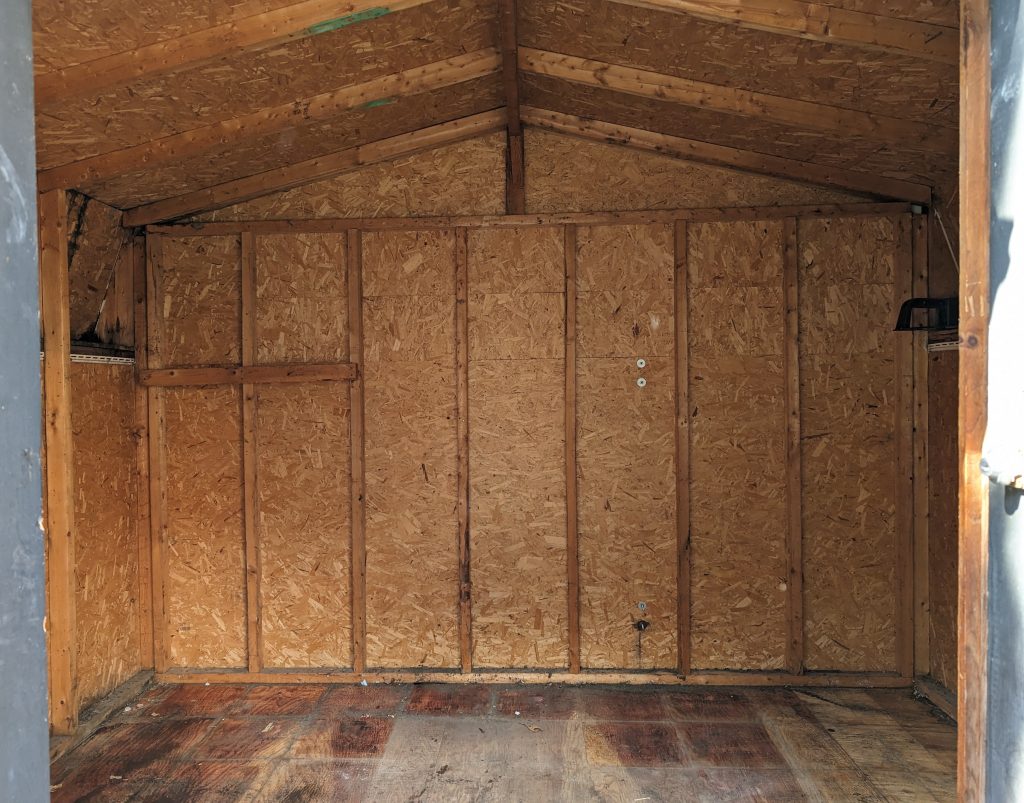
Once we took everything away and really looked at the structure, you can kinda see that it was probably time to upgrade this thing. Moisture was entering in certain areas and the boards that it was sitting on were literally just on top of the dirt. And many of said boards were decomposing underneath this shed.
There was no gravel, no concrete blocks, nothing! We were shocked the whole thing stood for as long as it had!
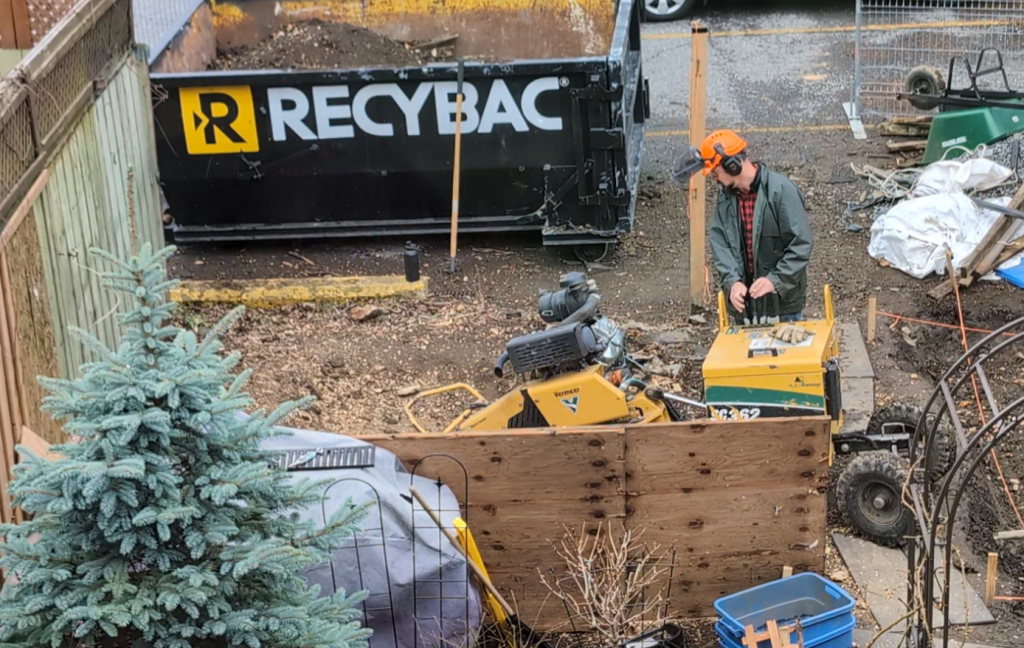
But the surprises didn’t stop there. Once we started digging out the area to prepare for pouring a new concrete foundation, we discovered there was a whole-ass tree stump buried not that deep under the shed. We had to call a company to come grind it for us!
With that taken care of, we started digging out the area to about 6 inches down.
At this point, we also got an electrician to run electrical to the back in preparation for getting outlets and whatnot into the future structures.
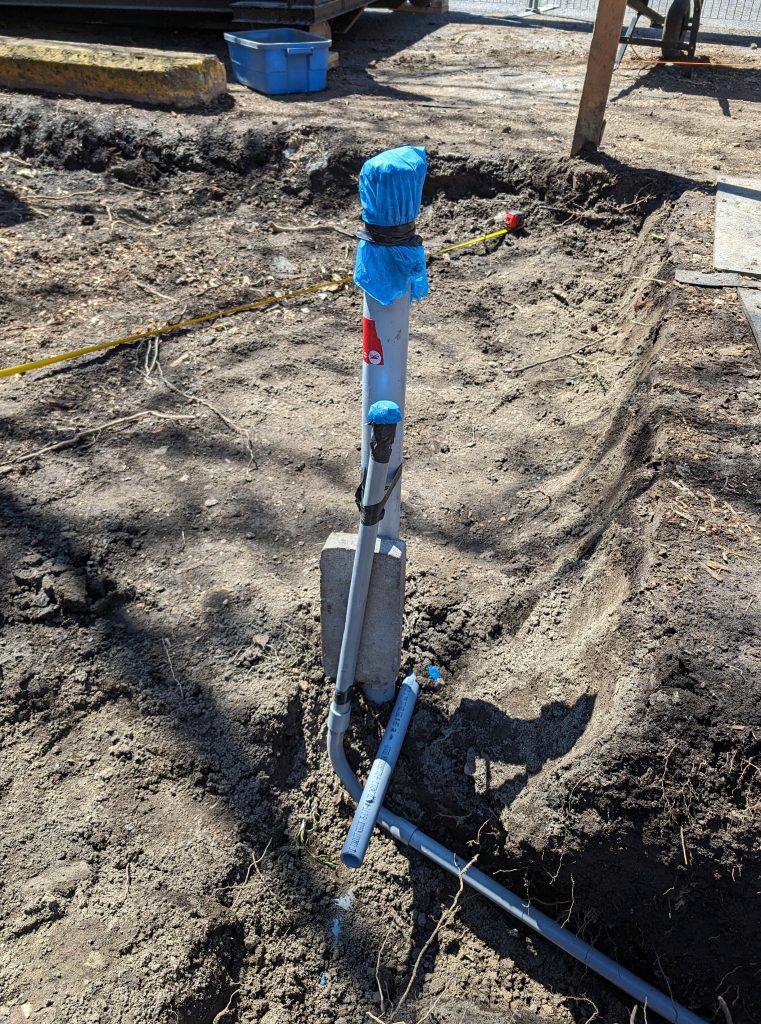
Next came the 3/4 inch gravel and pile installation. The piles might have been overkill, but my partner really wanted to be extra careful about everything during this whole process, and frankly, I prefer to be over-prepared than doing the bare minimum.
The piles are meant to support the concrete foundation, but I mean, our old shed stood on wooden boards attached to/supported by literally nothing for probably decades and it was fine. I still can’t get over that!
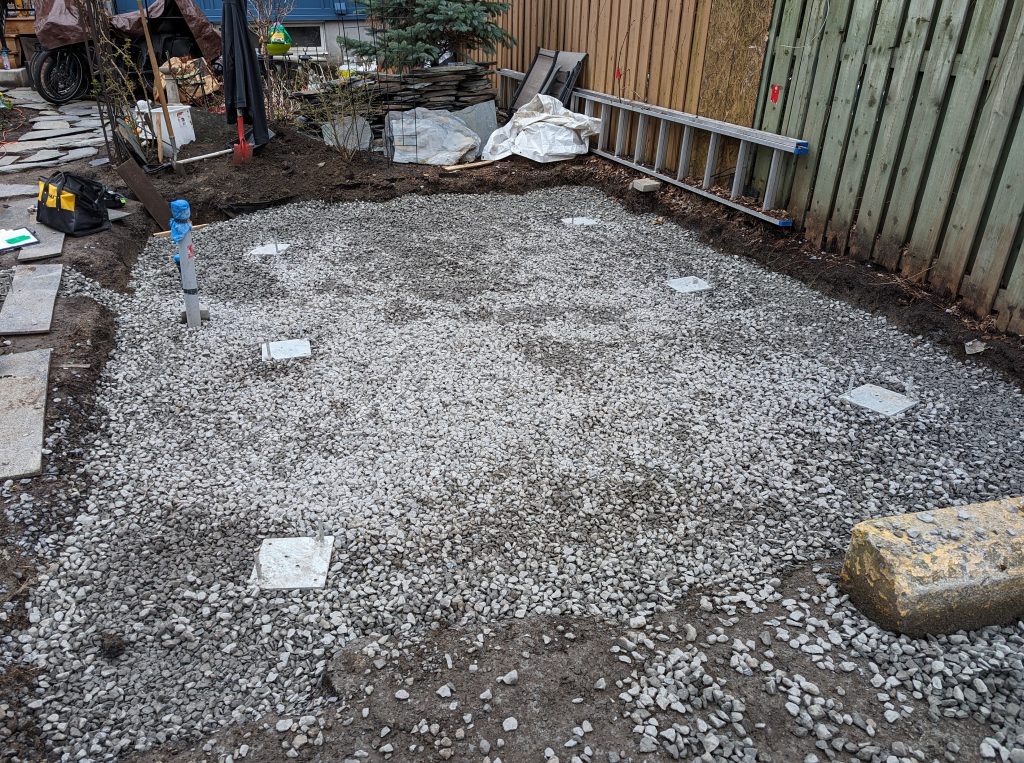
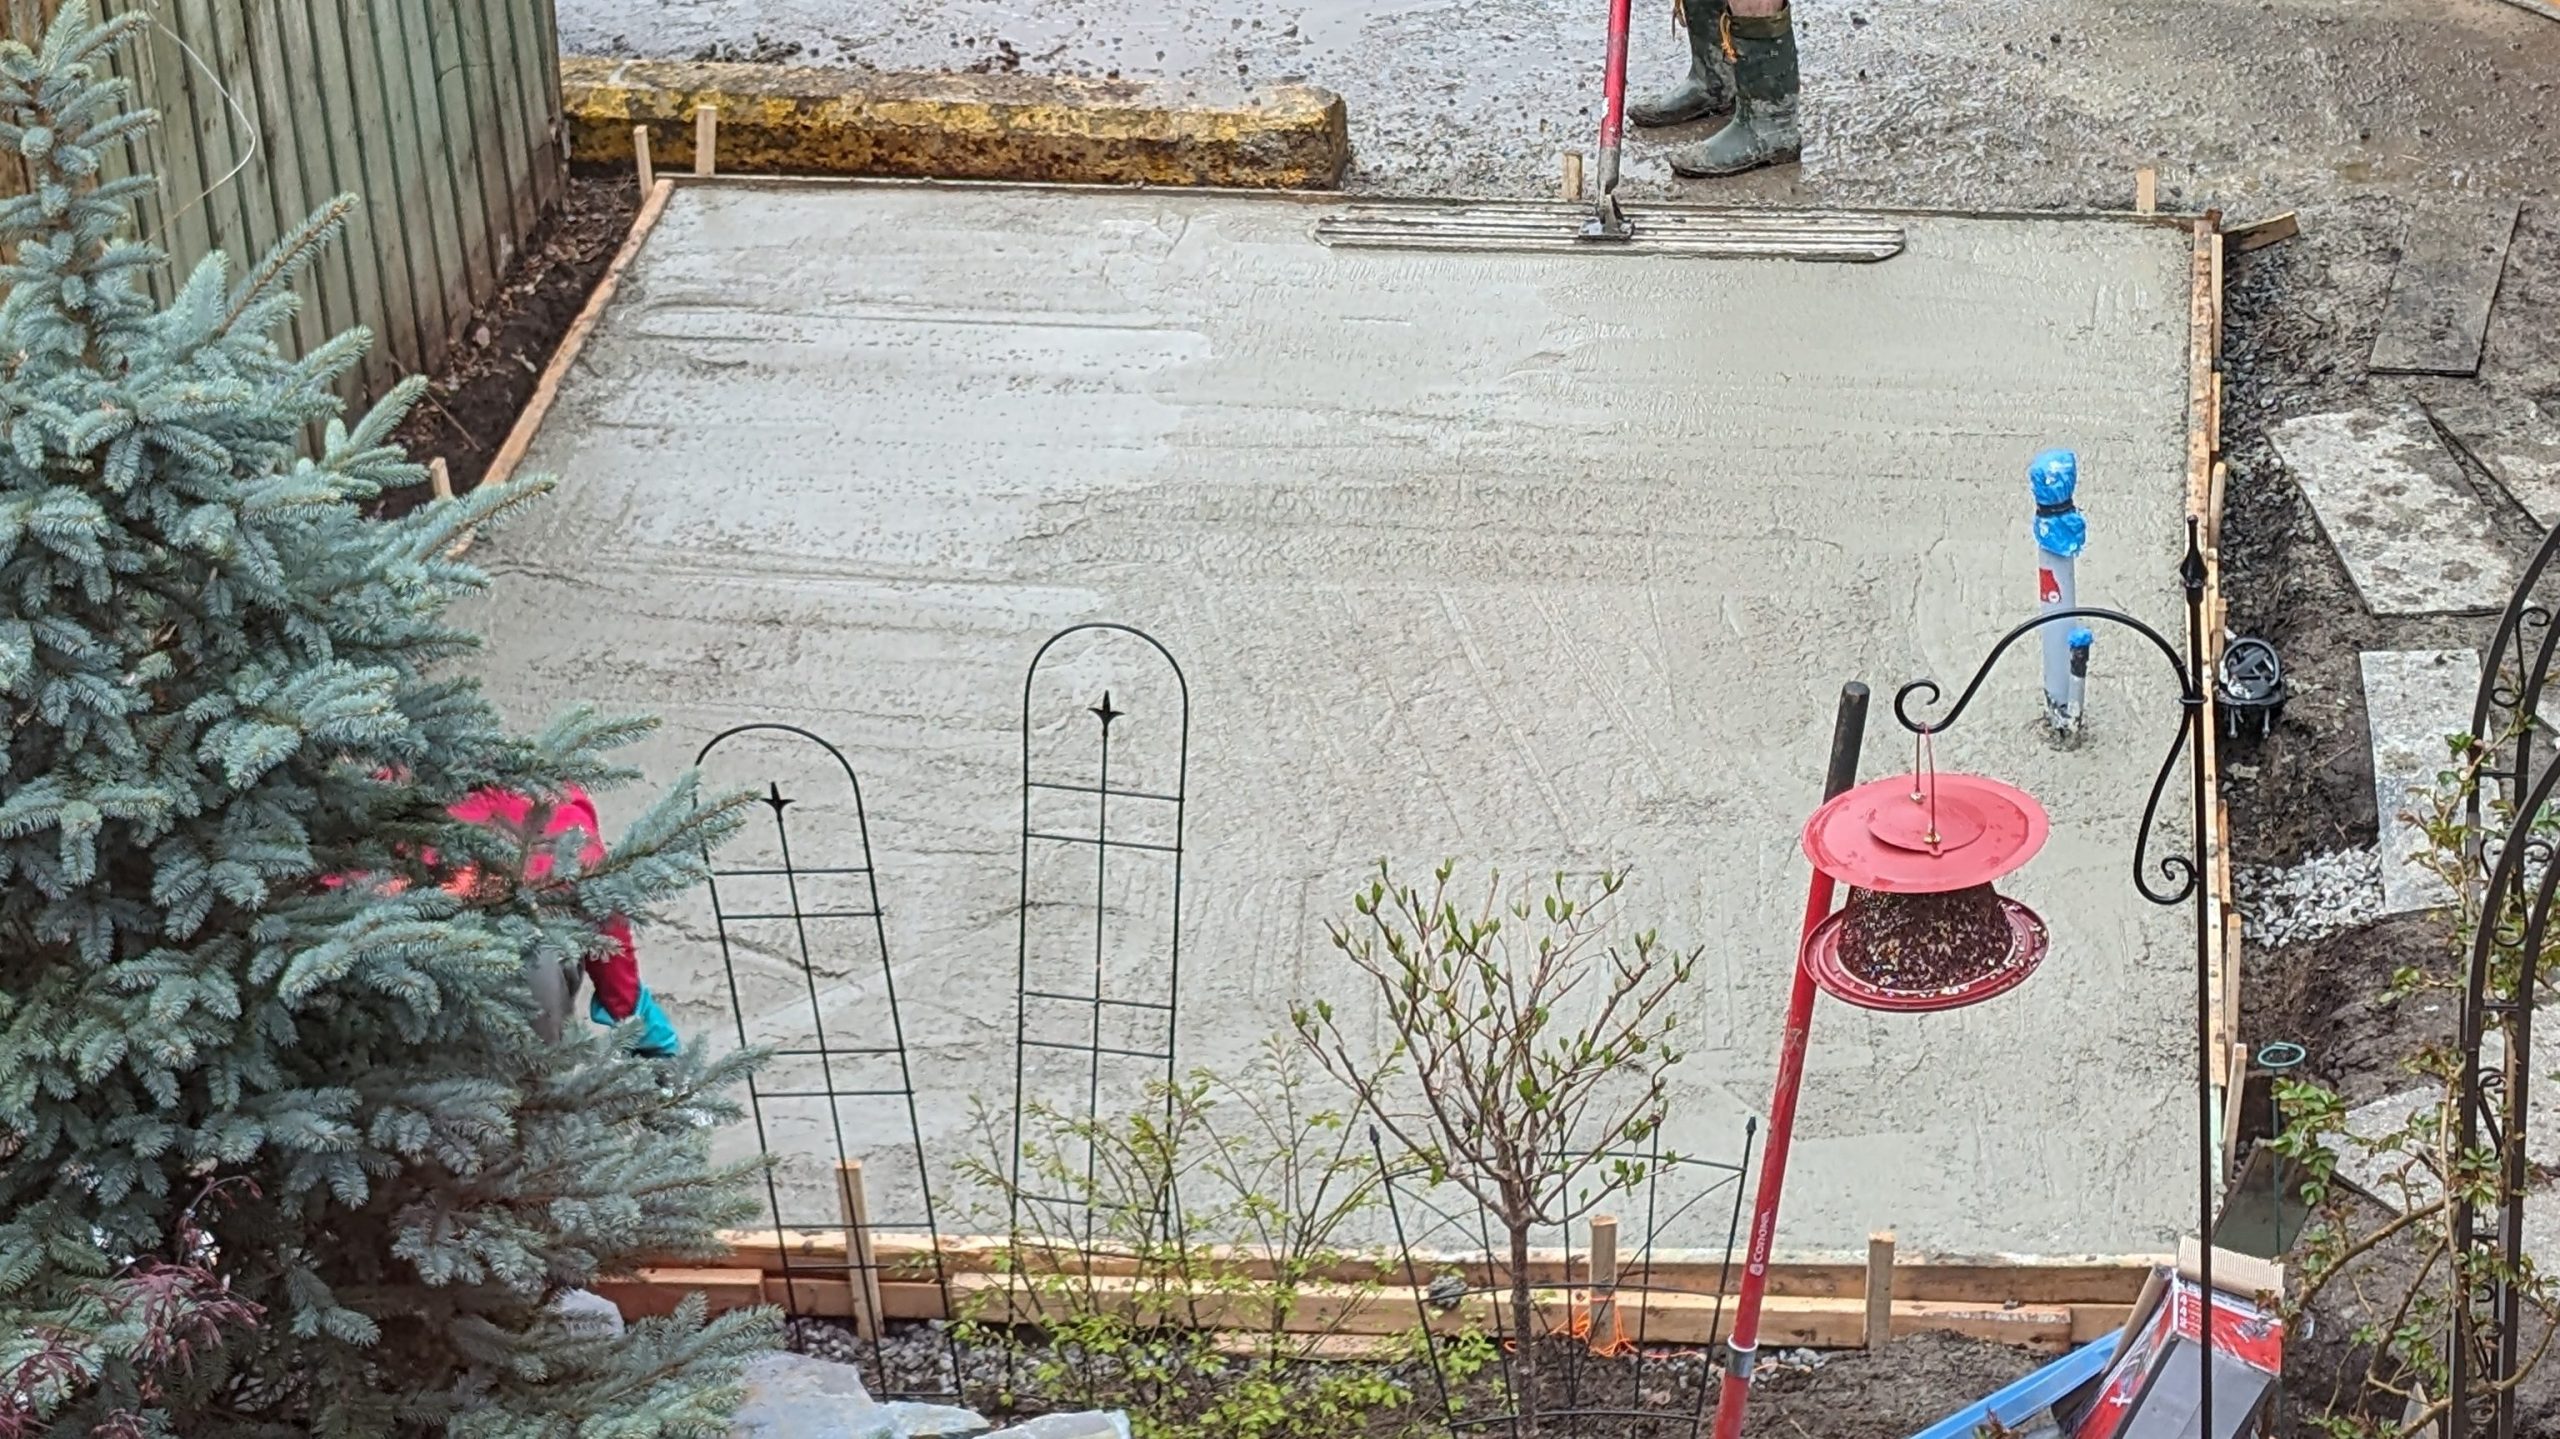
Anyway, we built a form out of scrap wood and had concrete poured to make a slab. After the foundation was in, we took a little break from the shed to finish up the greenhouse project and went on a little vacation.
Framing And Finishing
When we got back from our trip, it was straight to framing!
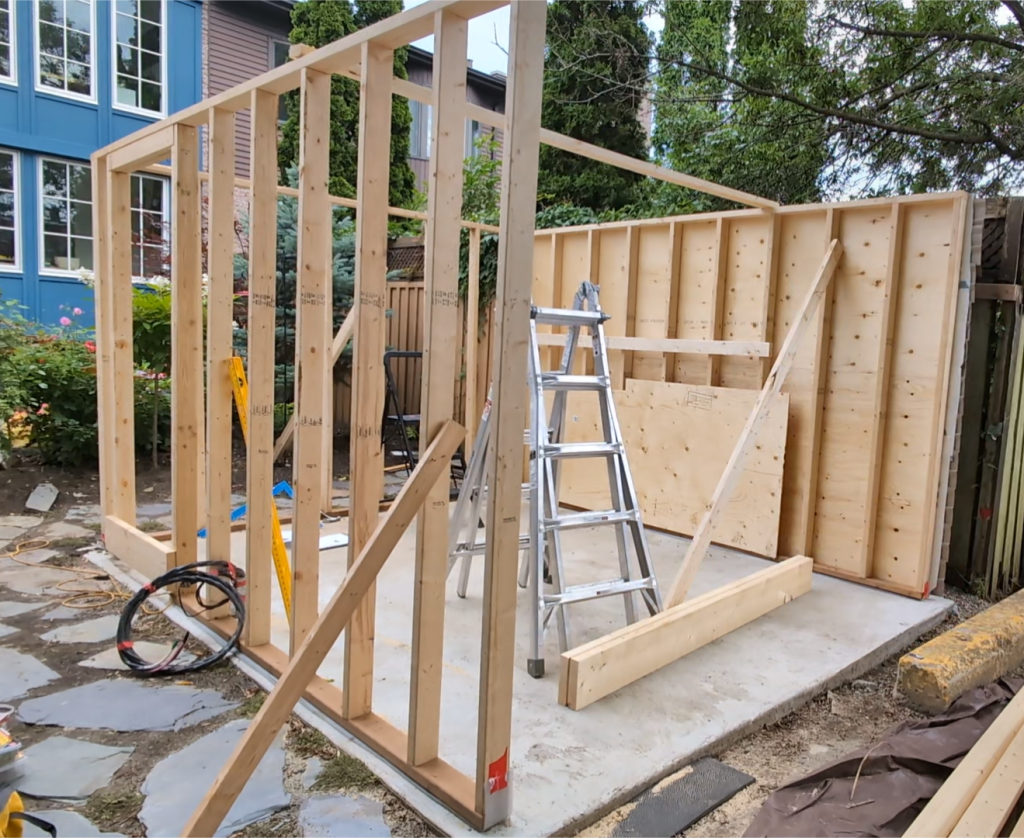
One thing I’ll say about construction is, it’s a lot less complicated than it seems. I even found parts of it enjoyable. It’s just a lot of steps and a slow process, depending on how custom you’re trying to make it. And of course, if you’re not used to it.
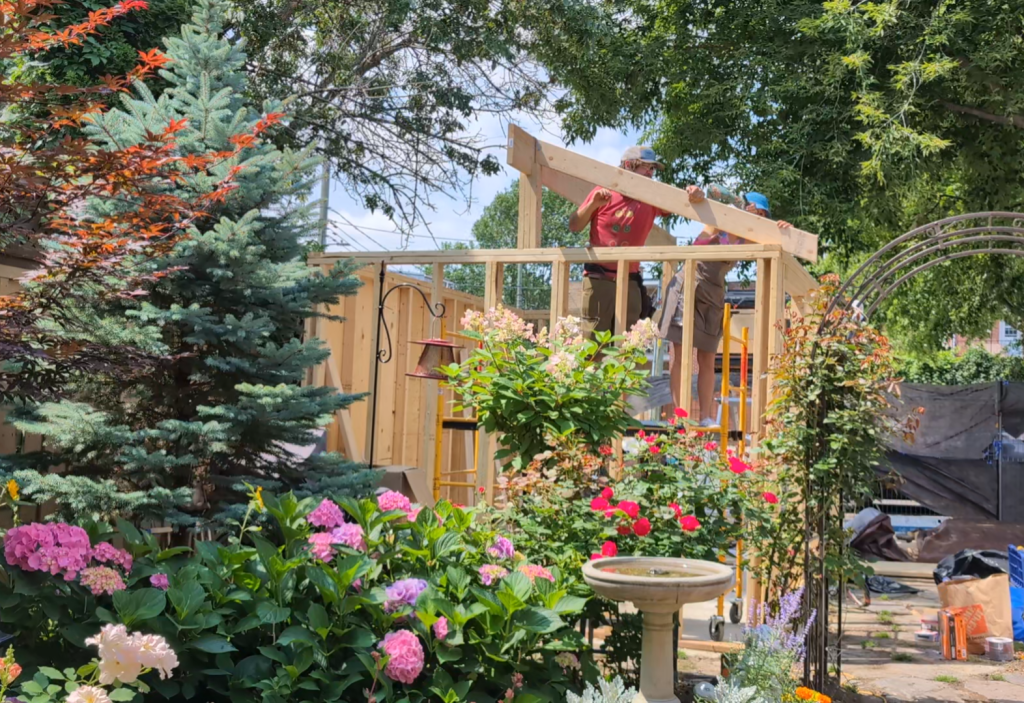
It was many days of just hammering, cutting wood, hammering, more hammering.

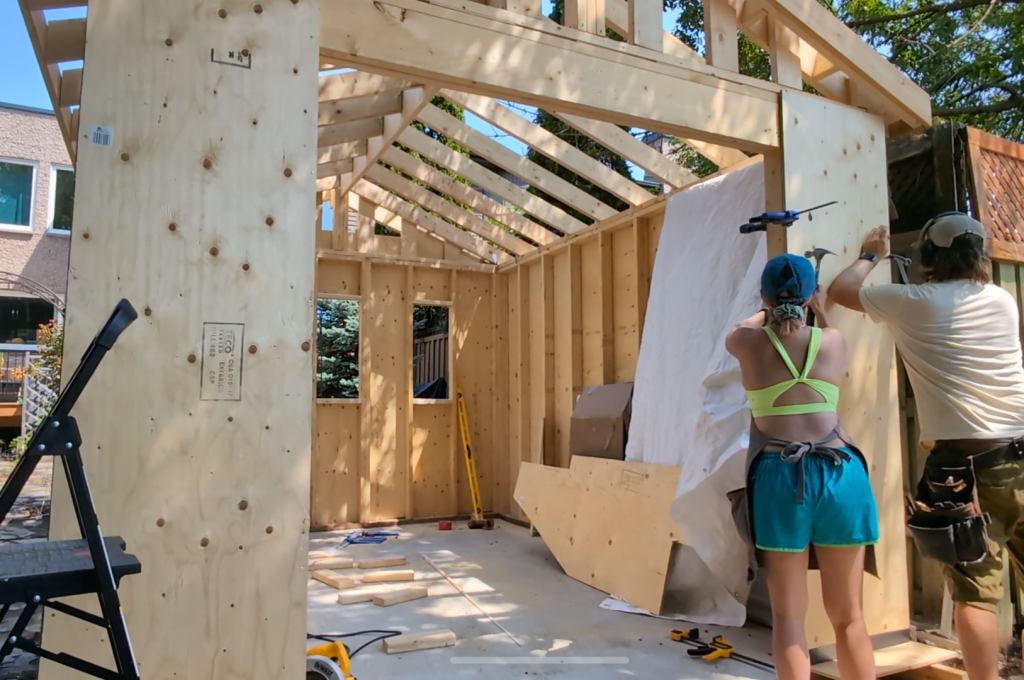
Once the framing was done, we added plywood.
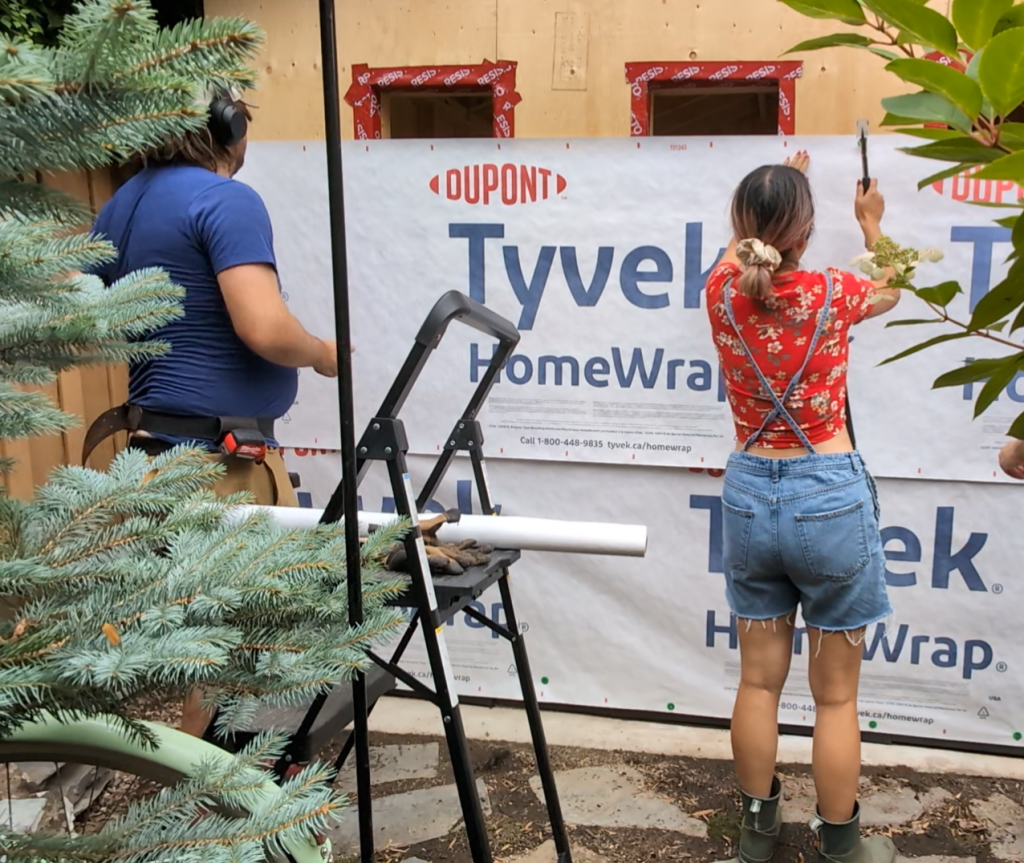
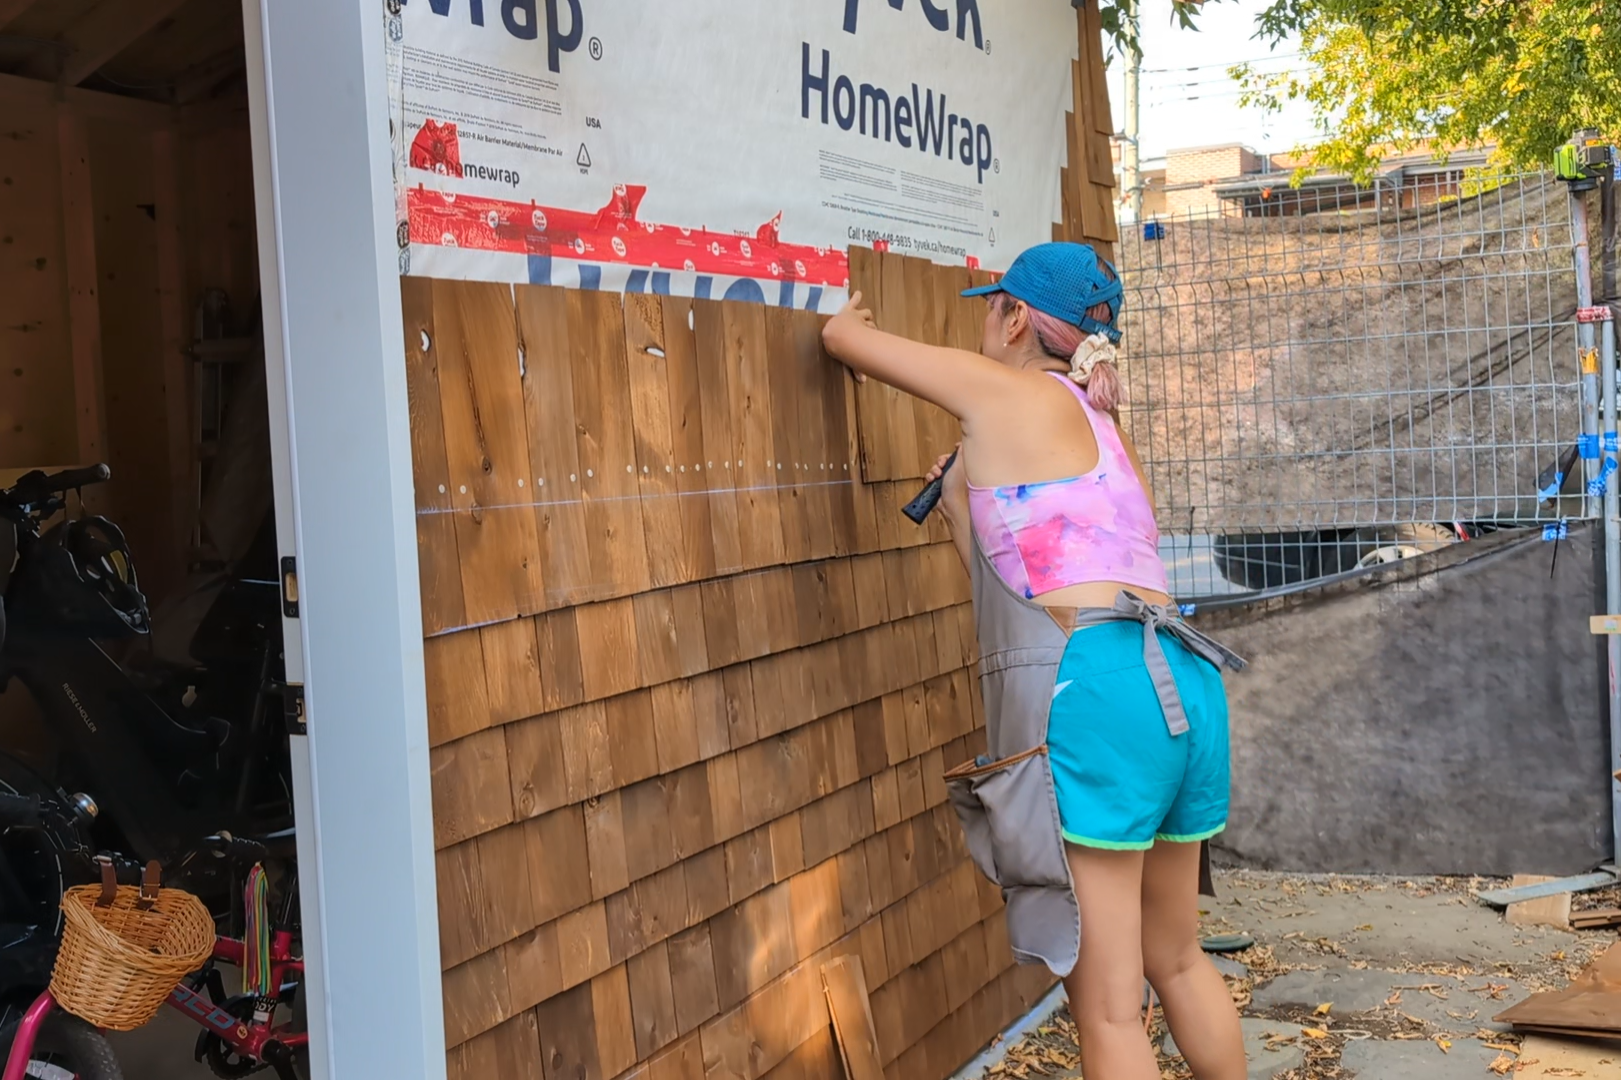
Then we added Tyvek. At some point after this, we also installed the vinyl windows. I do not have footage of that.
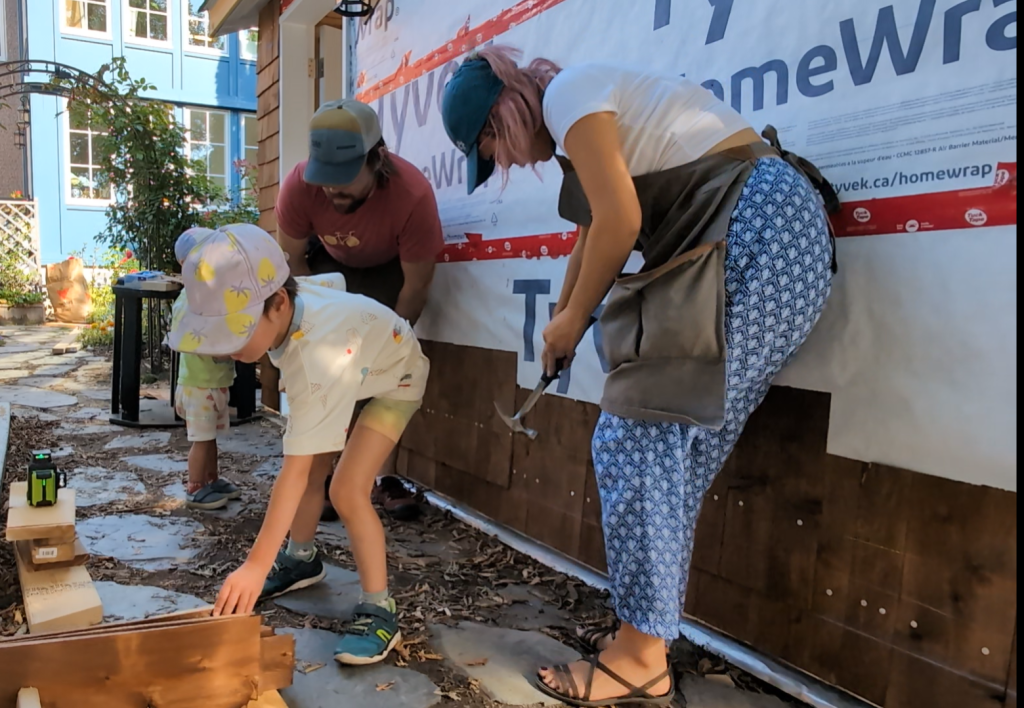
And then we got to work adding the cedar shakes. The kids wanted to get involved too and it was so cute!
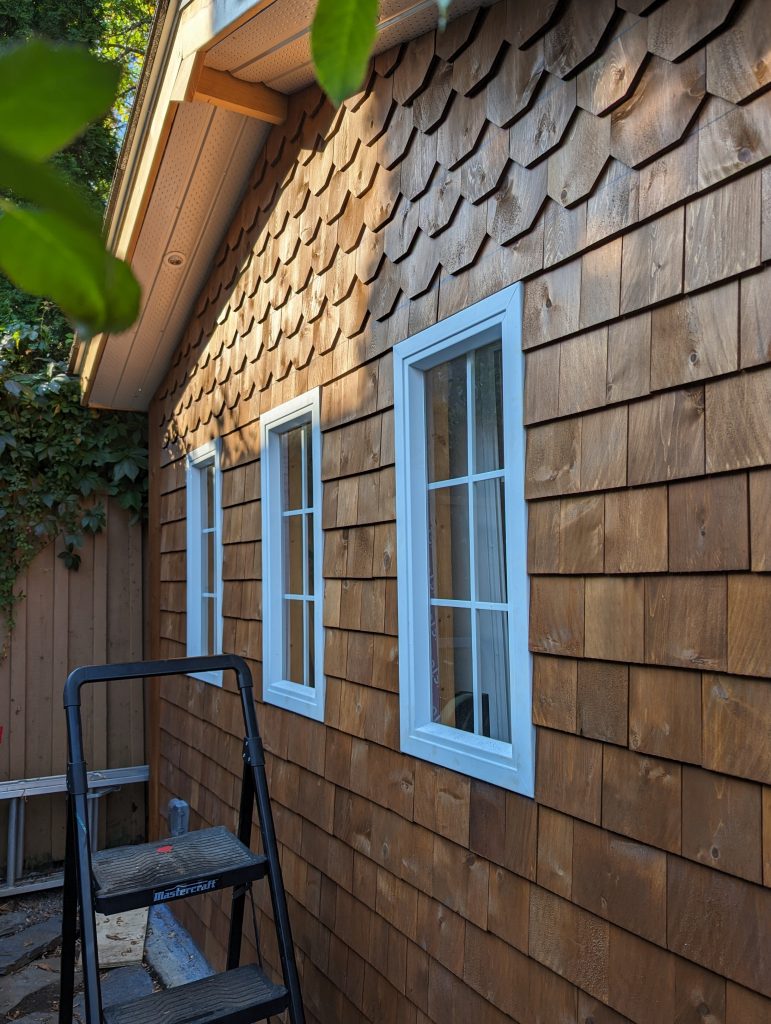
While I was happy to have my partner to take the lead on the shed decisions, I did insist on two things.
1) I really wanted to have cedar shake siding and 2) I wanted a kind of scalloped design near the top. I love the rustic, vintage, organic look that it gives, and knew it would compliment the greenhouse and the rest of the cottage garden design of the backyard.
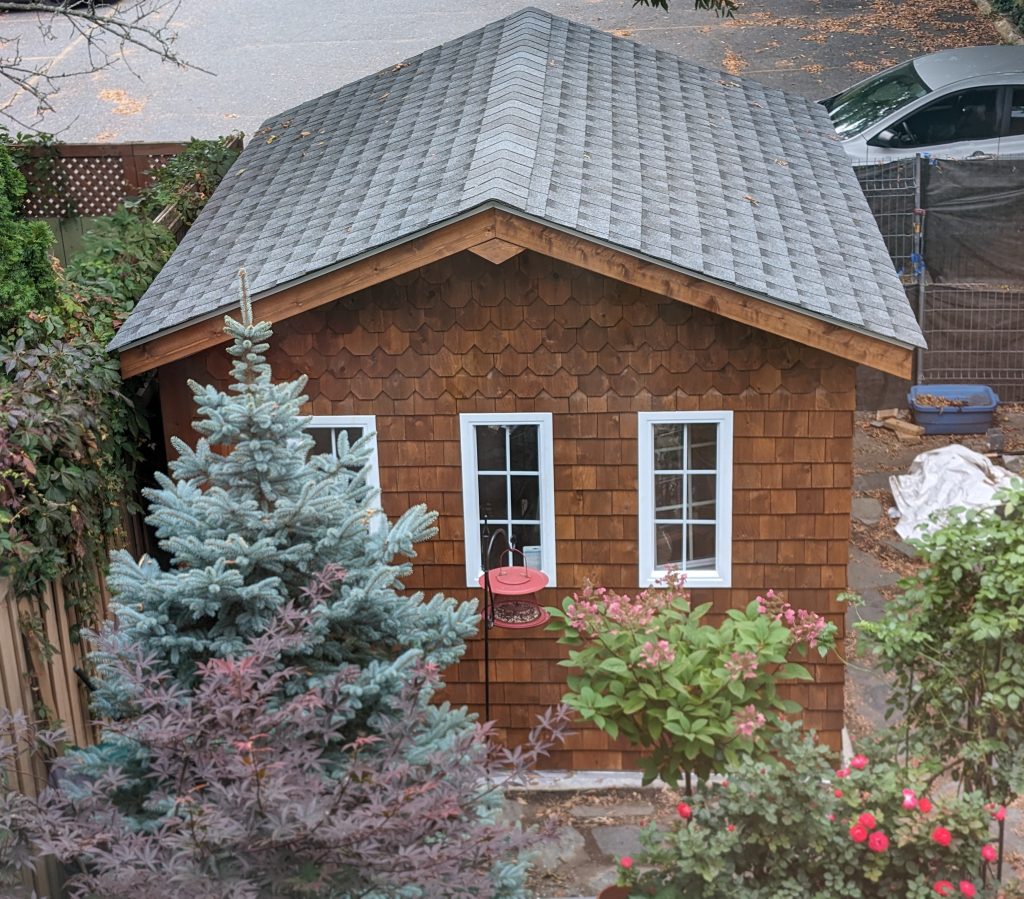
I think I was spot-on with this decision. See how cute it looks???
And lastly, near the end of summer/beginning of fall, we were finally able to get this custom rolling garage door installed. Our shed is used for some storage, but it’s mostly functioning as a bike port. We each have two bikes (and no car) and this was probably the most functional thing that was missing from our life. A bike garage you can just ride your bike into, like you would a car!
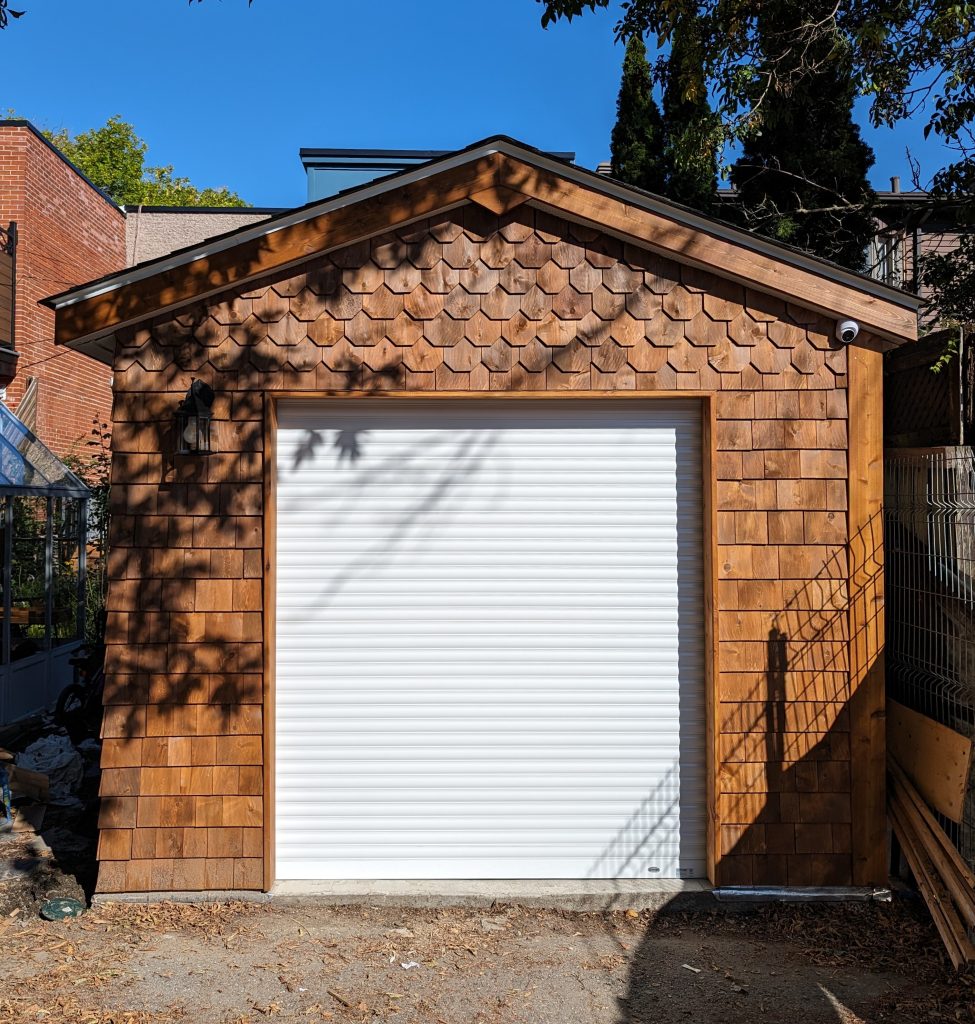
I also forgot to take photos of the roofing process, but here’s what it looked like when it was all finished! I know I’m not as detailed with this whole process as I could been, but truth be told, I’ve forgotten a lot of what happened or what we specifically did/used etc. Most of the pictures in this post are just screenshots of time lapse videos, so sorry for the bad quality! I took a lot of videos, but hardly any photos. Whoops.
If you have any specific questions, drop them in the comments and I’ll try to look into it for you!
And I have to give credit where credit is due. I really underestimated my partner’s ability to plan and execute a project like this. It’s sturdy, solid, looks amazing and serves us so much better than the old shed did. I really have to hand it to him!
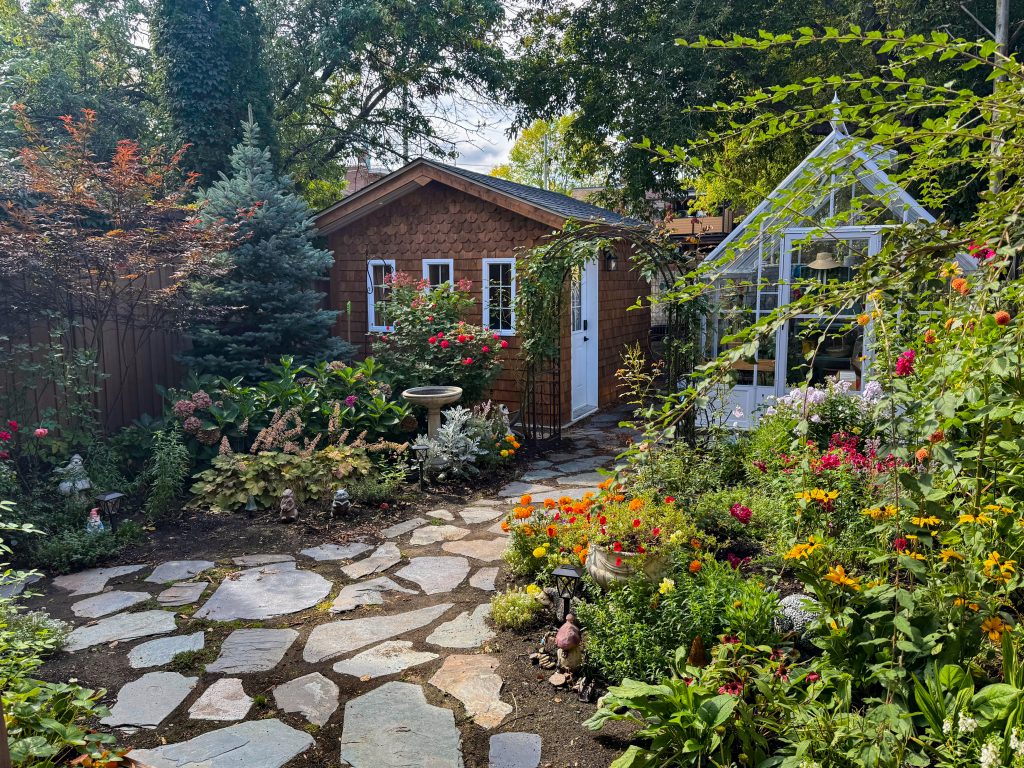
I mean, look how cute it is nestled in the back corner of the garden amongst all the trees and flowers!
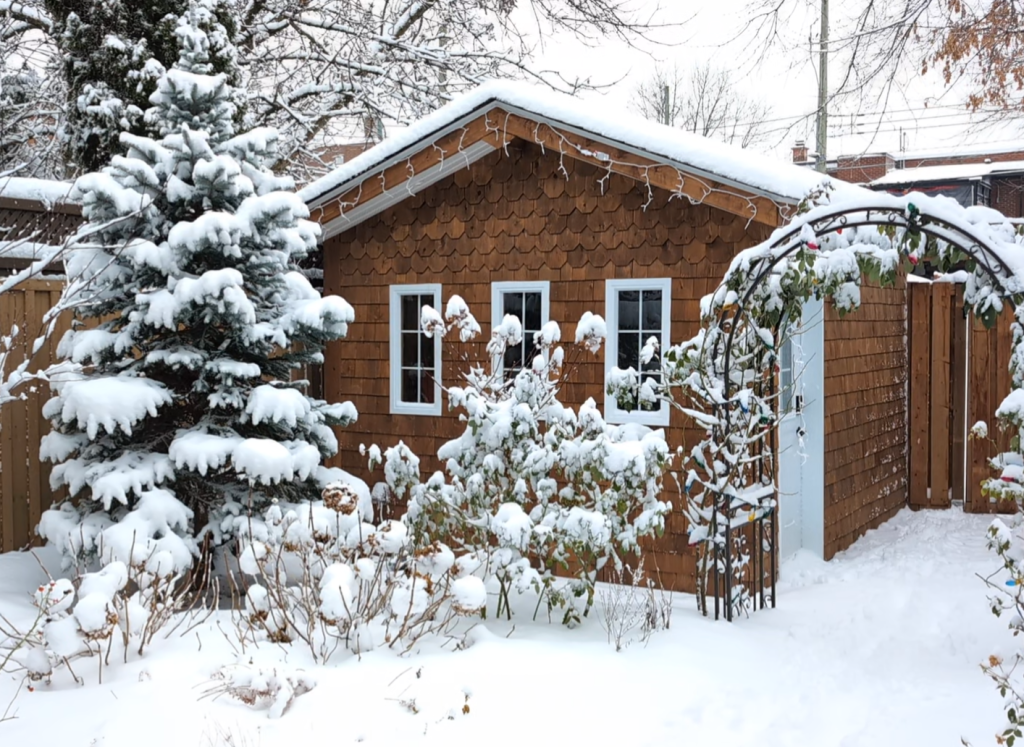
Even in the winter, it looks like a woodland cottage dream!
So I guess the moral of this story is, you too can be the proud owner of a cute cedar shake shed armed with just a YouTube university education and a fuck ton of audacity!
xoxo