
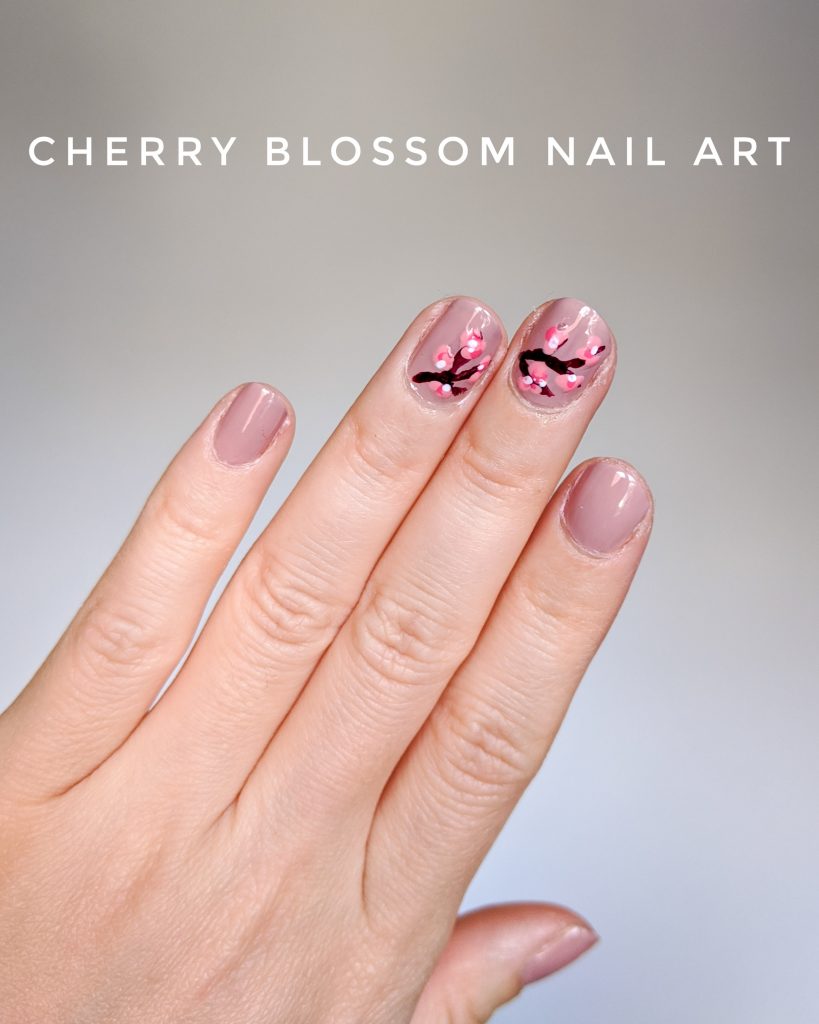
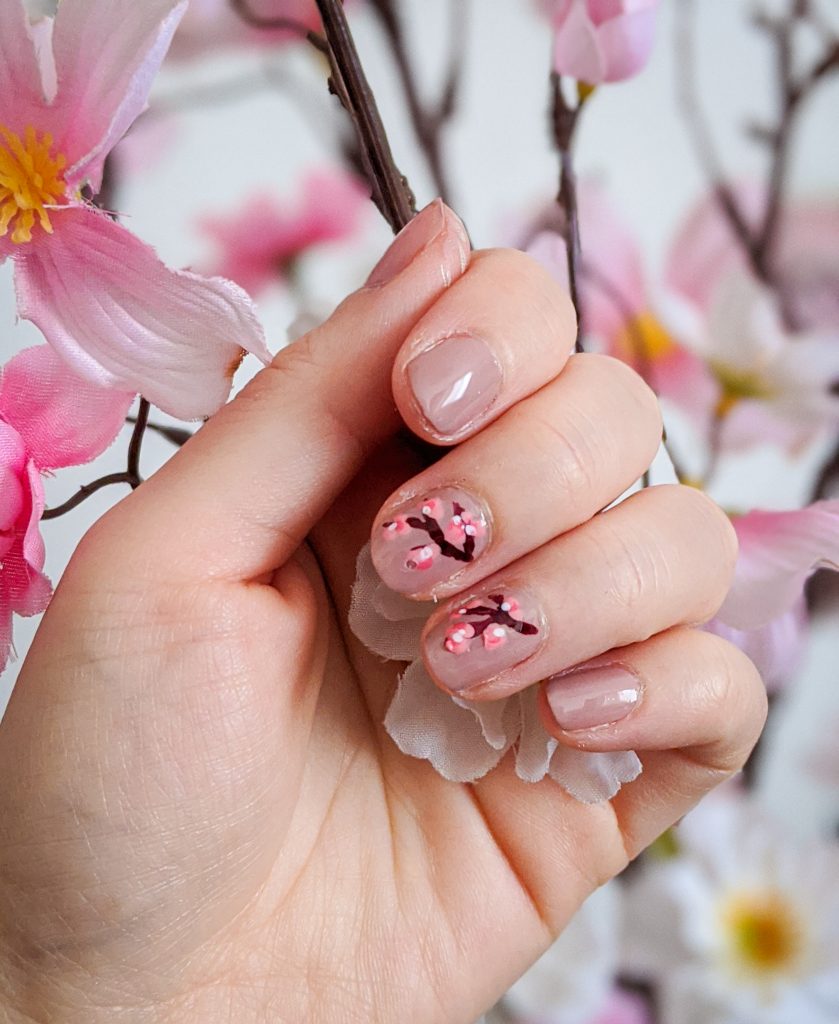
One of my favourite parts of spring is the many blossom trees that fill the air with such a sweet smell and beautiful colours! Our tiny crabapple tree in the backyard has not bloomed yet, but the buds have formed and it could be any day now. Until then, here’s some super simple cherry blossom nail art!
- Apply a base coat and wait for it to dry.
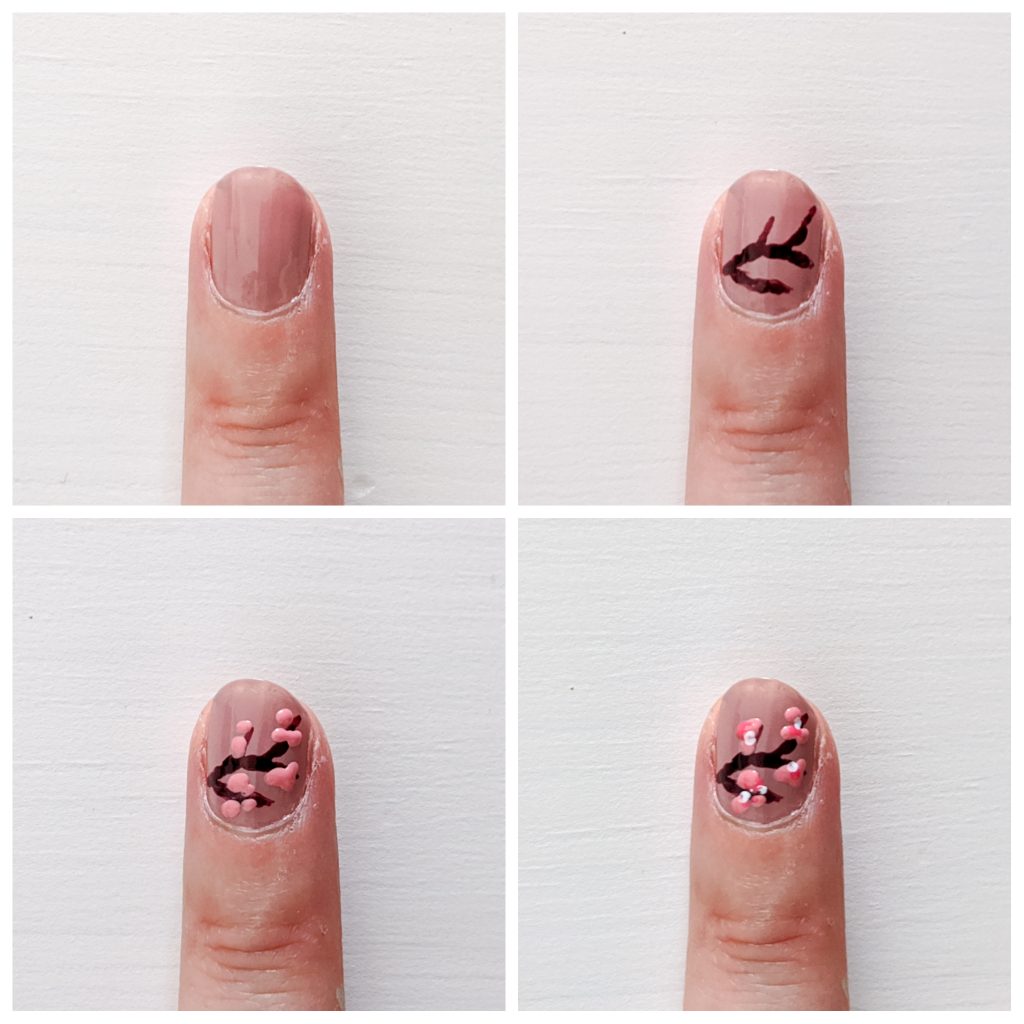
- Paint your nails in a nude shade. A sky blue colour would also look nice!
- Dip a fine paint brush into dark polish and paint a branch diagonally across your nail. If you don’t have a brown or black polish, you can use maroon, like I did! It works just as well. Add smaller branches coming out of your main branch for a real tree-like effect.
- Dip a dotting tool or another paint brush into light pink polish and dot on some small flower petals onto the branches. It looks best if the sizes of the flowers are all different. Alternate between doing one, two and three dots for each flower cluster.
- Dip the dotting tool or paint brush into a darker pink polish and go over some of the light pink flowers with very small dots. Try not to cover too much of the light pink. This will add dimension to the flowers! You can do the same with white polish on top of the pinks.
- Finish with a top coat.
That’s probably it for my “spring nail art” series. Which was your favourite? The pastel tie-dye was probably mine. Happy Monday everyone!
xoxo