

I don’t know if I’ve ever spoken about this on the blog before, but I love a good wreath! Our front door ALWAYS has a wreath on it. I do seasonally themed ones of course, but I’ve never actually tried making my own out of flowers.
Well, with this summer’s bountiful harvest of statice, I decided to give it a try for the first time and I think it turned out pretty well! It’s not very seasonally appropriate at the moment, though. I think I’ll just store it for spring. But if you’re interested in making your own dried floral wreath, here’s how I did it!

Materials
- wreath form
- flowers that are good for drying
- (optional) burlap or ribbon to make a decorative bow
1. Gather materials
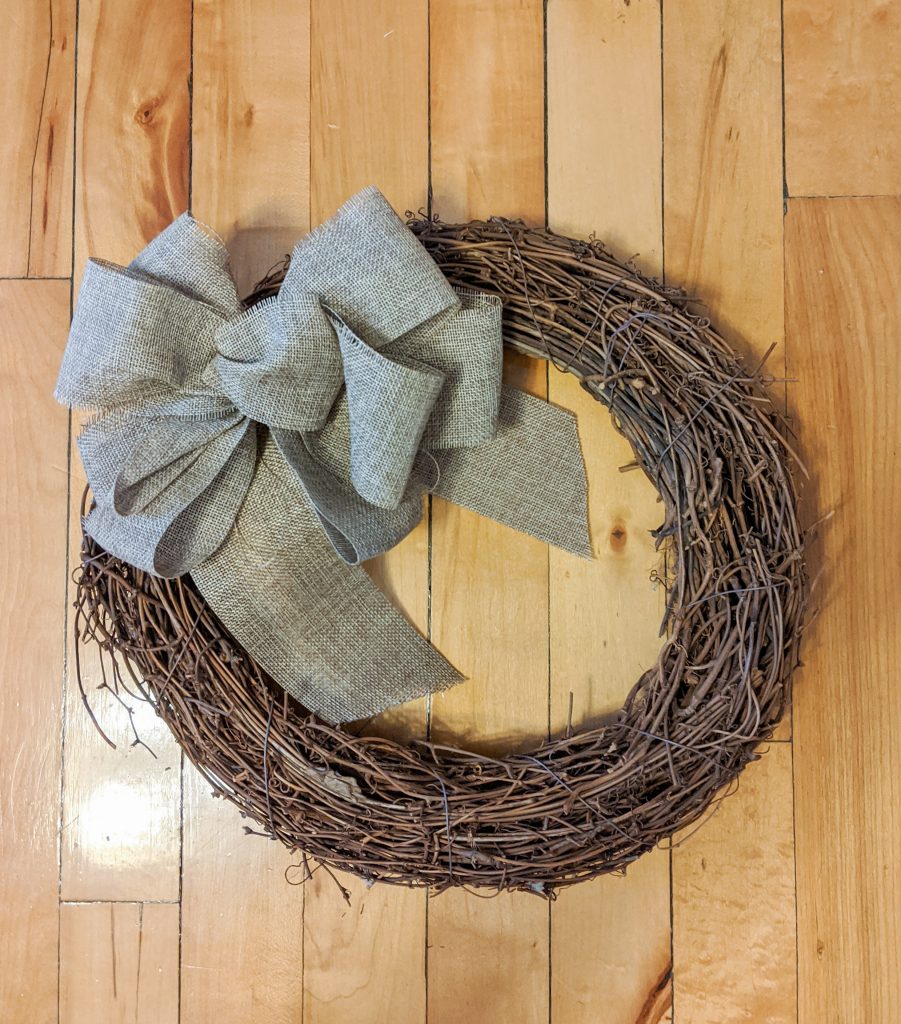
This super simple DIY basically only requires two things: a wreath form and flowers! I used a grapevine wreath that I’ve had for years. I had made a burlap bow for it a long time ago so I can’t won’t show you how to make one in this post, but it’s optional anyway.
I like the grapevine because it gives you lots of good places to insert your bloom stems, and unless you use tons of flowers, you will get little pieces of wreath form showing through, so I think using a nice-looking form will make it look more cohesive.
When it comes to the flowers you choose for the wreath, there are a couple of important things to keep in mind:
- Pick flowers that are good drying flowers.
- Thinner stems are easier to work with.
- Dry your flowers for a few days before adding them to the wreath.
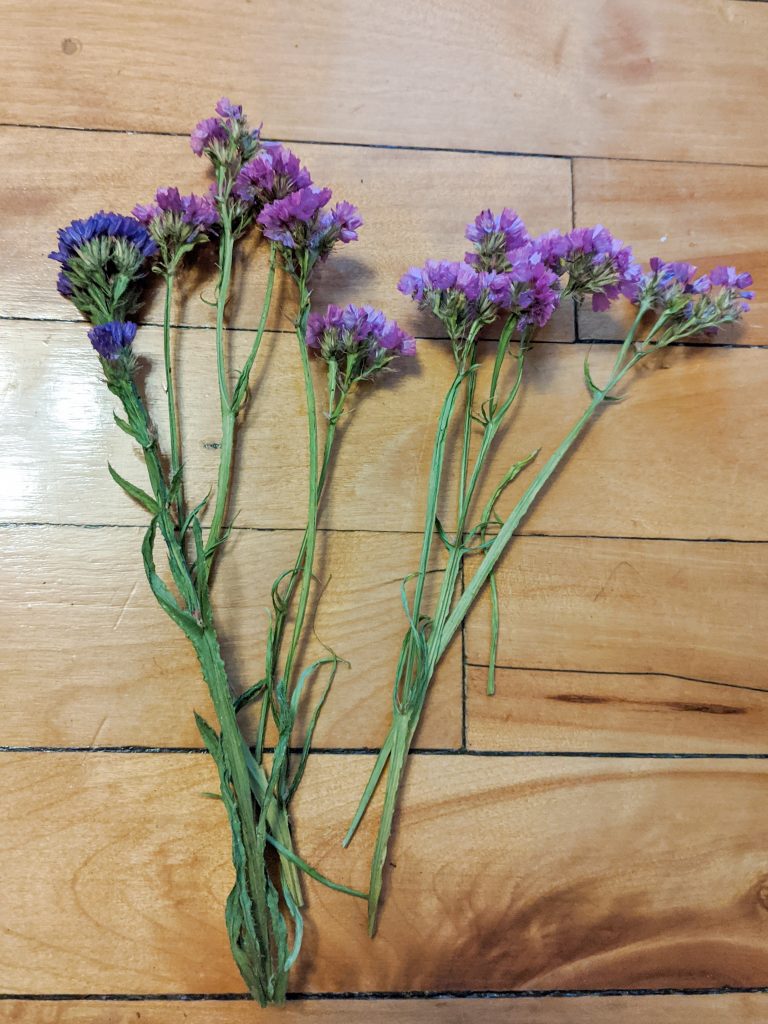
You don’t want to pick flowers that will just become withered and discoloured after a few days of being on the wreath. I used statice that I grew from seed this year in my garden, which maintains its colour and texture fairly well, even after years of being dried. It will get extremely delicate and papery though, so handle with care!
I found that if I let the flowers dry for just a few days, the stems were stiffer than when you immediately cut them from the garden. The stiffer stems were much easier to work with!
2. Add flowers to wreath form
This part is super simple. Simply cut the flowers into small, manageable pieces and thread them through the grapevine.
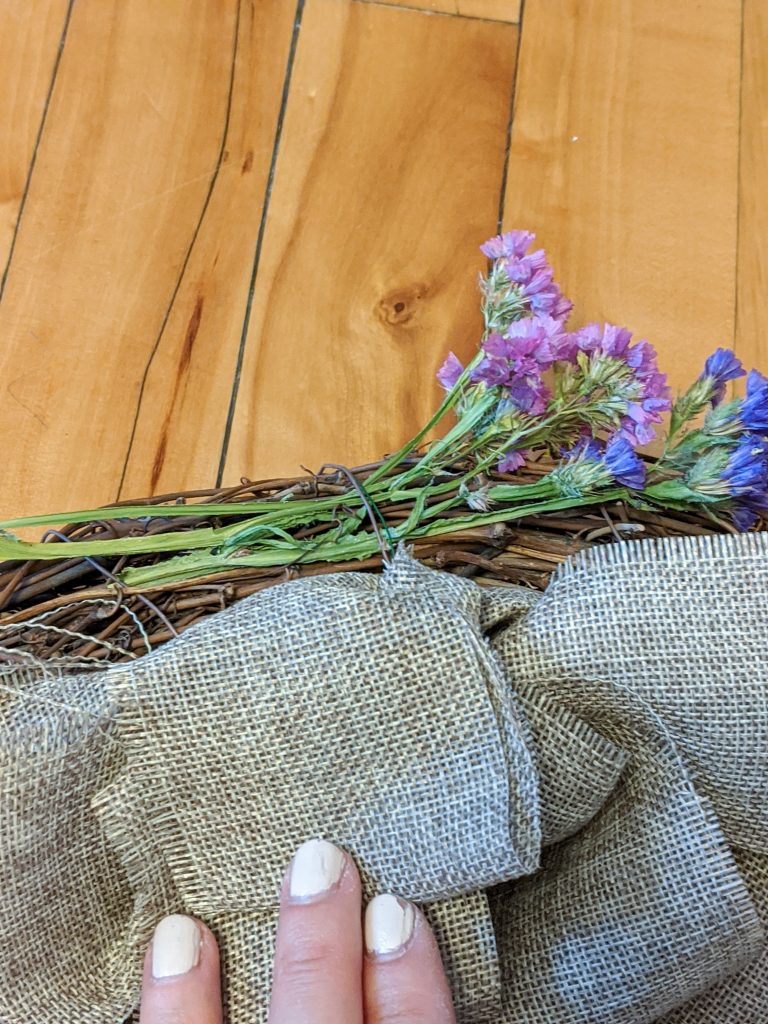
After starting initially with longer stems I realized that shorter stems were much easier to thread through the grapevine. I barely had even an inch of stem on the blooms I used near the end.
I worked with individual blooms, but you could easily make bunches in order to get a fuller look to the wreath once you’re done. If you do use bunches, it’s probably easier to tie off the bunches to the wreath form rather than trying to thread all the stems through the vines. I would just use some floral wire if you’re going to do that.
Also, be sure to turn all your blooms in the same direction as you’re working. It’ll give your wreath a more uniform look!

And there you have it! A super simple way to make a DIY floral wreath that adds a lot of character and interest to your door. I’ve stored it on its back in a garbage bag for the season and will probably bring it out in spring to add some much needed colour and life after a long winter.

For my next wreath, I might try incorporating different types of flowers or plants to get a more complex and interesting look. The possibilities are endless!
xoxo