
Besides our total bathroom renovation, I feel like the theme of our house is “transformation through budget DIYs.” There are enough interior design hacks nowadays that I really feel like novice decorators can accomplish a lot by themselves and do it all on a dime.
But with any kind of shortcut, these hacks always have the potential of going sideways. Who knows how well they really work? Well, when it comes to new tile, the “real” way to do it is obviously remove the old tile and install the new tile. But that’s always seemed like a daunting task to me that I’m not quite ready to tackle, not to mention quite expensive for nice tile.
I had already “replaced” the kitchen backsplash by painting it (you can read more about that process here). But had it not been for the cost, I would have tried stick-on tiles. The backsplash wraps around the whole kitchen so it would have cost hundreds of dollars! No thanks.
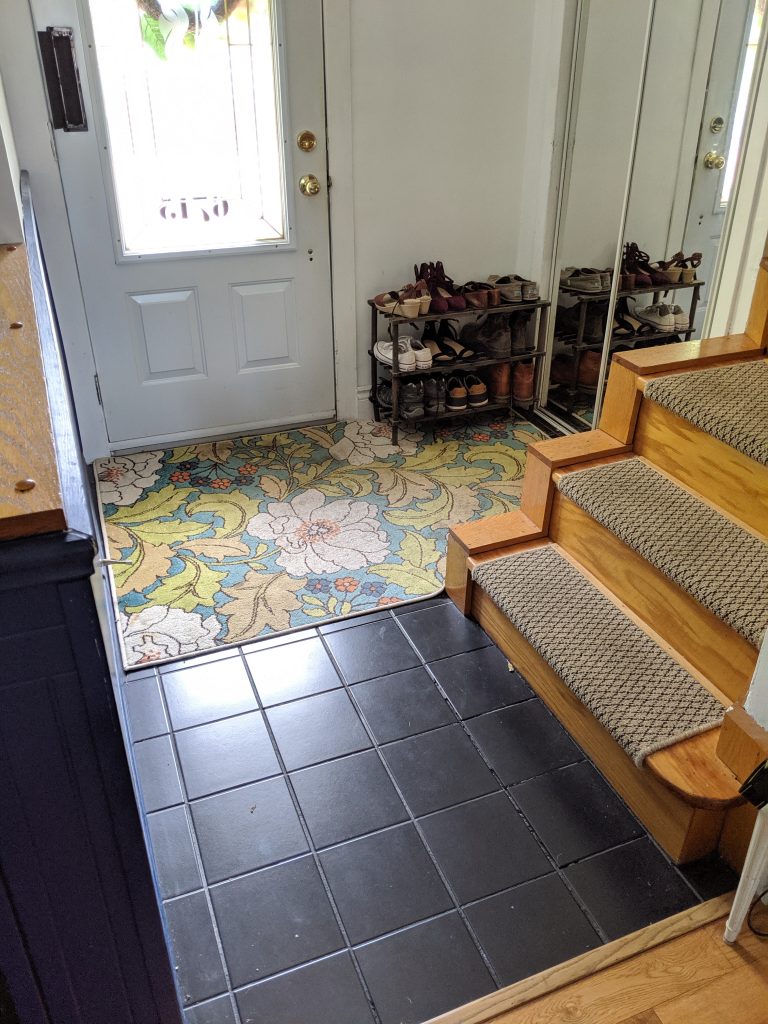
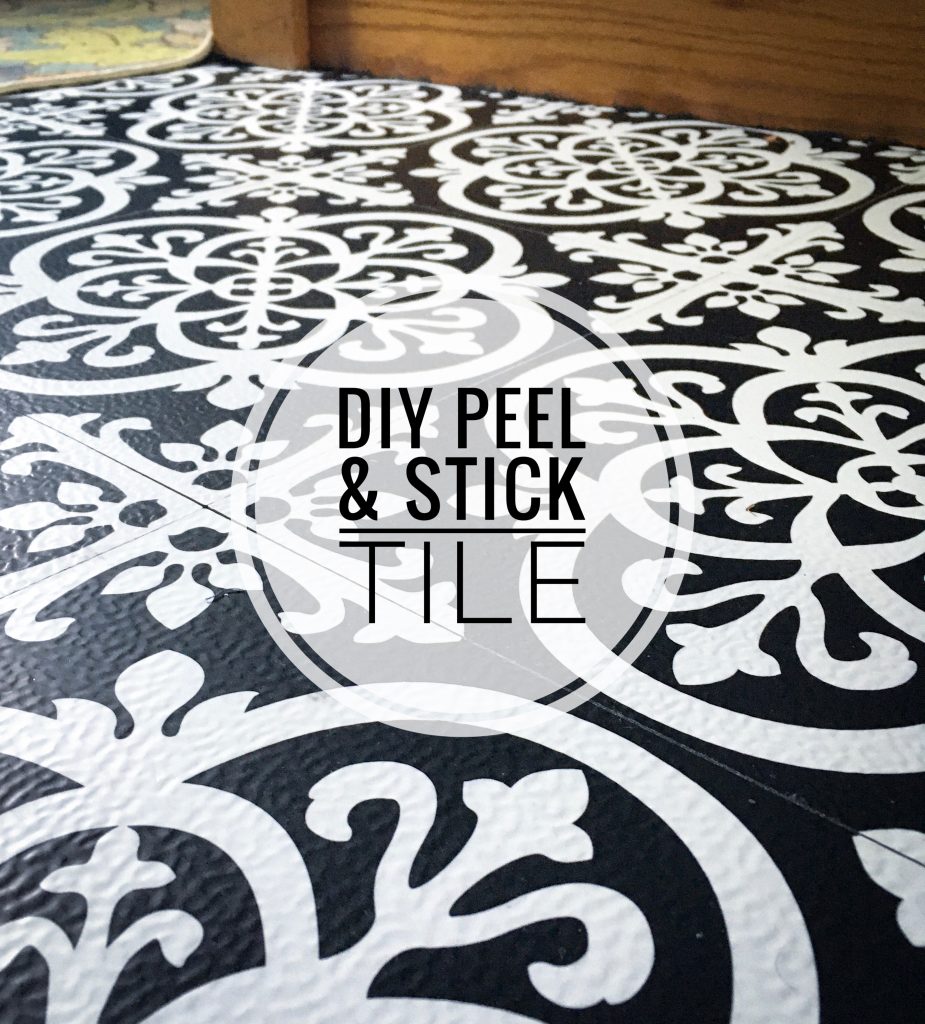
But I had been interested in replacing our ugly entryway tile for a while now and it was a much smaller area to tackle. Perfect for a little DIY peel and stick tile!
Materials
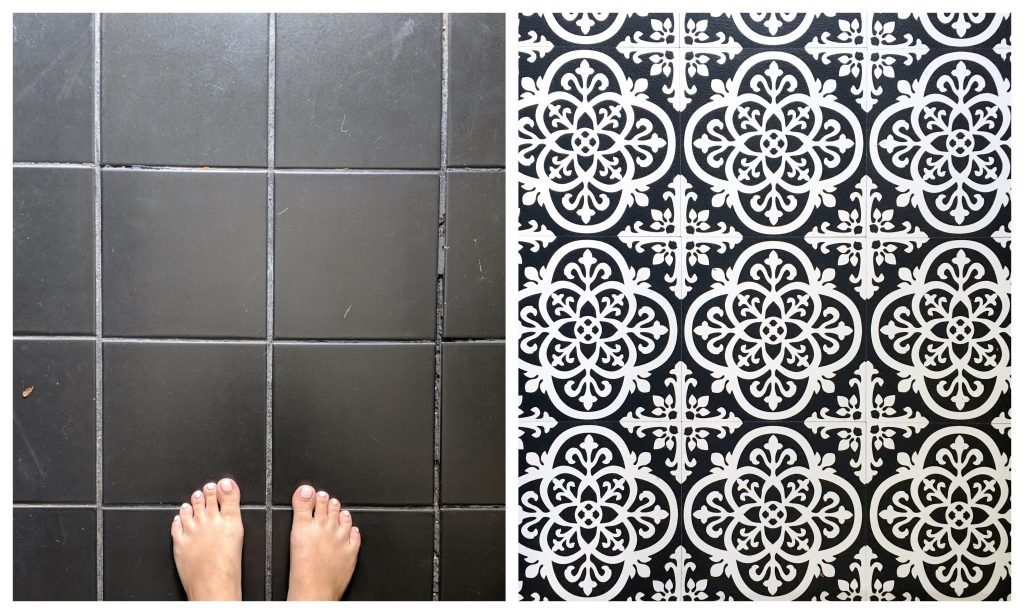
-peel and stick tiles (these are the tiles I got)
-cleaning supplies
-utility knife
-tape measure
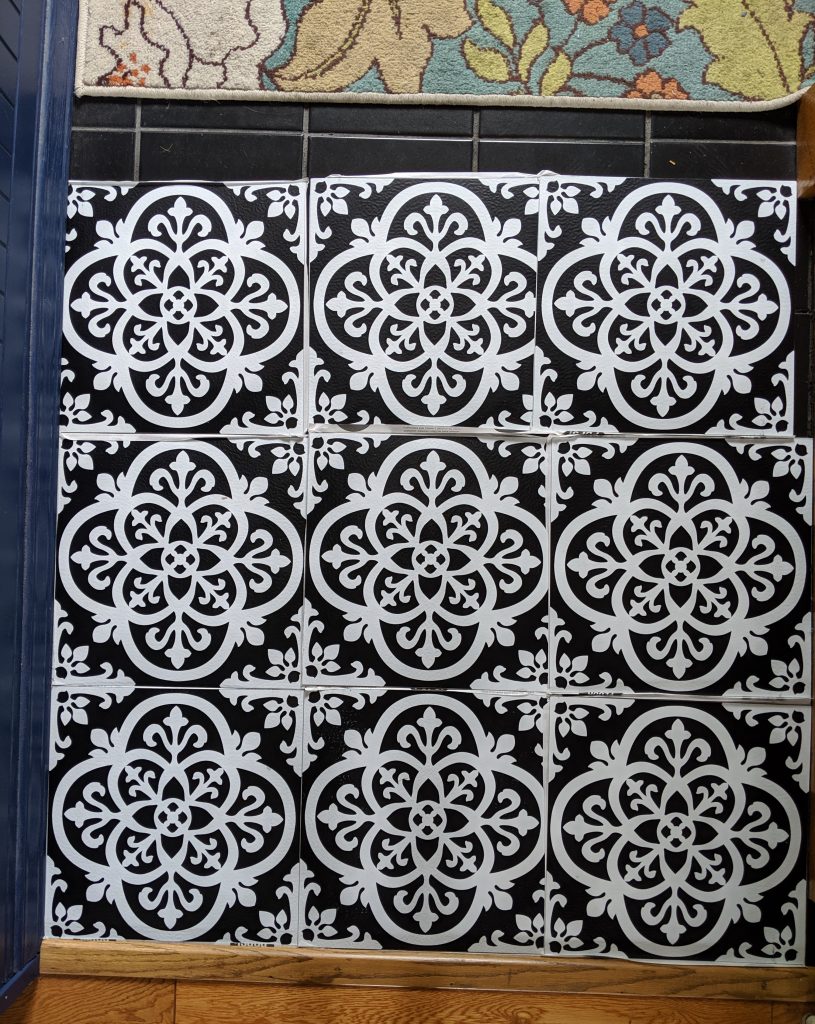
1. Plan layout
Starting from one of the flat edges of the floor you want to cover, lay out all your tile and match it as best you can to make a seamless pattern. I found it helpful to number the tiles on the back so I could put it back in the order I decided on when it came time to stick them on.
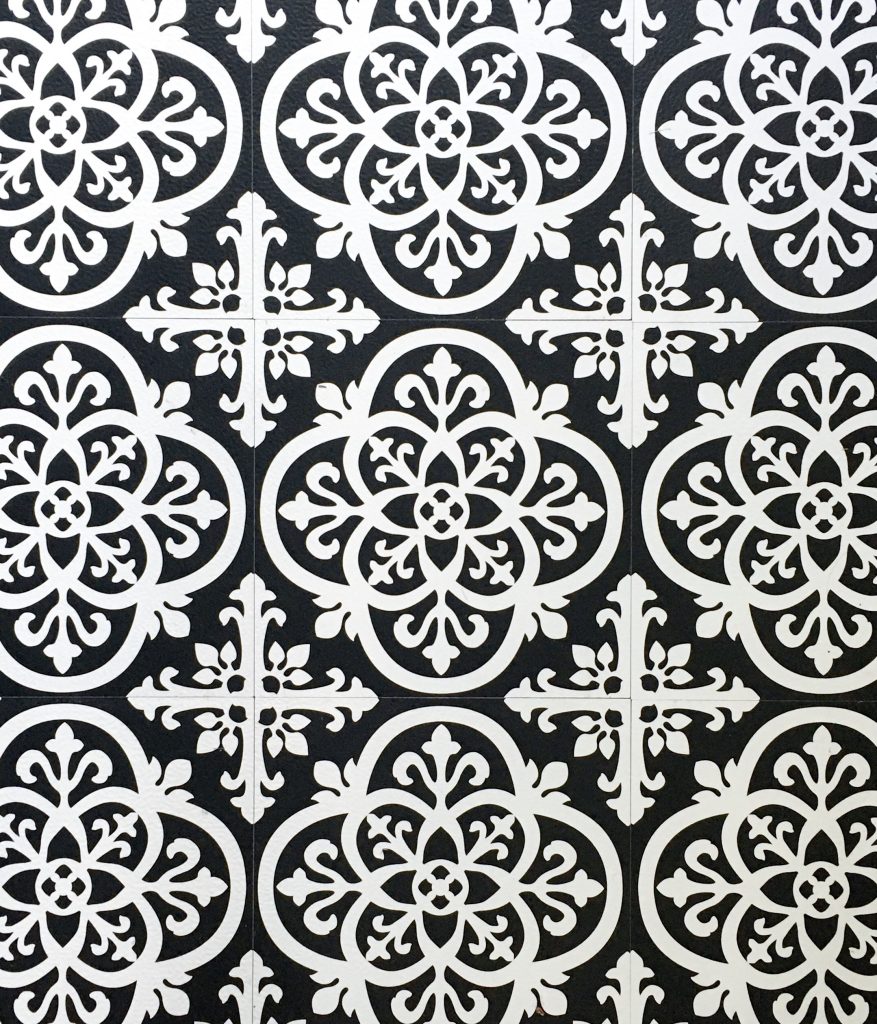
Here’s where you definitely get what you pay for. While the tile I ended up getting looks great from far away, the printing of the pattern is not perfect so there’s no real way to line up the tiles perfectly. The pattern is very slightly off at almost all the seams. But because it only costs $30 for ten tiles and you can’t really tell unless you look closely, I’m okay with it!
Also, your existing tile might not be the same dimensions as the peel and stick tile, but that’s okay! I actually think they might end up lasting better by not following the grout lines of our existing tile. I feel like more of the tile will have a solid surface to adhere to this way.
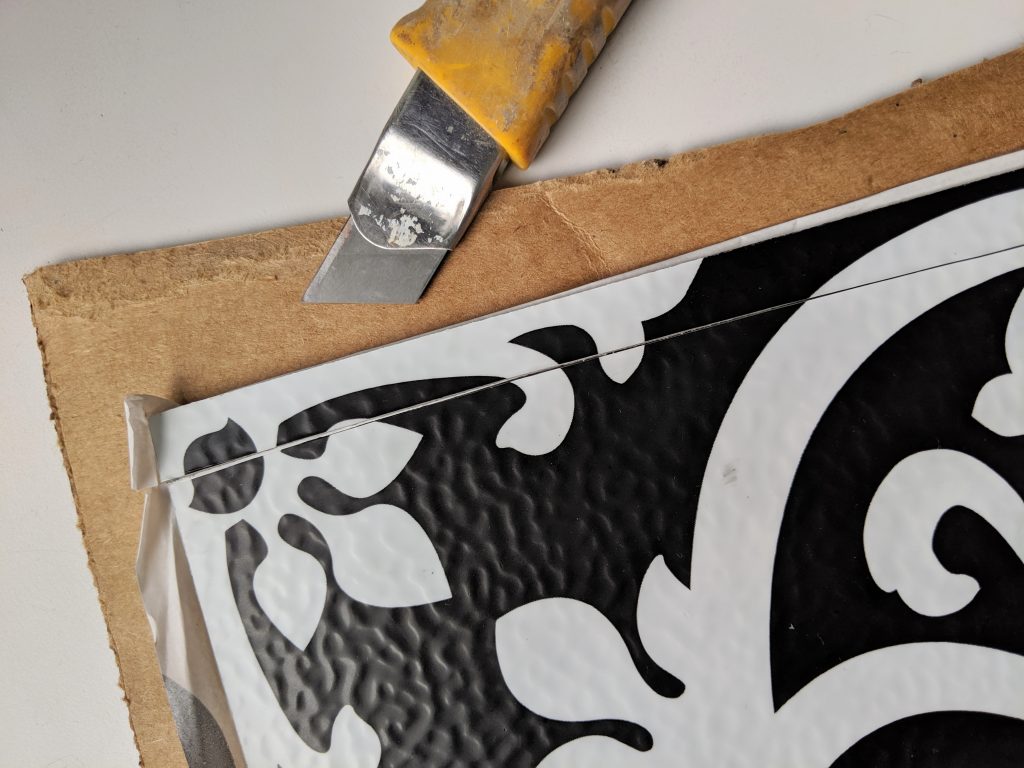
2. Cut tiles to size
Measure where you’ll have to cut down some of the tiles to fit the space using a tape measure. I just made a small mark with a pen on one end of each tile to indicate where to start cutting.
I used a utility knife for this task, but you can easily use scissors if you want. the tile is not very thick or hard to cut. In fact, I think cutting it with scissors will actually give it a cleaner, straighter cut. I wish I did all the cuts with scissors! Or at least held the utility knife up to a ruler to make sure the cut was straight. But I’m not that smart.
3. Clean the floor area
You’ll want to make sure the floor you are covering is super clean and debris free. I just used regular cleaning supplies and also a hand vac to get into the crevices/grout lines.
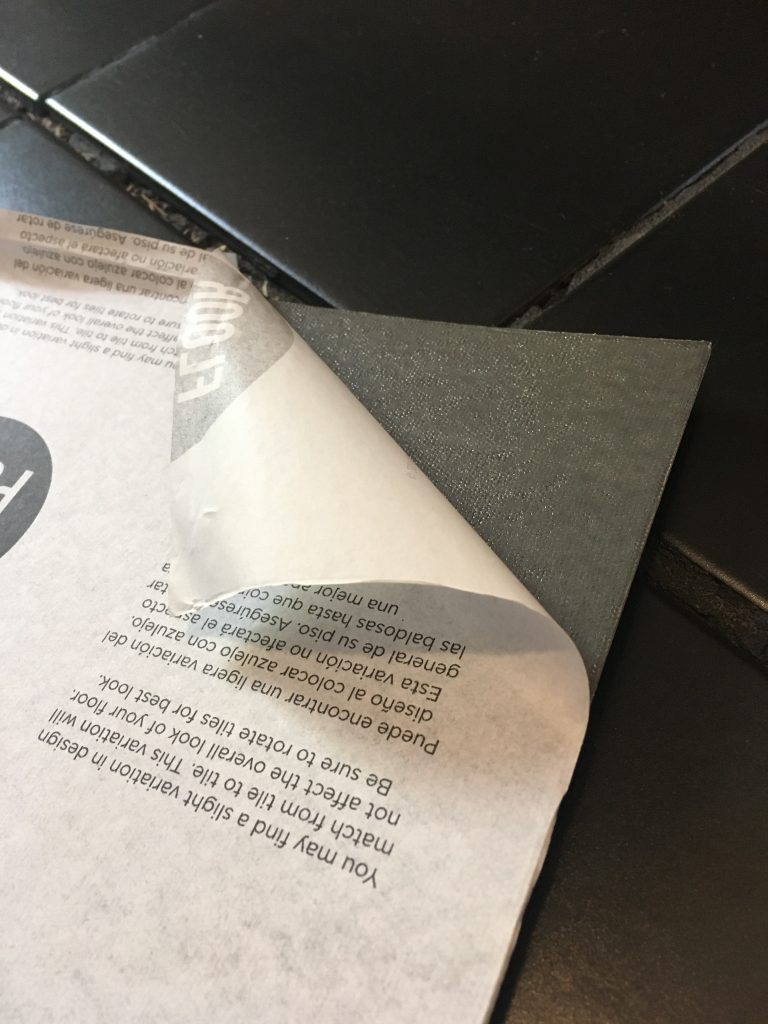
4. Stick the tile on the floor
When you’re ready to commence “tiling,” peel the backing off of the tiles and start sticking them down in the order you decided on. I found that I often had to un-stick and realign them a couple of times to get them to line up correctly, so don’t flatten them down and press too hard right away. Although the tile I got actually ended up peeling off pretty easily when I needed to make adjustments.
And to my surprise, they did not leave any kind of sticky debris or film on the existing tile when I peeled them off. The adhesive only came off a little bit on my hands, so be careful of that!
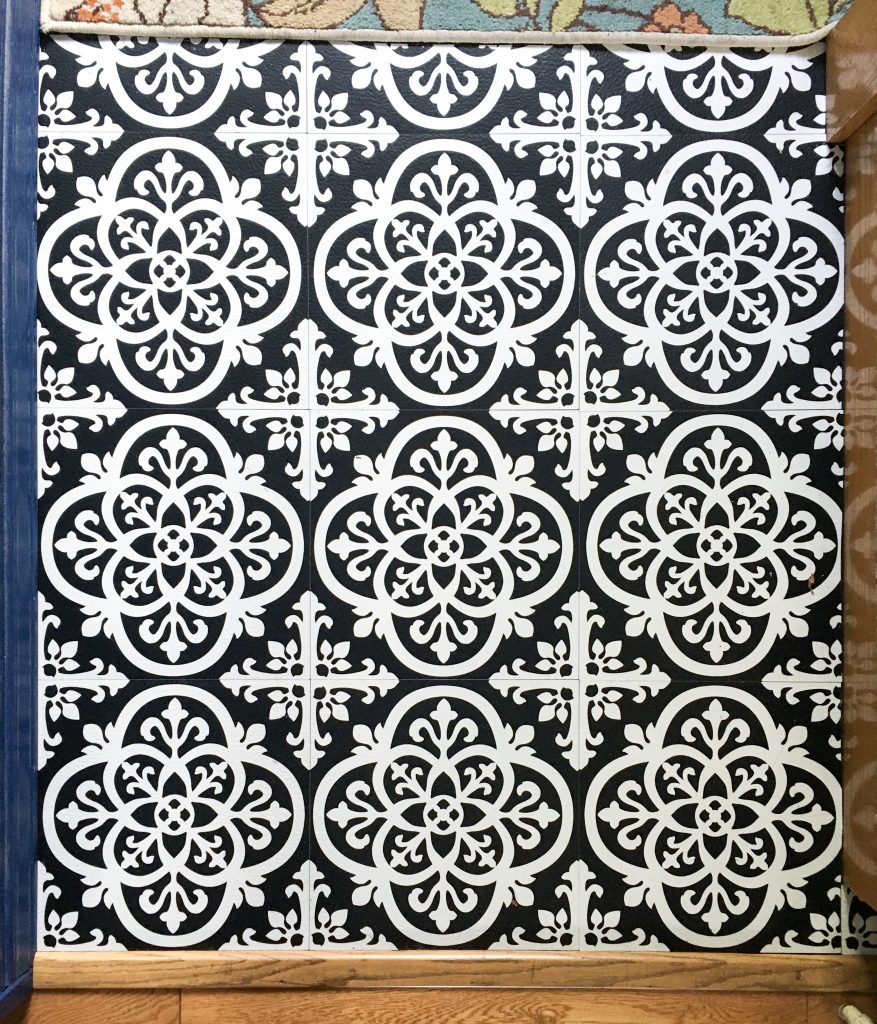
Overall, I think the tile ended up looking pretty good! And maybe you can tell by the photo, but this project is how I discovered that either the stairs or the wall opposite of the stairs is not perfectly straight.
Also, the existing black tile was not in the best shape (one tile was cracked and they were not all at the same exact level). These little imperfections might end up affecting the longevity of the peel and stick tile in the end, but to be honest with you, for such a cheap makeover, I don’t really mind having to redo it in a year or two.
So what do you think of this super easy, budget DIY tile transformation?
xoxo