
Hydrangeas! One of my top two favourite things to put in the garden, roses being the other. I have so many hydrangea buses and probably will get some more as soon as I can. Now, normally I go for the macrophylla varieties, but I’m starting to come around to the paniculatas.
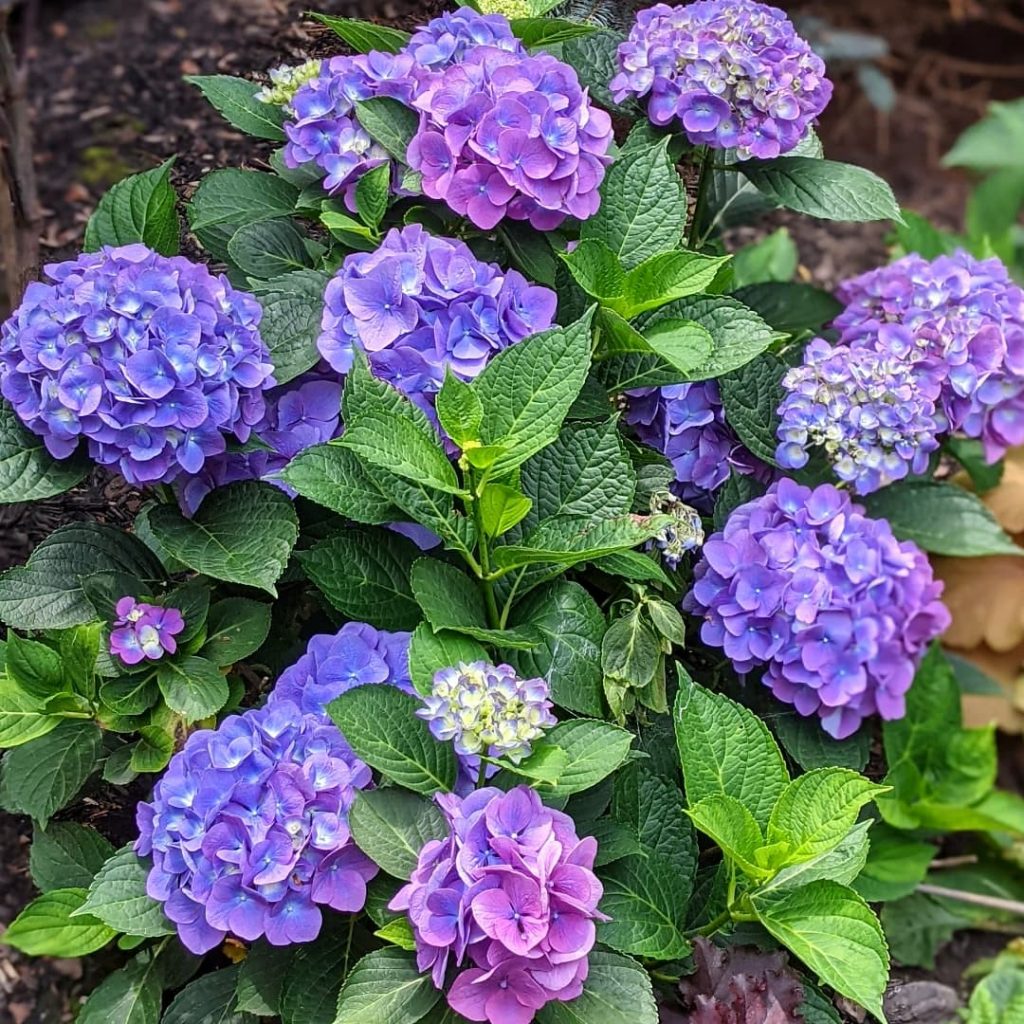
The fact that panicle hydrangeas can handle lots of sun and heat is super attractive to me. My bigleaf hydrangeas used to struggle every single summer. I’ve had to put them in mostly shade/dappled sunlight because it gets so hot and sunny during Montreal summers. The petals scorch and burn, and the flower heads and leaves get soooo droopy/sad-looking. This is my favourite bigleaf girl that I’ve managed to keep happy all season long in her new shady spot in front of a Japanese maple and a blue spruce.
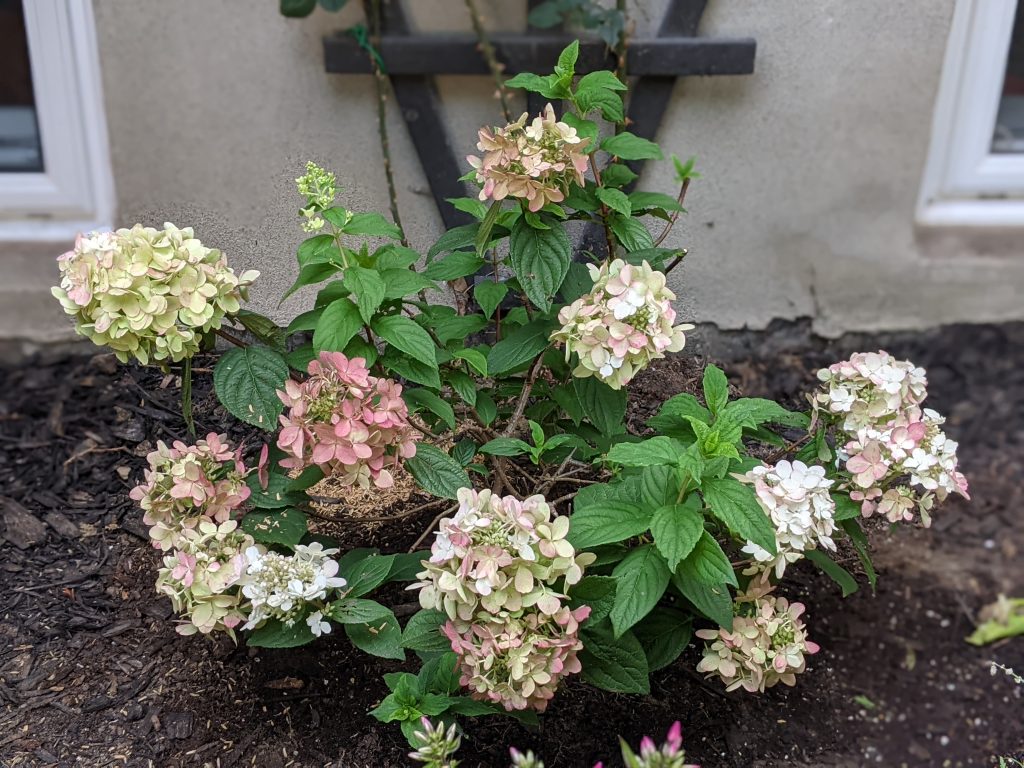
I also love how big panicle hydrangeas can get! One plant can take up so much garden space and because there are so many blooms on one bush, it just seems like such an easy way to fill the garden up with lots of beauty. I’ve just never given them a try because I’m not a huge fan of cone-shaped flowers. I’ve since realized that they aren’t all super cone-shaped. Here’s a Fire Light hydrangea I picked up recently whose flower heads aren’t super cone-y.
And lastly, panicle hydrangeas are the perfect size to train into a tree form!
I first started thinking about adding one or two hydrangea standards to the backyard because I love the height they can add to a garden design, without sacrificing too much garden real estate. You can easily underplant them with other pretty things! We don’t have a huge backyard, so I can’t be filling it with big trees, plus I don’t want to shade too much of the garden bed or my favourite flowers won’t be able to grow. And no shade (haha) to regular trees, but a flowering tree just seems so much better!
Anyway, that led me to the garden centre recently, to kind to scope out their hydrangea standards (among other things) but I couldn’t find the specific variety I wanted in a tree-form. However, I did find it in a bush form. And being the end of the growing season, all the plants were on sale, so I decided to buy the bush for $28 and try pruning it into a tree form myself. Even if this experiment fails, it’s not like I wasted a lot of money on it. Hydrangea standards can be $150 or more, by the way, so best case scenario, I save over $100!
I was debating whether or not to share this with you now or next summer when we can actually see the results of this experiment, but I figured now is a good time of year to try this since we’re heading into fall. So in case any of you wanna take the turning-a-bush-into-a-tree plunge, you can try it too and we can compare notes next year. Here’s how I did it!
Materials
- panicle hydrangea shrub (I used a Quick Fire)
- sharp pruners or pruning saw
- tree stake/ties
- shovel
- gloves
Select Your Hydrangea
The specific type of hydrangea you choose doesn’t matter a lot as long as it’s a hydrangea paniculata. If you go to the garden centre and look at the kind of hydrangea standards they have for sale, it’ll give you an idea of what varieties can be trained into trees fairly successfully. I like the way a Quick Fire looks, so that’s what I got, but you could easily get a Lime Light, Fire Light, Pinky Winky, etc.
Now this isn’t strictly, necessary, but when I was at the garden centre, I checked all of the Quick Fire bushes they had for a couple of things before picking the one I wanted. Firstly, I wanted one with at least one really long stem. The basic idea is you need to pick a branch to be the trunk of the tree and a longer stem will make a taller tree. It also helps if the stem you pick to be the trunk is more or less straight, but you can fix that later if necessary.
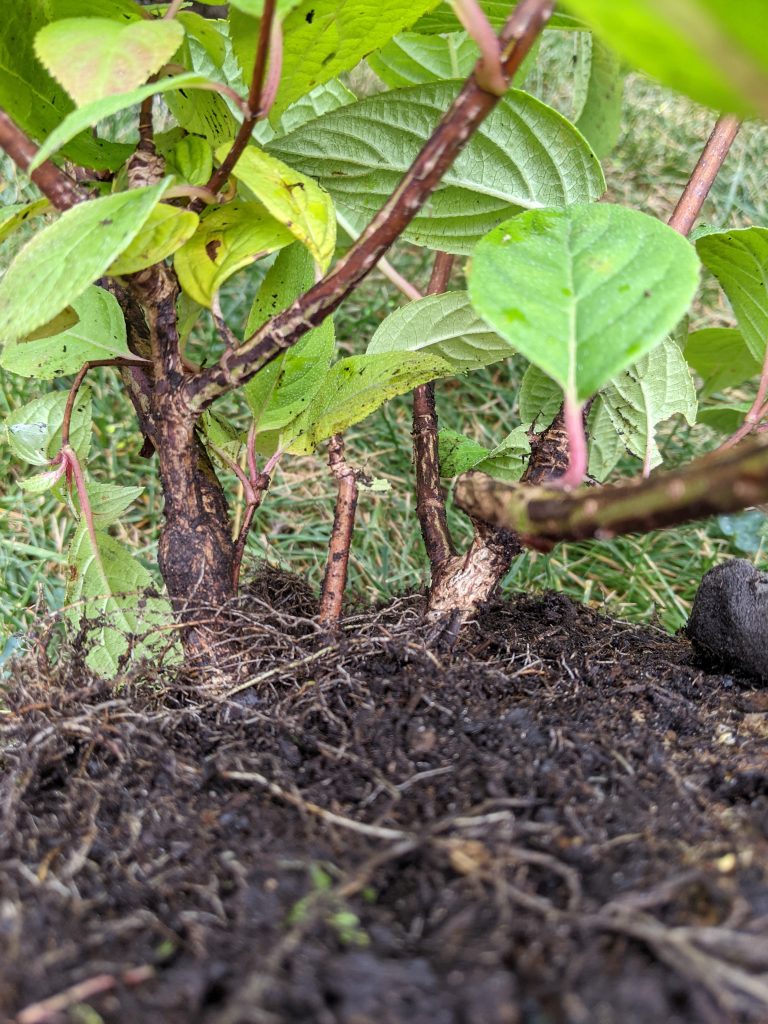
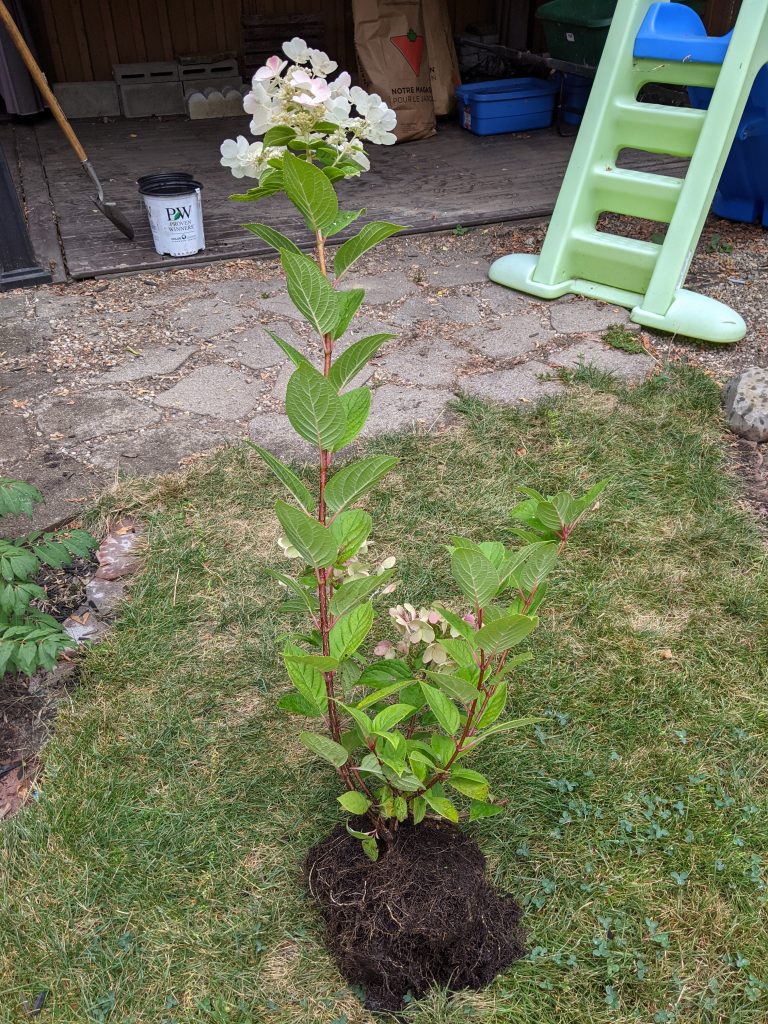
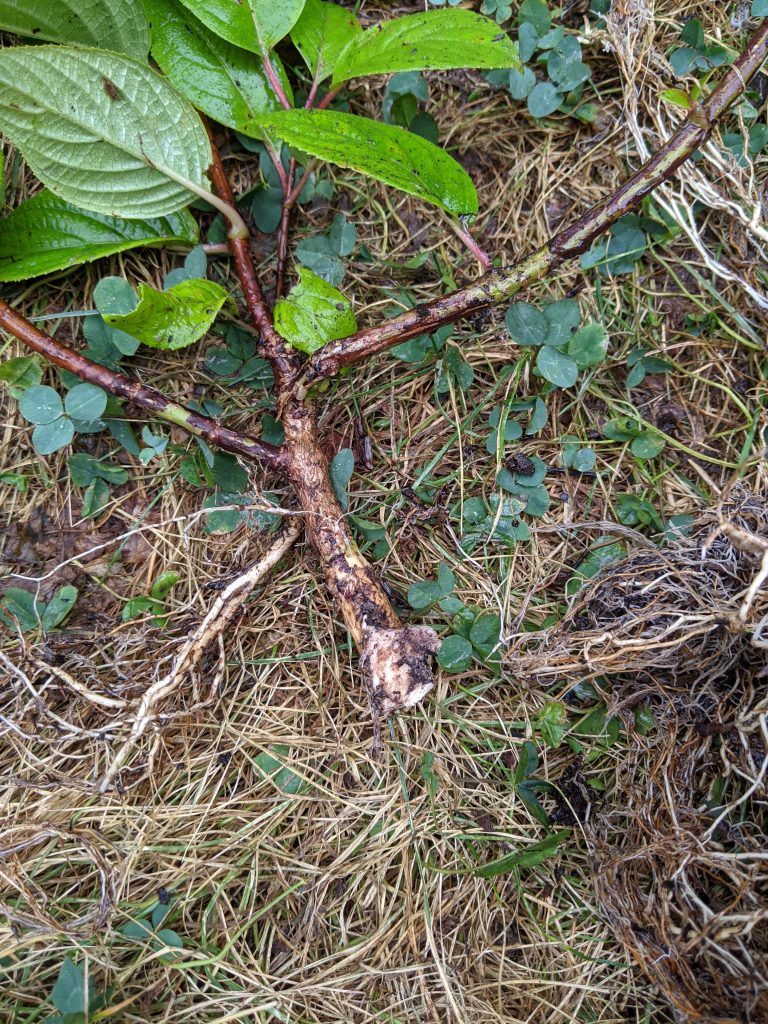
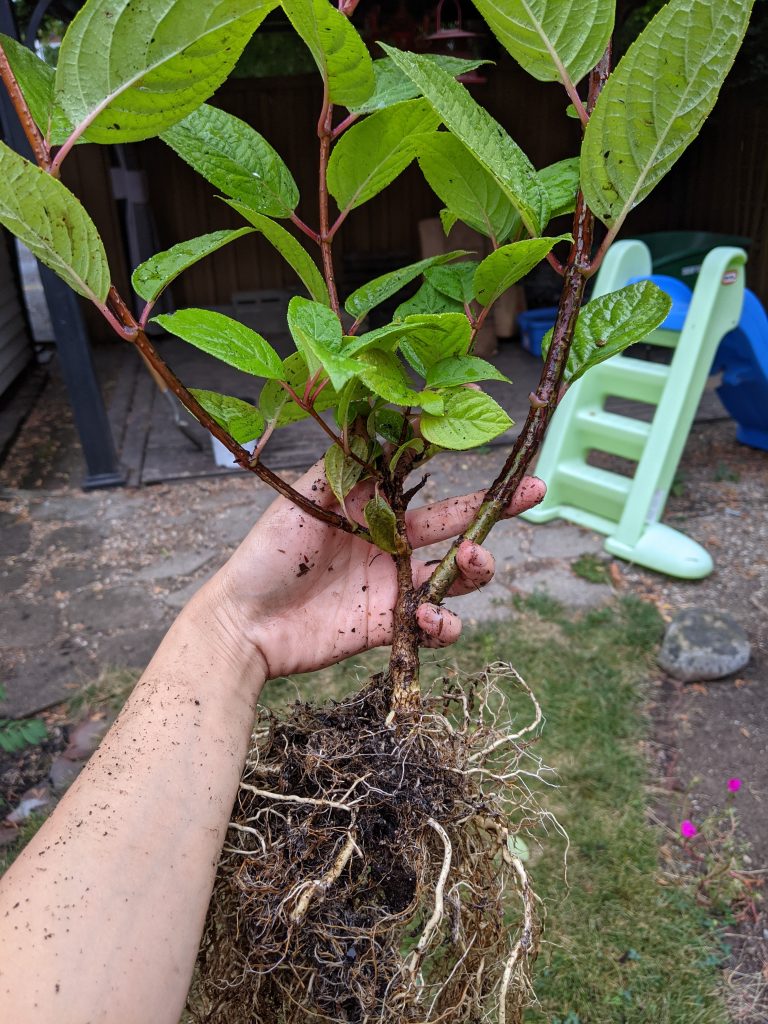
I also checked the base of the plant for an easy breaking/splitting point. What I mean by that is I wanted to split the plant in two so I could train one part to be a standard and the other part could just get replanted as a bush. So I wanted to find a bush that has a very obvious natural splitting point to go by. I picked this bush because it had two thick stems going in two different directions from the very base of the plant.
Clean The Root Ball
If you don’t care about saving the other parts of the hydrangea bush you aren’t going to use for your tree, you can essentially prune off all the leaves, flowers and branches from your hydrangea except from the stem you want to be the tree trunk, and then skip down to the planting step.
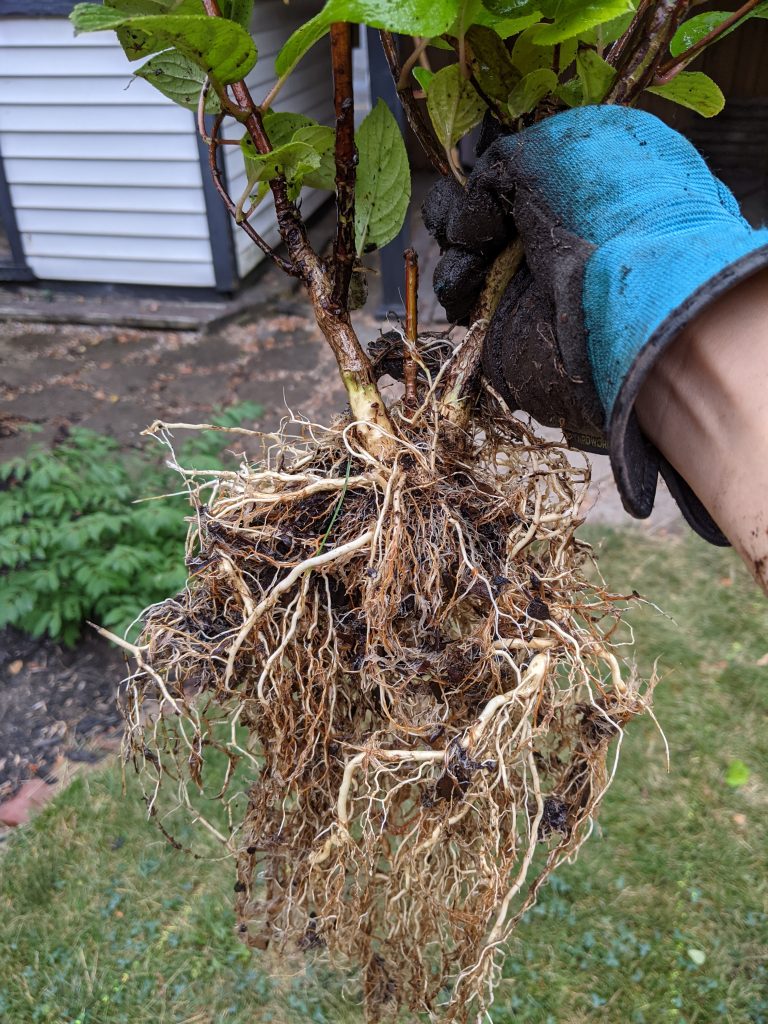
If you’re interested in saving the other parts of the hydrangea to grow as one or more additional bushes, then clean as much dirt off the root ball of the plant as possible. The key is exposing the root system and base of the plant so you know where you need to try and cut. Try to ensure the tree form side will be adequately supported by good roots so it’ll have a greater chance of survival and success.
Separate The Future Tree Trunk From The Rest Of The Plant
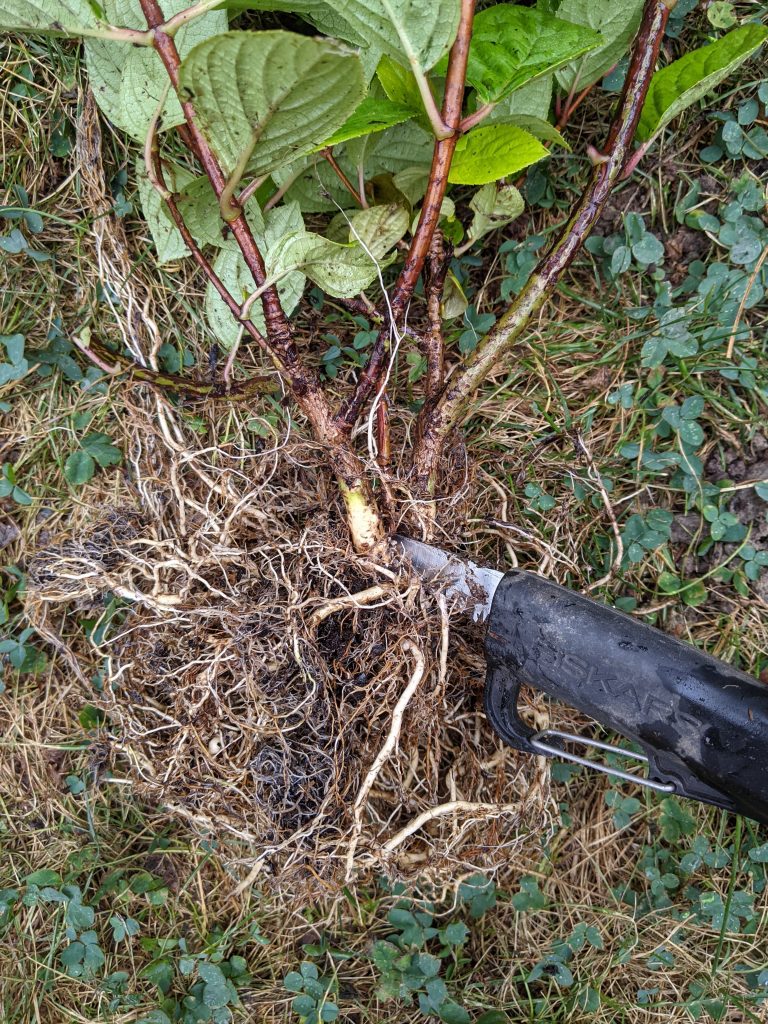
Now find a point at the base of the plant where you can kind of cut the plant in half. My point happened to be right in the middle of the plant. None of my pruners were big enough to cut the base, so I used a pruning saw. And unfortunately, I must have applied too much pressure to one of the stems when I was sawing and it snapped off! Luckily, it was not the stem I selected to be the tree trunk, I just simply lost the potential second hydrangea bush I was trying to create. But that was going to be a bonus. It wasn’t the main mission!
If you’re trying this, be very delicate! I underestimated how weak the stems were. Obviously, older plants that are more established might be able to handle this process better than young shrubs still in their nursery cans. But it was worth a shot!
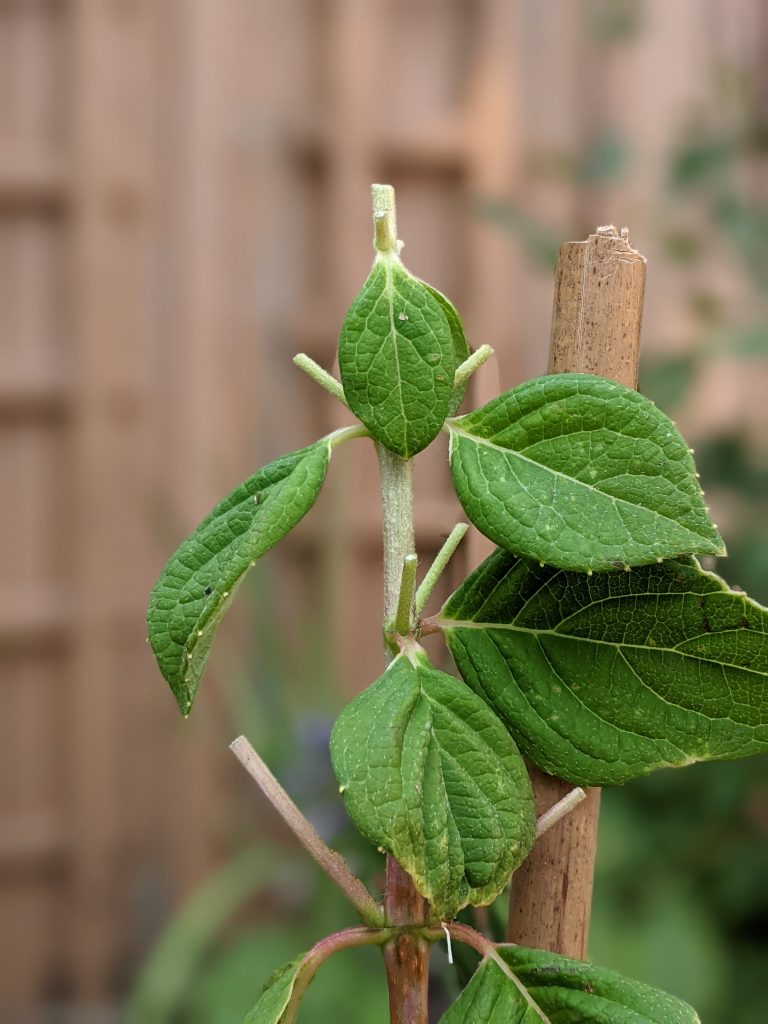
At this point, if there are any branches trying to grow from your main trunk, prune them off. There should only be one long stem all the way to the top.
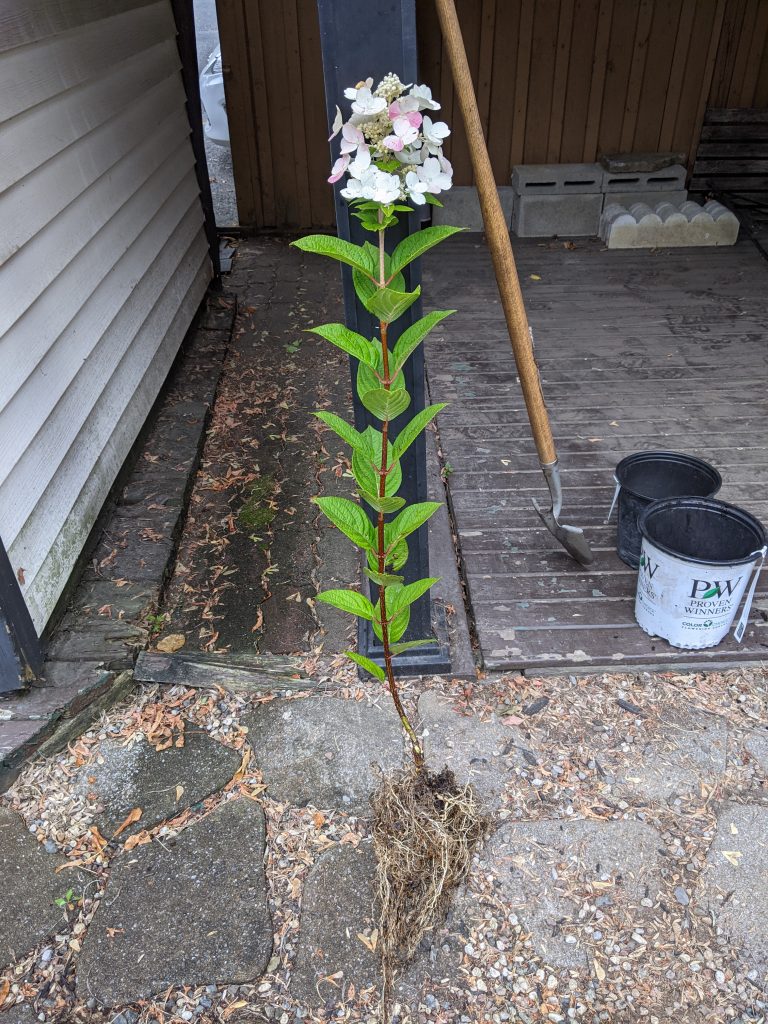
Plant Your New Tree!
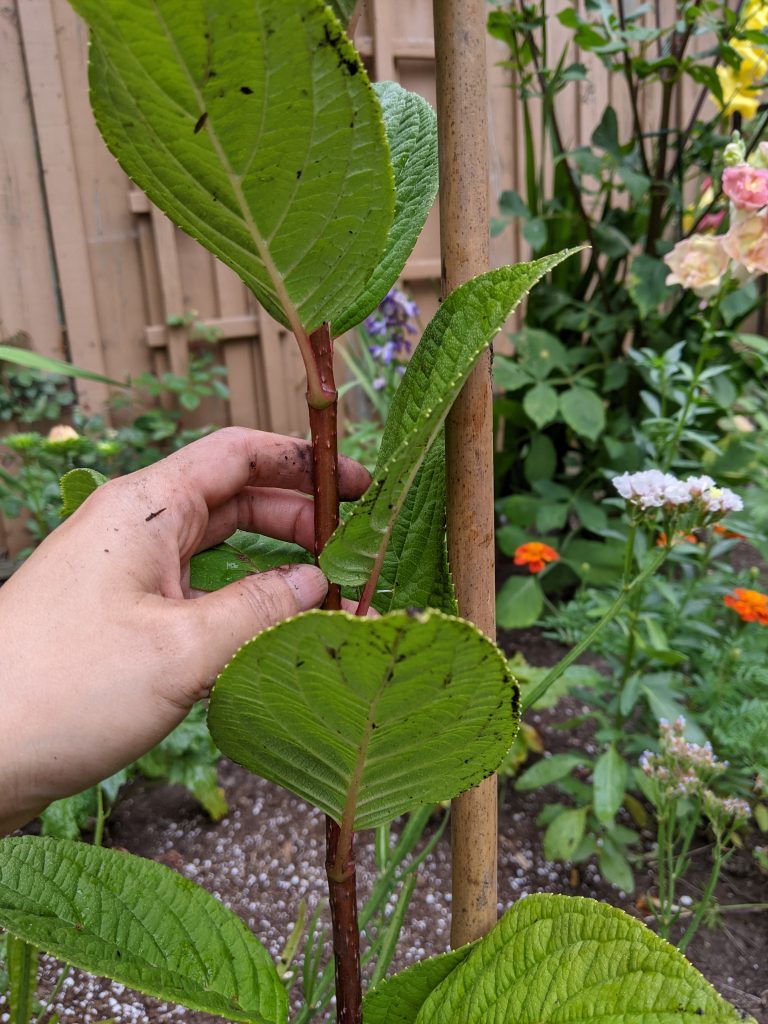
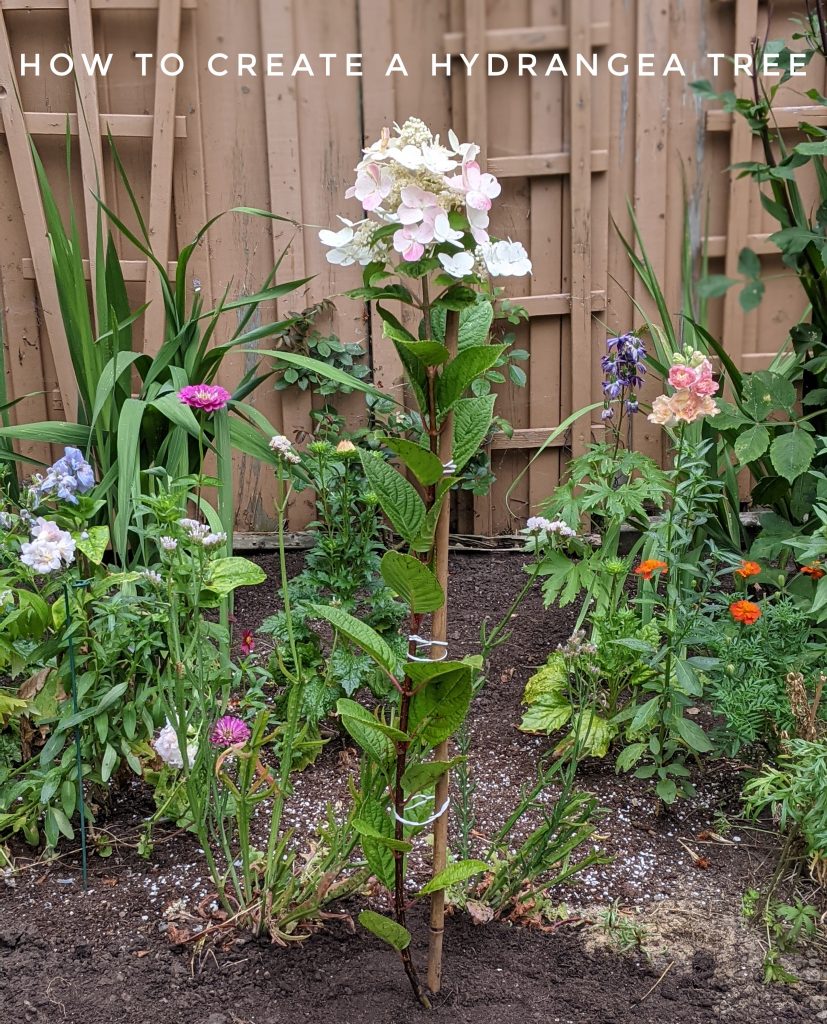
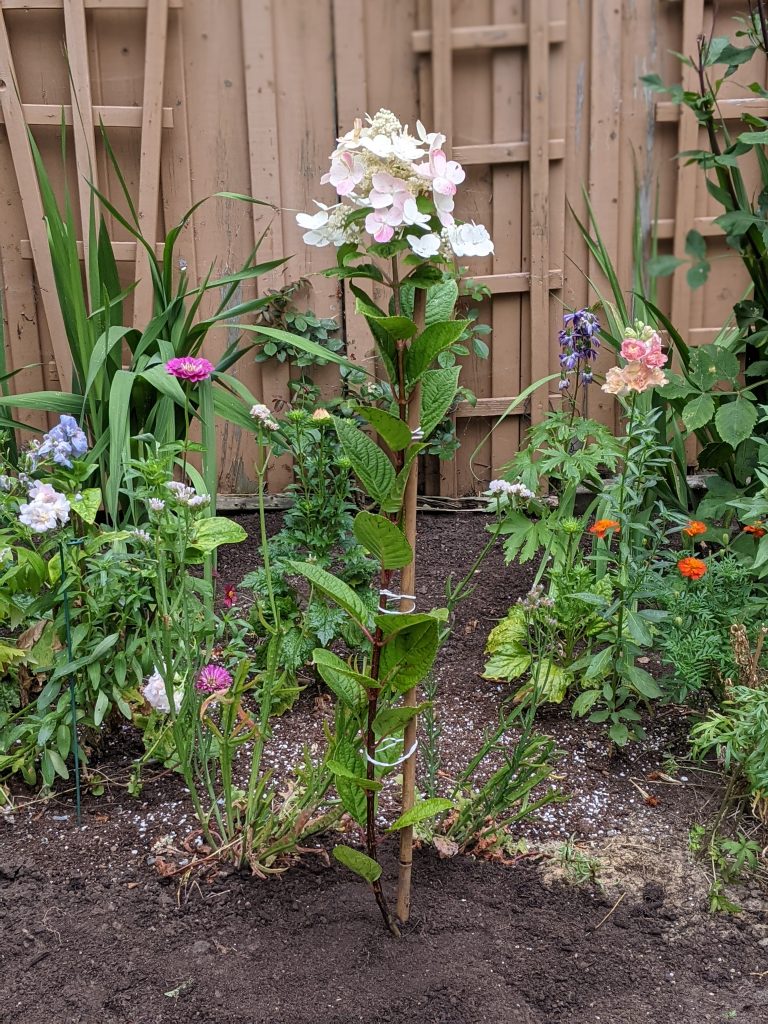
Now that you have a little fledgling tree, it’s time to plant it. Because the stem I selected wasn’t perfectly straight, I had to kind of angle the roots a bit in the ground to get it to stand up straight. I also get a 5 foot piece of bamboo stake, sawed off about a foot of it and used it as a tree stake to help the stem stay up. Because hydrangea standards have very skinny trunks, you should always stake it to ensure it grows straight and won’t bend over or snap in a storm or something. And since my “trunk” is actually a half inch stem, it is especially necessary!
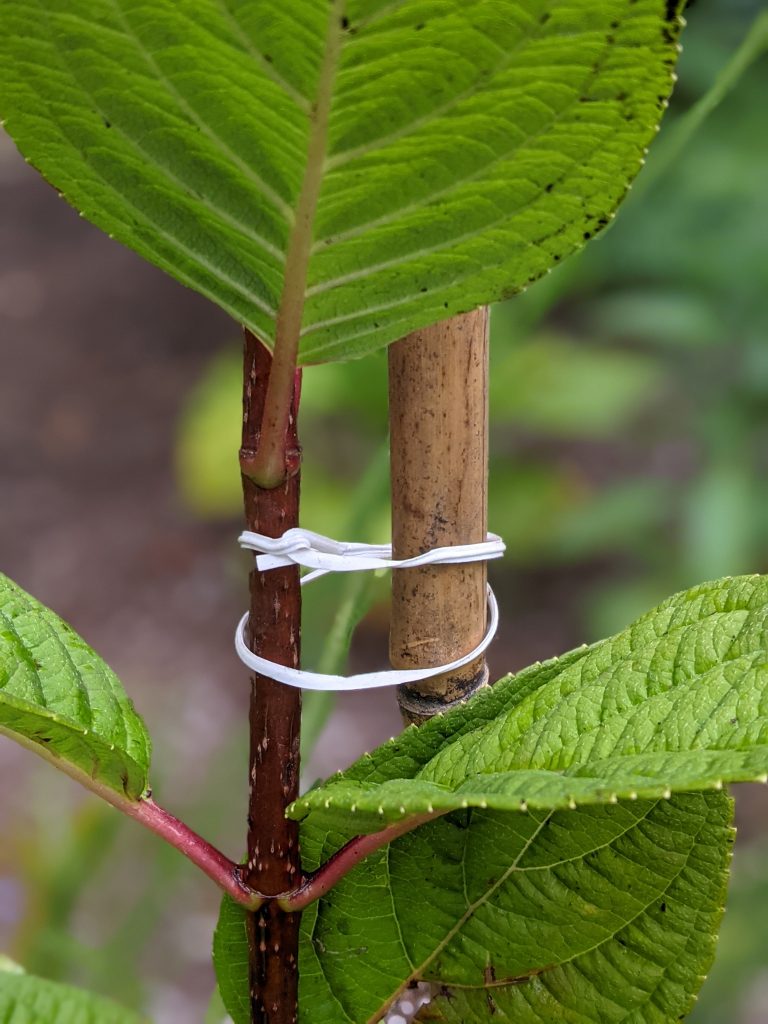
I tied my bamboo stake with just some twist ties, but you can use actual garden ties. It’s just what I had on hand, and the stem isn’t very heavy at the moment, so it’ll definitely hold it in place. I’ll probably just change those out as the standard grows up.
A Final Note About Pruning
Normally, your tree trunk should not have leaves or other growth coming out of it, but I left all the leaves on my remaining stem to make sure the plant has enough means to gather energy to establish itself and grow better next season. I’ll just leave them to fall off naturally and depending on how the plant looks next year, I might start pruning off the new growth on the trunk if the plant seems ready to handle it.
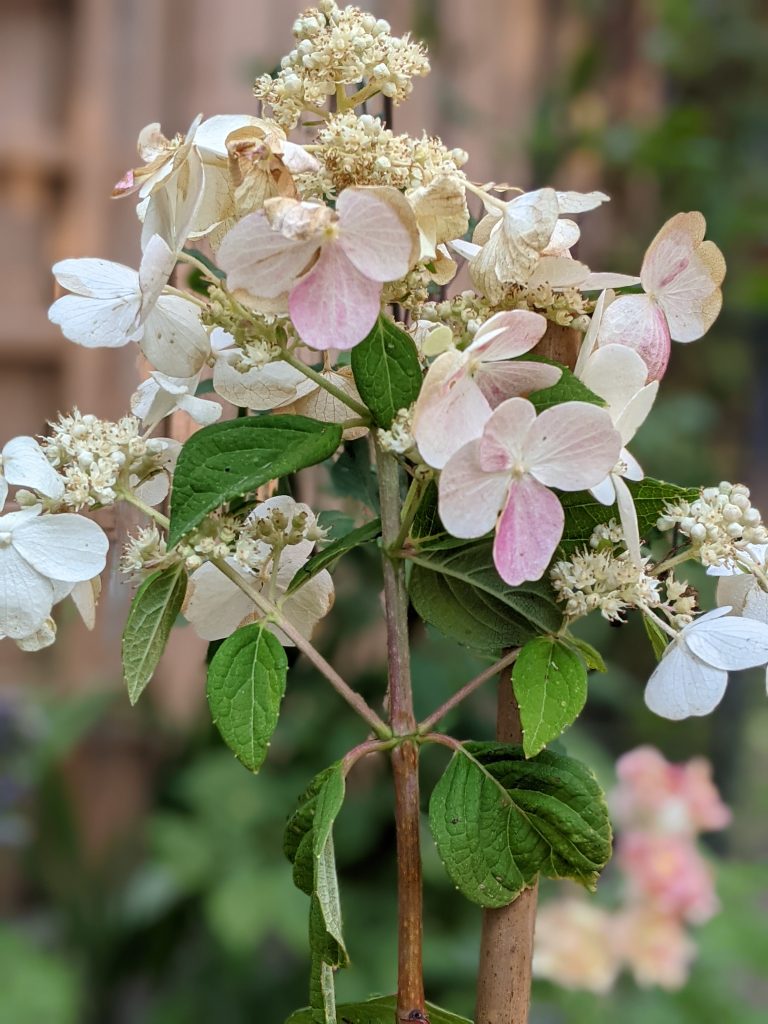
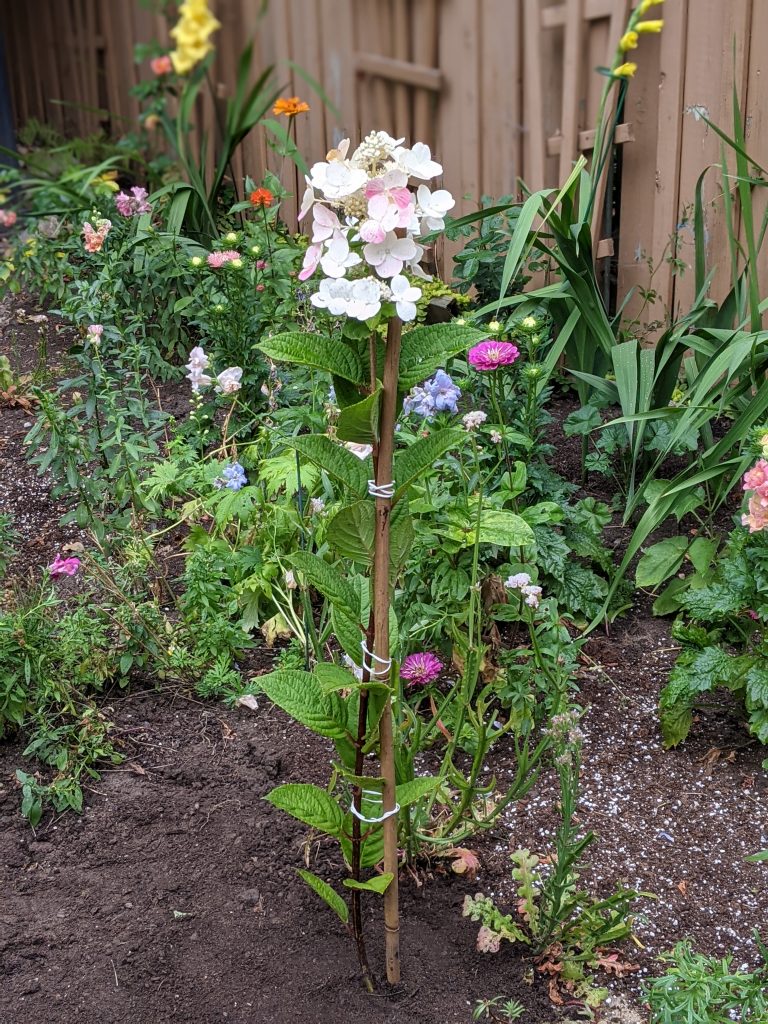
In terms of the flower heads, as you can see, my hydrangea stem that I selected to be the trunk of the tree has some blooms on it. I thought it only had one big bloom and two small side blooms, but when I inspected it closer, I noticed many side blooms were forming off the main branch I had selected.
In order to save the plant energy so it can focus on establishing itself in the ground before winter, I cut off all the blooms. This should also help it to branch out more next year and start to create a fuller top that actually looks like a tree canopy. When I finished all the pruning and planting, the tree form ended up being exactly 36″ tall.
And that’s about it!
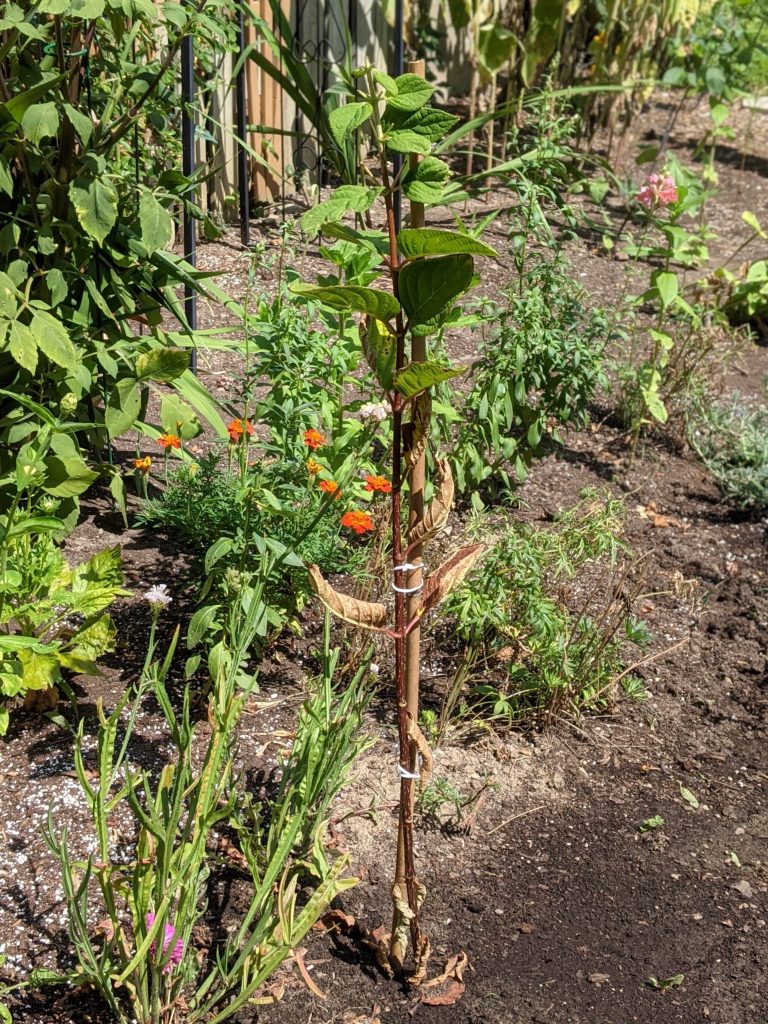
Now all that’s left is to water it thoroughly, watch it very closely until the first frost, and hold my breath until spring! Unfortunately for me, I planted this poor baby right before an almost week-long heat wave in Montreal, so it struggled a bit, as you can see by the yellowing/dried up leaves! But I have faith in the toughness of hydrangeas and I don’t think all is lost yet.
This is definitely classified as an experiment for me and I have no idea what will happen next year. But sometimes it’s kind of fun to try crazy things just to see how it’ll turn out! The worst case scenario is you waste a little time and money, but can you imagine if this works?! I’m so excited to see what happens next year!
Have you ever tried training a bush into a tree form? How did it go for you?
xoxo
I’m glad I found your post! I am planning to do this exactly, but I am nervous. I bought my Pinky Winky hydrangea this summer and there are 3 beautiful deep pink panicles that I’m enjoying now. So I will be brave and try it next year. Also, my split looks trickier with the straight one being a younger branch than the thicker/older branch so that makes me nervous. But I too think, nothing ventured nothing gained! I can’t wait to see how your tree is next summer!
Yeah, I do feel like slightly older plants might be able to withstand the heavy pruning/splitting a bit better. But I was so impatient, I didn’t want to wait to try it, haha! Good luck with your experiment 🙂 We can compare notes next year!
Please update us about your experiment!
The hydrangea survived and has several flower buds forming! It hasn’t put on much more growth, but that might be because I had to transplant it earlier this spring, and plants will obviously need time to recover and reestablish their roots before putting on more leafy/flowery growth. All in all, I recommend trying to make your own hydrangea tree for sure!
I’m glad I found this !!! I couldn’t afford a pre grafted tree so brought a bush and was disappointed once home as thought it would be too difficult to make a tree as it has two large stems at the base. But now knowing I can split this has made me a little more hopeful:). Here’s to hopefully a tree
When is best to split it. It’s still summer here in Uk. Starting to get darker nights now though
Honestly, I think whenever you have time is the right time to do anything in the garden, as long as you watch it carefully and baby it a bit afterwards. But end of summer would be a great time to do this! That’s when I did mine and it’s doing really well after two full growing seasons!